You’re probably making your smoothie bowls all wrong—and that’s okay, we’ve all been there. The secret isn’t fancy ingredients or expensive equipment; it’s nailing the ratio between frozen fruit, liquid, and technique. Get this part right, and you’ll never go back to those sad, soupy bowls again. So what’s the magic formula that transforms your personal blender into a smoothie bowl powerhouse?
Key Takeaways
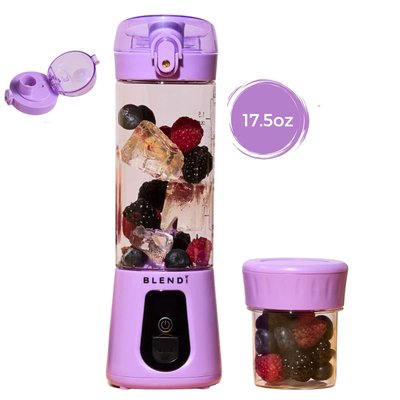
- Choose a personal blender with at least 1000 watts motor power to handle frozen fruit and ice efficiently.
- Use 1.5–2 cups frozen fruit with roughly 1/4–1/3 cup liquid for a thick, spoonable consistency.
- Blend on low for 15 seconds, gradually increase to high, and pulse between speeds for 45–60 seconds total.
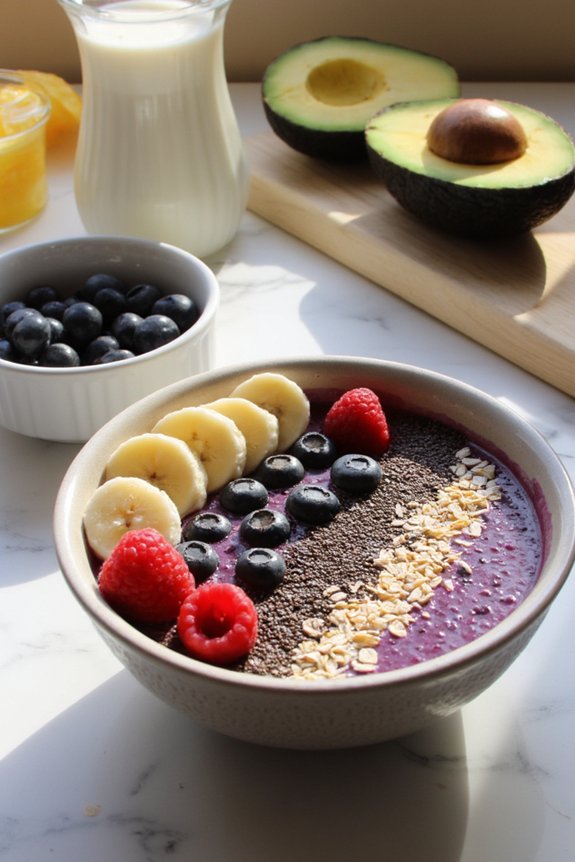
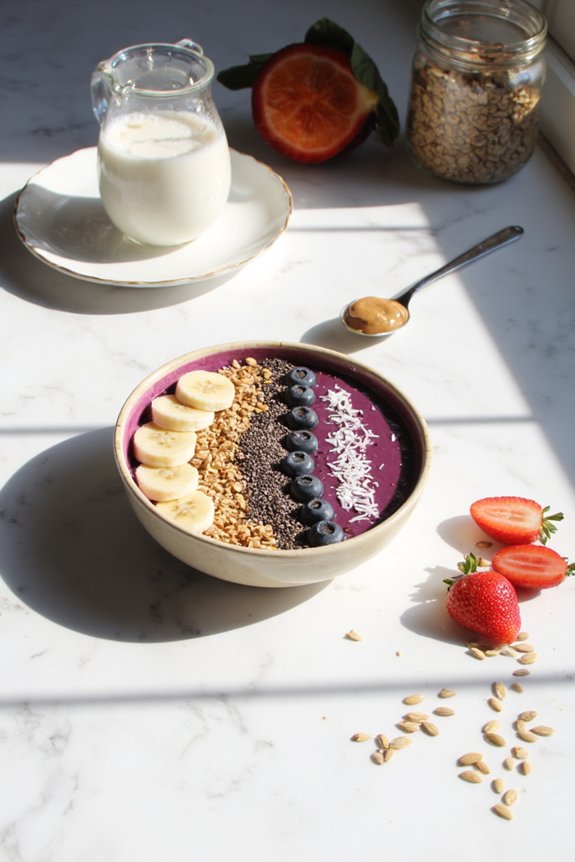
- Maintain a two-thirds base to one-third toppings ratio and keep bowls chilled for optimal texture and crispness.
- Avoid overworking your blender by using shorter pulses if noise increases; let it cool between batches.

Choosing the Right Personal Blender for Smoothie Bowls
If you’re serious about making smoothie bowls that actually taste good and have the right texture, you’ll need a blender that can handle the job without choking halfway through. Look for high power motors—at least 1000 watts—because frozen fruit’s no joke. You want something that pulverizes ice and berries into silky perfection, not sad chunks.
Blade design matters too. Sharper, strategically angled blades create better circulation inside the pitcher, meaning everything gets blended evenly instead of leaving hard bits lurking at the bottom. A personal blender works great for smoothie bowls since you’re making single servings anyway.
Don’t get suckered into buying some trendy brand just for the aesthetic. Test it out if you can, or read real reviews from people who actually use them regularly. Your future smoothie bowl self will thank you.
For best results, prioritize motor power and performance to ensure your blender can deliver smooth, consistent textures and handle tough ingredients like frozen fruit and ice.
Understanding the Perfect Consistency and Texture
Getting your smoothie bowl consistency just right is basically the difference between something you’ll actually eat and something that’ll slide right off your spoon like it’s got a mind of its own. You’ve gotta nail the balance between frozen fruit ratio, liquid ingredient proportions, and how thick you want the whole thing to be, since each element plays its own important role in creating that perfect spoonable texture. Think of it like this: too much liquid and you’ve got basically a regular smoothie, too little and you’re basically trying to eat a frozen brick, so finding that sweet spot where everything works together is what transforms a bowl from meh to genuinely craveable. Choosing a blender with multiple speed options can also help tailor your bowl’s texture to perfection, giving you control over how smooth or chunky your base turns out.
Thickness Level Matters Most
The thickness of your smoothie bowl basically makes or breaks the whole experience. You want something that’s thick enough to eat with a spoon, not something you’d sip through a straw. Think soft-serve ice cream consistency, you know?
Getting the texture variance right means balancing your liquid to frozen ingredients carefully. Too much yogurt? You’ll end up with pudding. Too much liquid? You’re basically making a smoothie instead.
Serving temperature matters too. A cold bowl straight from the blender tastes way better than one that’s been sitting out. The chill factor really enhances how those flavors pop.
Pro tip: freeze your base ingredients beforehand. It’ll give you that perfect thick texture without watering things down with excess ice. Your toppings’ll stay crispy longer too.
If you want to keep your bowl extra frosty, you can use ice made with clear, odor-free ice for an even cleaner flavor and better texture.


Frozen Fruit Ratio Balance
Most smoothie bowl disasters come down to one thing: you’re not using enough frozen fruit. Your fruit proportions are everything here. Too little and you’ll get a soupy mess instead of that perfect spoonable consistency. You want roughly 1.5 to 2 cups of frozen fruit per bowl, depending on your blender’s power and what liquid you’re adding.
| Fruit Type | Frozen Amount |
|---|---|
| Berries | 1.5 cups |
| Mango/Pineapple | 1.75 cups |
| Banana | 2 cups |
The texture balance comes down to experimenting a bit. Start with more frozen fruit than you think you need, blend it down, and adjust from there. Your personal blender’ll thank you for respecting its limits, and you’ll finally nail that Instagram-worthy thick consistency that doesn’t taste like a popsicle. Make sure your blender has sufficient motor power for dense frozen blends, since not all personal blenders handle thick mixtures equally well.
Liquid Ingredient Proportions Guide
Once you’ve nailed your frozen fruit ratio, the liquid you add becomes your secret weapon for getting that perfect spoonable texture. Here’s the thing: you’re not making a traditional smoothie, so don’t go crazy with the liquid. Start with about one-quarter to one-third cup of nut milk as your base. This keeps your bowl thick and satisfying. You can use coconut milk, almond milk, or oat milk depending on what vibe you’re going for. Want flavor infusion? Try adding a splash of vanilla extract or a drizzle of honey to your liquid before blending. The key is pouring slowly and tasting as you go. You’ll quickly figure out your sweet spot where everything blends smoothly without turning into soup. For best results, use a high-powered blender to ensure your frozen ingredients break down easily and your bowl has a creamy, lump-free texture.
Mastering the Ingredient Ratios
Now that you’ve nailed the texture, it’s time to talk ratios because honestly, they’re what separate a soggy mess from a spoonable dream. You’ll want to dial in your liquid to frozen ratio first—too much liquid and you’ve basically made a regular smoothie, too little and you’re basically eating frozen concrete, so aim for that sweet spot where your blender doesn’t strain but your bowl still holds its shape. Then there’s the base and topping balance, which is where you get to play around with how much of that creamy base you want versus all the fun stuff on top, keeping in mind that every ingredient you pile on changes the whole eating experience.
Liquid to Frozen Ratio
Through the magic of the right liquid-to-frozen ratio, you’ll transform a sad, soupy mess into a thick, spoonable masterpiece that actually feels like dessert instead of a beverage you’re chugging through a straw. Here’s the deal: you want about one part liquid to three parts frozen ingredients. This liquid balance is key to nailing that perfect icy texture without ending up with a smoothie you can drink.
Start with less liquid than you think you need, then add gradually. Your personal blender’s got limits, so respect that. Too much liquid and you’ve basically made a drink. Too little and your blender’s working overtime, struggling to blend everything smoothly. Finding that sweet spot takes a couple tries, but once you nail it, you’re golden.
Base and Topping Balance
Your smoothie bowl’s success hinges on getting the base-to-topping ratio right, and honestly, this is where a lot of people mess up. You’ll want about two-thirds base to one-third toppings. This creates the perfect foundation for flavor contrast and texture layering that’ll make your bowl actually exciting to eat.
| Component | Ratio | Purpose |
|---|---|---|
| Frozen Base | 60% | Provides creaminess and structure |
| Liquid | 20% | Guarantees smooth blending consistency |
| Toppings | 20% | Adds crunch and visual appeal |
| Flavor Elements | Varies | Creates taste depth and interest |
| Garnish | Light | Enhances presentation without weighing down |
Think of your base as the canvas. Too many toppings and you’ve basically made a regular bowl of stuff. Too few and it feels kinda boring. The sweet spot? When every spoonful hits different textures while keeping that creamy base front and center.

Essential Base Ingredients and Frozen Fruits
Build your smoothie bowl on a foundation that actually tastes good, because let’s be honest, nobody wants a bowl that’s just… blah. You’ll want to start with frozen fruits—bananas, berries, mangoes—they’re your base. They create that thick, creamy texture you’re after without needing tons of dairy or weird additives.
Fresh plantains work great if you’re looking for something different. They add natural sweetness and creaminess that’s honestly pretty underrated. Add some spirulina powder for extra nutrition and that cool green color without making it taste like you’re eating a smoothie at the gym.
Don’t skip the liquid either. Milk, juice, or coconut water helps everything blend smoothly. The ratio matters—too thick and your blender struggles, too thin and you’ve got soup. Find your sweet spot and you’re golden.
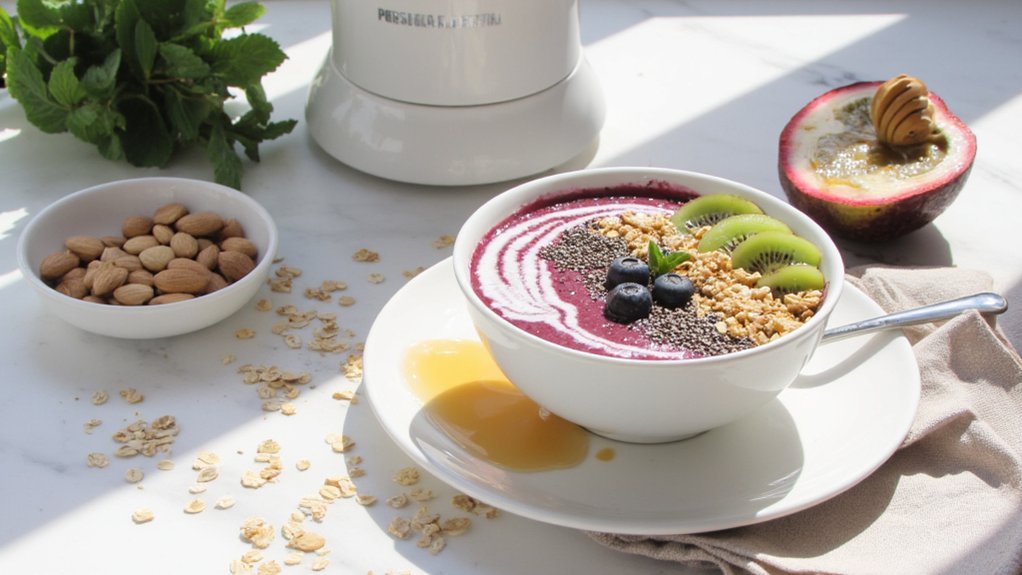
Creative Toppings That Elevate Your Bowl

What really transforms a smoothie bowl from “meh” to “wow”? The toppings, hands down. You’ve got your base sorted, so now it’s time to get creative and make it visually stunning.
Drizzle nut butter swirls across the top for richness and those Instagram-worthy lines. Granola adds satisfying crunch, while fresh berries bring color and tartness. Don’t sleep on edible flowers—they’re not just pretty, they’re totally doable and add a fancy touch without much effort.
Layer in coconut flakes, dark chocolate chips, and seeds for texture contrast. A sprinkle of cacao nibs keeps things interesting. You can also toss in some honey or agave for extra sweetness if you’re feeling it.
The key? Balance flavors and textures so every spoonful feels different and exciting.
Step-by-Step Blending Technique for Best Results
Since you’ve nailed the toppings part, let’s talk about getting the actual smoothie base right—because a perfectly blended bowl is where the magic starts. Your blender’s about to become your best friend here.
Start with your liquid first. Then add frozen fruits, protein powder, and yogurt. This layering trick prevents your blender from getting overwhelmed (trust us, angry blenders aren’t fun). Use the cold pressed technique by adding ice last, which keeps nutrients intact while giving you that thick consistency you’re after.
Here’s your game plan:
- Start on low speed for 15 seconds, then gradually increase to high
- Apply thermal shock blending by pulsing between high and low settings
- Blend until smooth, around 45-60 seconds total
You’ll know it’s ready when it’s thick enough to hold toppings but still pourable. That’s your sweet spot.
Troubleshooting Common Smoothie Bowl Problems
Even with the perfect blending technique locked down, things can still go sideways when you’re actually making your bowl.
| Problem | Cause | Solution |
|---|---|---|
| Too thin and runny | Excess liquid or warm fruit | Use frozen fruit and reduce liquid by half |
| Blender noise getting loud | Overworking the motor | Blend in shorter pulses, not continuous |
| Temperature shock to ingredients | Hot blender from friction | Let it cool between batches |
Maybe your smoothie’s looking more like soup. That usually means you’ve added too much liquid or didn’t freeze your fruit properly. Temperature shock happens when your blender gets too hot, so take breaks between bowls. If you’re hearing crazy blender noise, you’re probably pushing too hard. Dial it back. Blend in pulses instead of one long go. These simple fixes’ll get you back on track real quick.
Frequently Asked Questions
How Long Can I Store Prepared Smoothie Bowl Base in the Refrigerator Before Serving?
You can store your smoothie bowl base in the refrigerator for up to 24 hours, though you’ll want to use it sooner. Beyond that refrigerator lifespan, you’ll notice texture separation occurring, which affects your bowl’s consistency and appeal.
Can I Make Smoothie Bowls Ahead of Time for Meal Prep Purposes?
You can absolutely prep smoothie bowls ahead for meal prep. Try overnight prep by refrigerating your blended base, or use freezer packing to store portions in containers for up to three months before blending and serving.
What Are the Best Personal Blender Brands for Making Smoothie Bowls Regularly?
You’ll find the Vitamix S30, NutriBullet Pro, and Ninja Fit excel for regular smoothie bowls. The Breville Boss, KitchenAid Blend, and Hamilton Beach also deliver consistent results. Consider your budget—they’re all reliable choices for frequent blending.
How Do I Clean My Personal Blender Immediately After Making Smoothie Bowls?
You’ll want to use the quick rinse hack: fill your blender halfway with warm water and a drop of dish soap, then blend for 30 seconds. Afterward, rinse thoroughly and place dishwasher safe parts in the machine for deep cleaning.
Are There Nutritional Benefits to Eating Smoothie Bowls Versus Drinking Smoothies?
You’ll benefit from better fiber absorption and portion control with smoothie bowls since you’re eating slower, allowing fuller satiation. Drinking smoothies means quicker consumption, potentially leading to less nutrient awareness and overconsumption.
Conclusion
You’ve got this. Making smoothie bowl perfection really comes down to nailing your ingredient ratios and not getting impatient with the blending process. Start low, pulse your way up, and you’ll avoid burning out your blender’s motor while getting that perfect spoonable texture. Once you dial in your technique, you’re basically unstoppable—customize toppings however you want and enjoy breakfast like a pro.


