
So you’ve got your turkey, your electric knife’s charged, and you’re ready to impress everyone at the table. Thing is, most people hack away like they’re wrestling the bird, which honestly just makes a mess. You’re gonna want to know the right technique—where to position yourself, how to hold that blade, and which parts to tackle first—because there’s definitely a method that’ll get you clean, professional-looking slices every time.
Key Takeaways
- Inspect your electric knife’s blades for sharpness and test cord safety before starting the carving process.
- Position the turkey breast-up on a sturdy, centered cutting board and maintain firm grip throughout carving.
- Separate legs, thighs, wings, and drumsticks by locating joints and cutting through connecting tissue with gentle pressure.
- Slice breasts by holding the knife at a 45-degree angle along the breastbone with steady, smooth strokes.
- Use light pressure and let blade vibrations do the work; guide rather than force the knife through meat.


Preparing Your Electric Knife for Carving
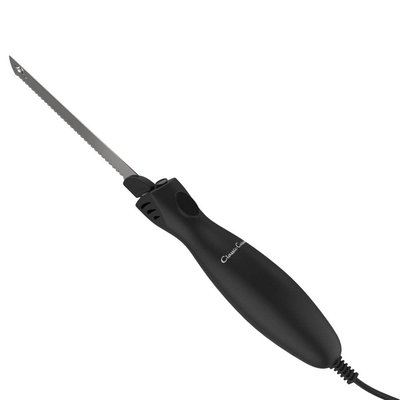
Before you even think about approaching that beautiful golden turkey, you’ll want to get your electric knife ready for action. First, check your blade maintenance by inspecting both blades for any nicks or dullness that could mess up your carving. You want those blades sharp and pristine. Next, examine the cord safety carefully—make sure there’s no fraying, cracks, or exposed wiring anywhere on that cord. A damaged cord’s a safety hazard you don’t need. Test the knife with a quick on-off to guarantee it’s running smoothly and the blades move evenly. Fill a bowl with warm water nearby for rinsing between cuts. Having everything prepped means you’ll carve that turkey like a pro, keeping things safe and efficient from start to finish. Many electric knife models come with removable blades for easy cleaning, so be sure to detach and clean them before and after use for best results.
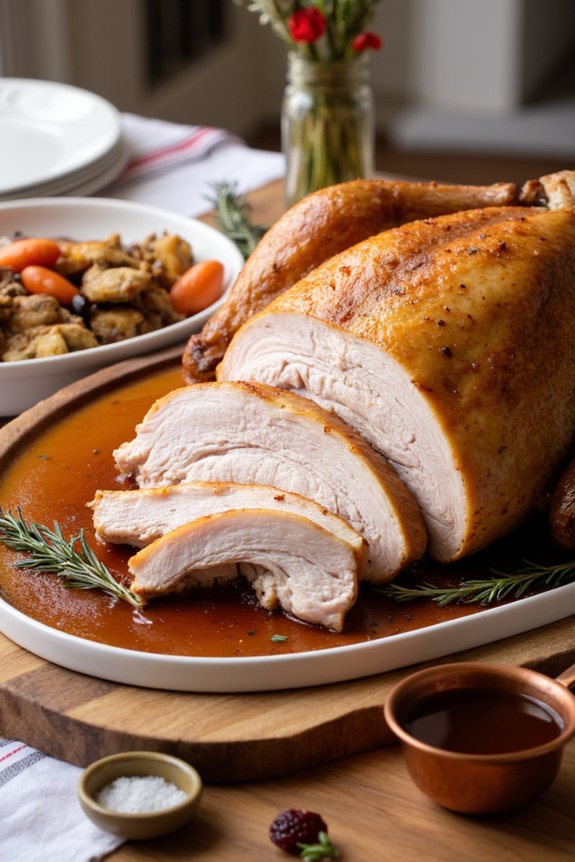
Positioning the Turkey for Easy Access
Once you’ve got your electric knife all prepped and ready to go, positioning your turkey correctly makes the whole carving process way easier on you. You’ll want to place your bird on a sturdy cutting board, keeping it centered so you’ve got plenty of room to work around all sides. Make sure your table placement is solid and won’t shift when you’re applying pressure with that vibrating blade.
| Position | Best For | Carving Angle |
|---|---|---|
| Breast side up | Leg removal | 45 degrees |
| Tilted slightly | Thigh access | 30 degrees |
| Turned sideways | Wing separation | Perpendicular |
| Rotated fully | Breast slicing | Horizontal |
| Propped up | Backbone removal | Vertical |
Tilt your turkey slightly toward you, giving yourself that perfect carving angle to slice through joints smoothly. You’re basically setting yourself up for success here, making those cuts clean and controlled without unnecessary wrestling.
If you want to take your carving station to the next level, consider using a sturdy cast iron skillet as a resting surface, since its weight and heat retention can help keep your turkey steady and warm while you carve.
Removing the Legs and Thighs
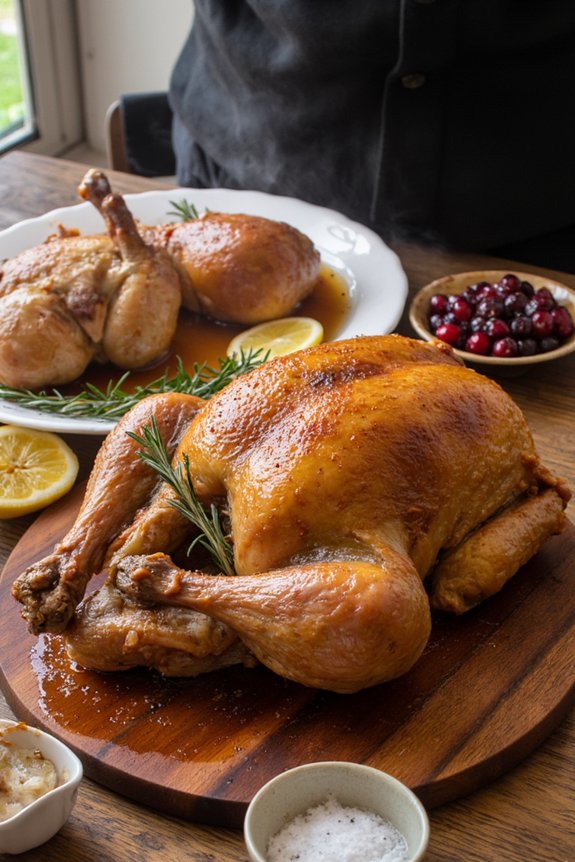
Start by pulling one leg away from the body, stretching it out to expose the joint where it connects to the breast. You’ll want to use your electric knife to work through that connection point carefully. Here’s how to tackle this like a pro:
- Locate the thigh joint where it meets the body
- Apply gentle pressure while cutting through the connecting tissue
- Separate the drumstick from the thigh using joint loosening techniques
Once you’ve got the leg detached, you can work on marrow extraction if you’re feeling adventurous. The thigh bone’s got some delicious marrow inside, and it’s worth the effort. Now repeat everything on the other side. You’re basically doing the same moves twice, which makes it pretty straightforward once you nail that first leg. For best results, be sure your knife maintenance and cleaning routine is consistent—just like with espresso machines, a well-maintained tool ensures smooth cuts and easy handling.


Separating the Breasts From the Carcass
Now that you’ve tackled the legs and thighs, it’s time to work on the breasts, which honestly are the easiest part if you position that electric knife right. You’ll want to hold the knife parallel to the breastbone and let it do the heavy lifting, making smooth, confident cuts that’ll separate those beauties from the carcass without shredding everything into confetti. The skin’ll come off cleanly if you’re gentle and keep your strokes steady, and before you know it, you’ll have two gorgeous breast halves ready for slicing. If you’re prepping your turkey for versatile cooking functions, choosing the right carving method helps ensure each piece is the perfect size for baking, roasting, or reheating in your convection toaster oven.
Positioning the Electric Knife
With your electric knife positioned and ready to go, you’re about to separate those beautiful breasts from the carcass, and it’s easier than you might think. The key is getting your setup right before you even flip the switch on that blade.
Here’s what you need to nail down:
- Hold the knife with a firm grip comfort in mind, keeping your wrist straight and relaxed
- Use angle guides as reference points, aiming for about a 45-degree angle along the breastbone
- Position yourself so you’ve got a clear view of where you’re cutting without straining
Keep your knife tip pointed downward slightly. Let the blade do most of the work—you’re really just guiding it smoothly along the natural seams. Don’t muscle it around, or you’ll end up with a mangled mess instead of those gorgeous turkey breasts. For safety, it’s helpful to keep your hands clear of the cutting path, similar to the cool-touch handles and secure lid locks found on the best deep fryers.
Making Clean Cuts
Once you’ve got your angle locked in, it’s time to let that electric knife do what it does best. Turn on the blade and guide it smoothly along the breastbone with steady, confident strokes. You’ll notice the texture contrast between the crispy skin and tender meat underneath, which actually helps you know where you’re cutting.
Let the knife do the work—don’t force it. The vibrating blade handles the hard stuff, so just maintain gentle pressure and keep your hand steady. Work from the top of the breast down toward the leg joint.
Temperature control matters here too. If your turkey’s still warm, the meat’s easier to slice cleanly without shredding. Take your time and you’ll get those beautiful, presentation-worthy slices that’ll impress everyone at your table.
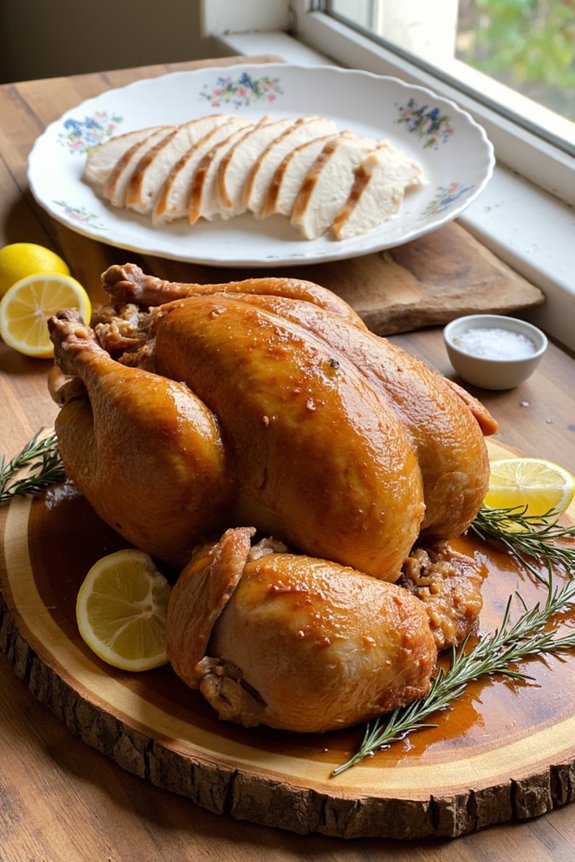
Removing Skin Cleanly
After you’ve sliced those beautiful breast pieces, it’s time to separate them completely from the carcass, which’ll give you cleaner presentation and make carving the rest of the bird way easier. Start by using your electric knife to loosen the epidermis along the breastbone. Work carefully and let the blade do the work for you.
Here’s your game plan:
- Glide the knife along the ribcage, following the natural contours of the bird
- Trim excess skin and connective tissue as you go
- Gently pull each breast away from the body as you cut
Once you’ve separated both breasts, you’ll have beautiful, intact pieces ready for plating. Your guests’ll be impressed with how professionally you’ve handled this part. The carcass is now ready for the thighs and drumsticks.
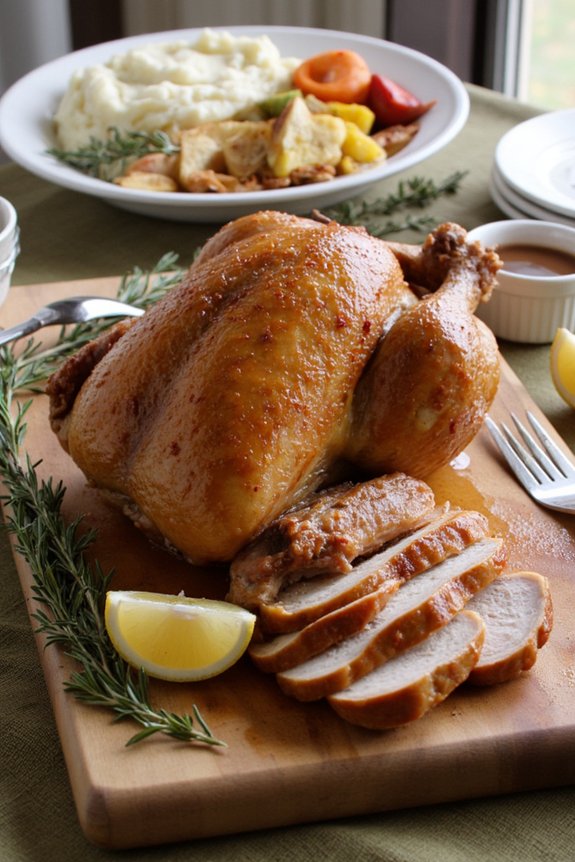
Slicing the Breast Meat Properly
Now that you’ve got the breasts separated, it’s time to slice ’em up, and this is where your electric knife really shines. You’ll want to position the knife at a slight angle to the breast, keeping it steady and letting the blade do the work without pressing down too hard, then make those clean, even strokes that’ll separate the meat from the bone like you actually know what you’re doing. Once you’ve got nice, uniform slices going, you can work your way around the bone to get every last bit of that tender meat without turning your turkey into confetti.

Positioning Your Electric Knife
When you’re ready to tackle the breast meat, holding your electric knife at the right angle makes all the difference between clean, beautiful slices and a bit of a turkey massacre. Here’s what you need to know about positioning:
- Hold the knife parallel to the breastbone at about a 15-degree angle
- Keep your grip pressure steady but not death-grip tight
- Position the blade so it glides along the ribcage smoothly
Your angle adjustments matter way more than you’d think. Tilt too steep and you’ll gouge into meat. Too shallow and you’re just skimming the surface. Find that sweet spot where the knife naturally follows the bird’s contours, and you’ll be golden. Light pressure does the heavy lifting here, letting the blade’s vibrations do their thing.
Making Clean, Even Strokes
Once you’ve got your angle locked in and your pressure dialed in just right, the actual slicing is where things come together. Now comes the fun part. You’ll want to maintain a steady rhythm as you glide the blade through the meat, letting the electric knife do most of the heavy lifting. Don’t push too hard. Keep your controlled pressure consistent, and you’ll get those beautiful, even slices that’ll make everyone impressed. Move the knife in smooth, forward motions without jerking or sawing frantically. Think of it like you’re guiding the blade rather than forcing it through. The meat should practically fall away in uniform slices, each one looking just as good as the last.
Separating Meat From Bone
The breast meat is where you’ll really show off those smooth knife skills you’ve been practicing. Here’s where things get real satisfying because you’re about to separate some serious poultry from the bone.
Start by positioning your electric knife at an angle against the breastbone. You’ll want to:
- Glide the blade down alongside the ribcage with steady pressure
- Follow the natural seam where the breast meets the body
- Work slowly to avoid bone fragments that can mess up your presentation
As you slice, you’re basically following the turkey’s anatomy, letting the knife do the heavy lifting. The marrow extraction happens naturally as you work deeper into the meat. Once you’ve got one side separated, flip that bird around and repeat on the other side. You’ve essentially just carved like a pro.
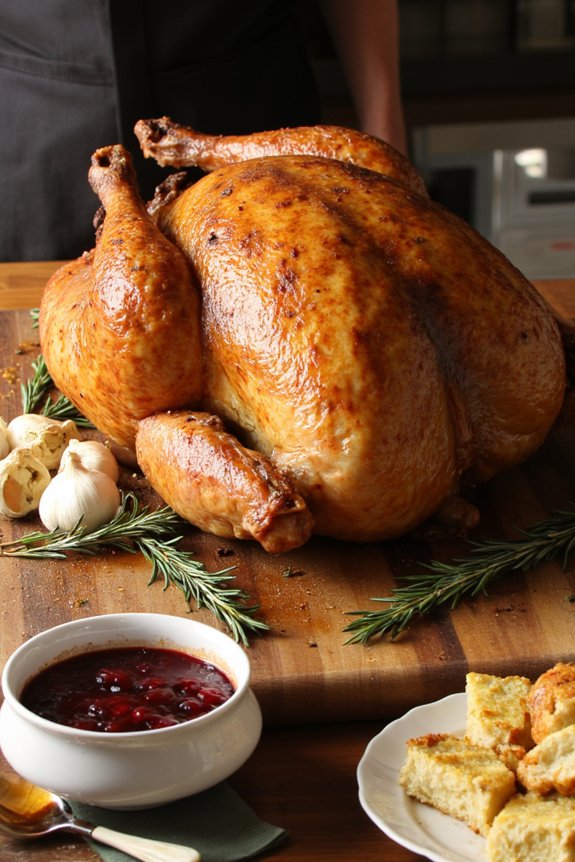
Carving the Wings and Drumsticks
Separating those wings and drumsticks is easier than you’d think, and it’s honestly one of the most satisfying parts of carving. Start with the wings. Pull one wing away from the body, then carefully guide your electric knife through the joint where it connects. You’ll feel it pop apart naturally, which is your cue that you’ve hit the sweet spot for wing jointing. The blade does most of the work here.
Now tackle the drumsticks. They’re attached pretty firmly, so don’t be shy about applying gentle pressure. Slice right through that thigh joint, separating the leg from the breast. For drumstick presentation, you can leave them whole or separate the thigh from the drumstick itself. Either way, you’ve just freed up some serious meat. Your guests’ll be impressed with how cleanly everything comes apart.
Safety Tips and Best Practices
Because you’re working with a sharp, fast-moving blade, safety should be your main priority when carving with an electric knife. Here’s what you need to focus on:
- Keep your fingers clear of the blade path at all times
- Maintain a firm grip on the turkey so it doesn’t slip around
- Never touch the blade while it’s running, even if you think it’s stopped
Good knife maintenance keeps your tool working safely and effectively. Sharpen it regularly and inspect for any damage before using it. For cord management, keep that cable away from wet surfaces and make sure it’s not tangled around your feet or the turkey. You don’t want any accidents happening on carving day. Stay focused, take your time, and you’ll be fine.
Frequently Asked Questions
How Long Should I Let the Turkey Rest Before Carving It?
You should let your turkey rest for 30–45 minutes at room temperature before carving it. This resting period allows the juices to redistribute throughout the meat, ensuring you’ll get moister, more flavorful results when you carve.
Can I Use an Electric Knife on a Frozen or Partially Frozen Turkey?
No, you shouldn’t use an electric knife on frozen or partially frozen turkey. Safety concerns arise because you can’t control the blade properly. Blade performance suffers too—you’ll damage the knife and create uneven cuts.
What’s the Best Way to Store Leftover Carved Turkey Meat?
You’ll want to refrigerate your carved turkey in airtight containers for three to four days. For longer storage, try vacuum sealing portions—it’ll preserve flavor pairing options perfectly. Freeze up to three months for best results.
How Do I Clean and Maintain My Electric Knife After Carving?
You’ll want to unplug your knife before cleaning. Wash the blade thoroughly with warm soapy water and dry it completely. For sanitizing tips, use a bleach solution occasionally. Have your blade professionally sharpened yearly to maintain cutting efficiency.
Is an Electric Knife Better Than a Traditional Carving Knife for Turkey?
Yes, an electric knife’s superior slice precision and consistent heat control make it better than traditional carving knives for turkey. You’ll achieve cleaner cuts faster with less effort and minimal meat damage.
Conclusion
You’ve got this! With your electric knife, steady hands, and a little patience, you’ll carve that turkey like a pro. Remember to keep your fingers clear, take your time with smooth strokes, and don’t rush through it. Your guests’ll be seriously impressed with those perfect slices. Now go show that bird who’s boss and enjoy the feast!


