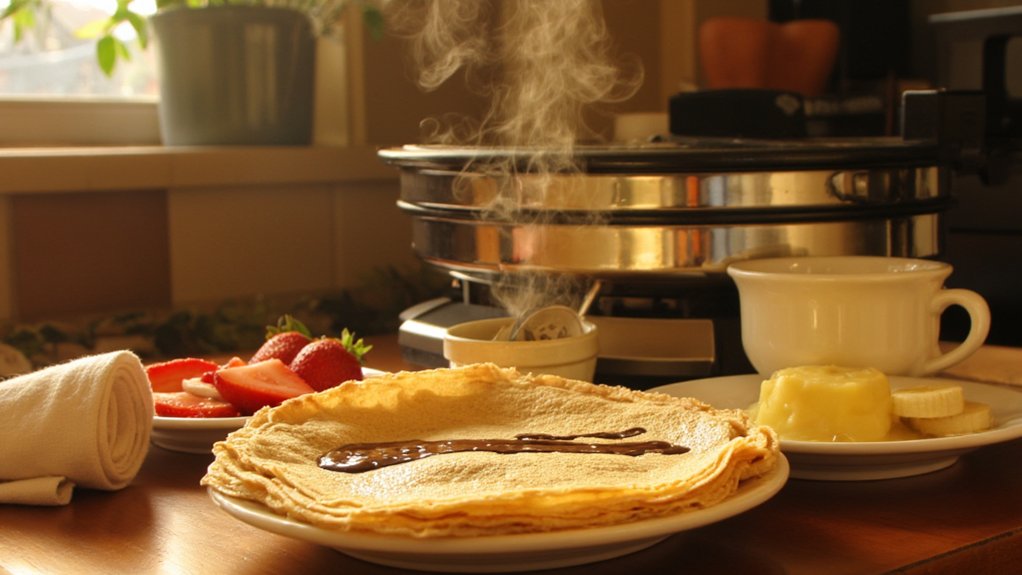
You’ve probably noticed your crepe maker’s dial never quite matches reality. The center burns while edges stay pale, and you’re left wondering if the thermometer’s actually broken. Here’s the thing: it’s not lying exactly, but it’s definitely not telling you the whole story. Your machine’s got hot zones and cool zones, and that single probe? It’s basically guessing. Once you understand what’s really happening under that surface, everything changes.
Key Takeaways
- Built-in thermometer readings show only one point; actual surface temperature varies 60°F between center and edges.
- Temperature drops significantly when batter hits the griddle; recovery time of 30 seconds determines consistency between batches.
- Humidity and seasonal changes alter batter behavior and heat recovery; winter conditions can extend recovery by 15 seconds.
- Hot spots cluster at center while edges stay cool; map zones with infrared thermometer to optimize crepe placement.
- Visual cues like dry ring edges and matte finish matter more than dial settings for determining cooking readiness.


The Hidden Hot Spot Problem Every Crepe Maker Has
If you’ve ever wondered why one side of your crepes turns golden brown while the other stays pale and wimpy, you’ve probably encountered the sneaky culprit that plagues basically every crepe maker out there: hot spots.
Here’s the thing: your crepe maker’s surface isn’t heating evenly, no matter what the dial says. That hot center might be blazing at 400 degrees while the edges experience what I call “edge chill.” It’s frustrating, right?
Most makers don’t distribute heat uniformly across the cooking surface. You’ll rotate your crepe and suddenly hit a cooler zone that refuses to cook properly. The result? Uneven browning, uneven texture, and crepes that look like they’ve been through a tumble dryer.
Understanding this quirk helps you compensate and actually salvage your breakfast game. Some crepe makers offer adjustable temperature settings to help manage browning control, but even these models can still develop hot spots if the heating element isn’t well-designed.
Why Your Thermometer Lies to You
Because your crepe maker comes with a built-in thermometer (or you’ve got one sitting on top of it), you’d think you’d actually know how hot the cooking surface is, but here’s the kicker: that number you’re reading? It’s often nowhere close to reality. See, most thermometers measure temperature at one specific point, and probe placement matters way more than you’d expect. The spot where your thermometer sits might be cooler or hotter than where you’re actually cooking your crepes. Surface thermography reveals the real truth, showing that temperature varies wildly across the plate. That built-in dial might say 350°F, but your actual cooking zones could range from 320°F to 380°F. Your thermometer isn’t lying intentionally—it’s just giving you incomplete information about what’s really happening on that griddle. Some crepe makers offer multiple heat levels or adjustable temperature controls, but even these features can’t compensate for the uneven heat distribution found on many models.
Temperature Stability vs. Raw Heat: The Distinction That Changes Everything
You see, thermal inertia is your friend here. It’s the crepe maker’s ability to maintain consistent heat even when you’re cooking multiple batches. Without it, you’re fighting control hysteresis—basically, your temperature bounces around like a caffeinated squirrel, overshooting then undershooting your target temp.
A quality machine with good thermal mass stays steady. Your surface won’t cool dramatically when batter hits it, and it won’t overheat between crepes. That’s the real magic nobody mentions. Many top electric griddles achieve this with precise temperature control via quality dials or heating probes, ensuring consistent results batch after batch.


How Humidity Silently Sabotages Your Cooking Time
Most folks don’t realize how much moisture in the air messes with your crepe game. When ambient humidity climbs, your batter absorption changes dramatically, and suddenly your cooking times go haywire. You’re standing there expecting a golden crepe in thirty seconds, but it’s taking forty-five because the air’s so thick with moisture.
Here’s the thing: humid conditions slow down evaporation on your griddle’s surface. Your batter stays wetter longer, cooking slower than usual. The ambient humidity also affects how your batter flows and spreads across the cooking surface.
If you’re cooking on a particularly muggy day, you’ll need to bump up your temperature slightly and watch your crepe more carefully. Don’t just blindly follow your usual timing—adjust for what Mother Nature’s throwing at you today.
If you’re using an electric food steamer, you might notice similar effects, since humidity and moisture in the air can also impact how quickly foods cook and how much water needs to be managed during the process.
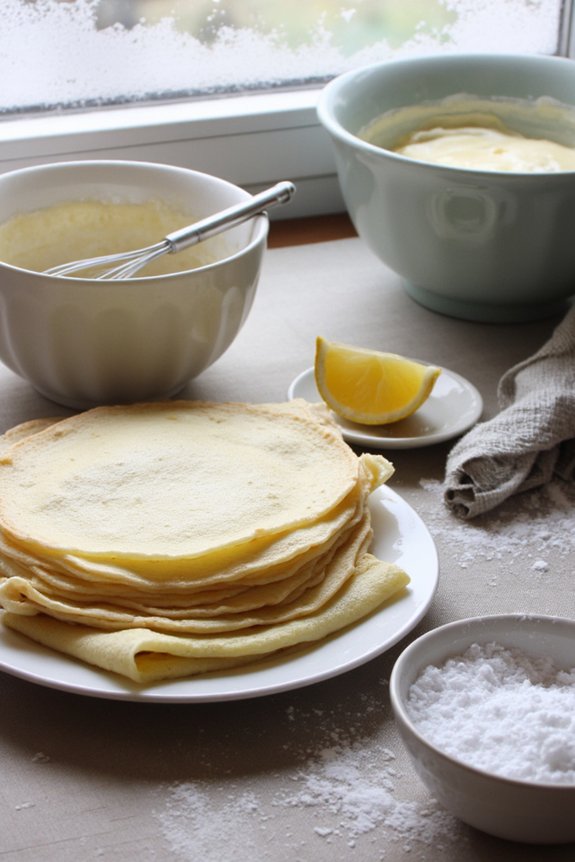
Reading Your Batter’s Signals Instead of Watching the Clock
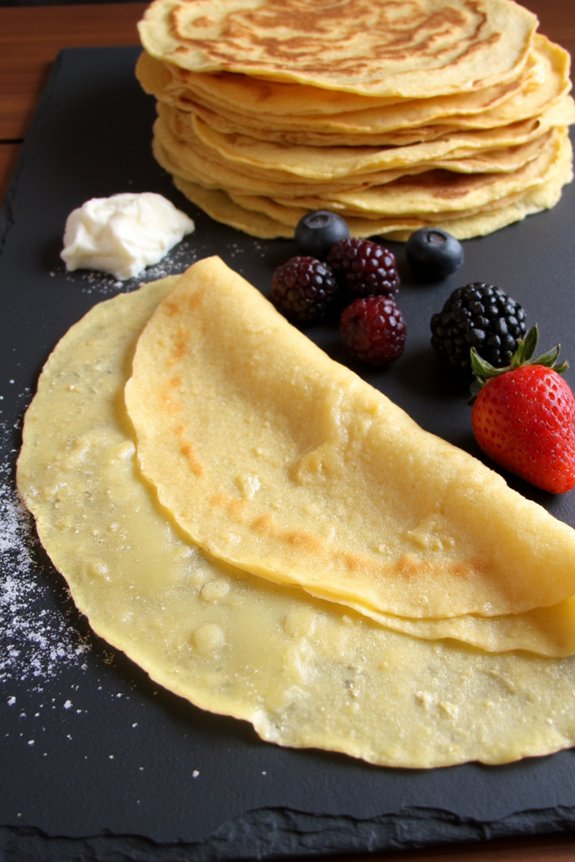
Instead of obsessing over the clock, you’ll want to pay attention to what your batter’s actually telling you. Watch how it spreads across the crepe maker’s surface—if it’s too thick and sluggish, you’ve got a consistency problem, but when it flows smoothly and coats even, you’re in the sweet spot. Once it hits the pan, keep an eye out for that telltale dry ring forming around the edges and the surface losing its wet sheen, because that’s your real signal that it’s time to flip, not some arbitrary timer you set three minutes ago. Just like with heat retention and distribution in cast iron skillets, your crepe maker’s temperature consistency is key to even cooking and reliable results.
Batter Consistency Tells All
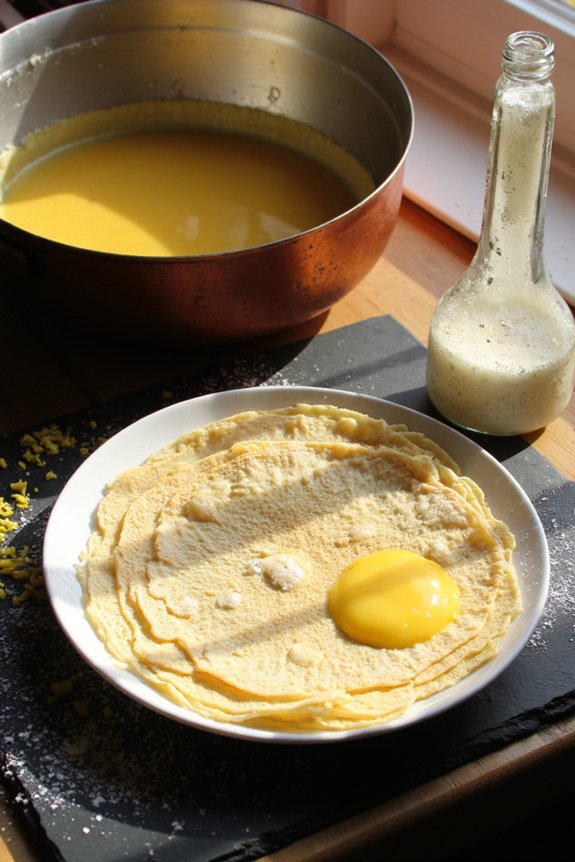
Forget about setting a timer and checking your batter every five minutes, because your crepe batter’s gonna tell you exactly what it needs if you just pay attention. Your batter viscosity is like a secret language, and once you learn it, you’re golden.
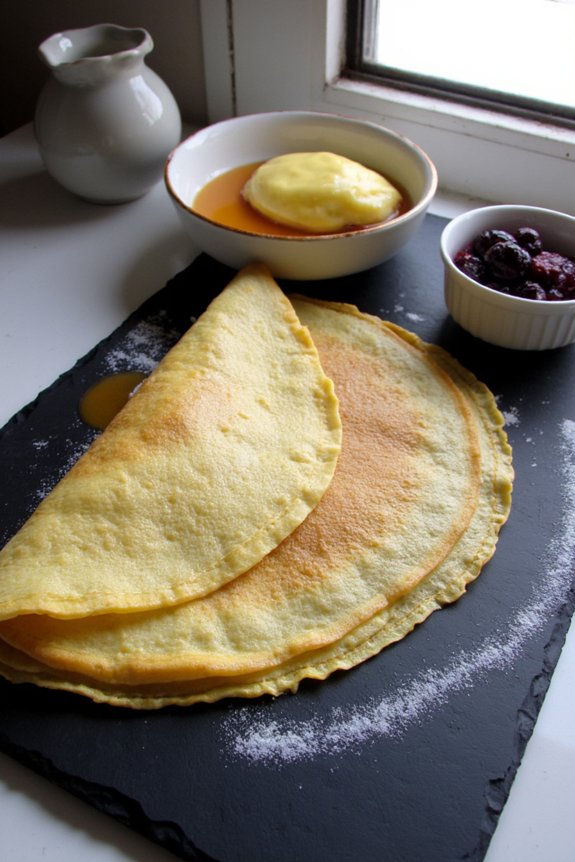
The right mixing technique matters, but what really counts is how your batter flows. It should pour smooth like heavy cream, not thick like pancake mix. When you tilt your pan, does it coat evenly? That’s your answer right there.
Watch how it spreads. Notice the tiny bubbles forming on the surface. Your batter’s basically saying “I’m ready” without words. Trust those signals. They won’t steer you wrong, honestly.
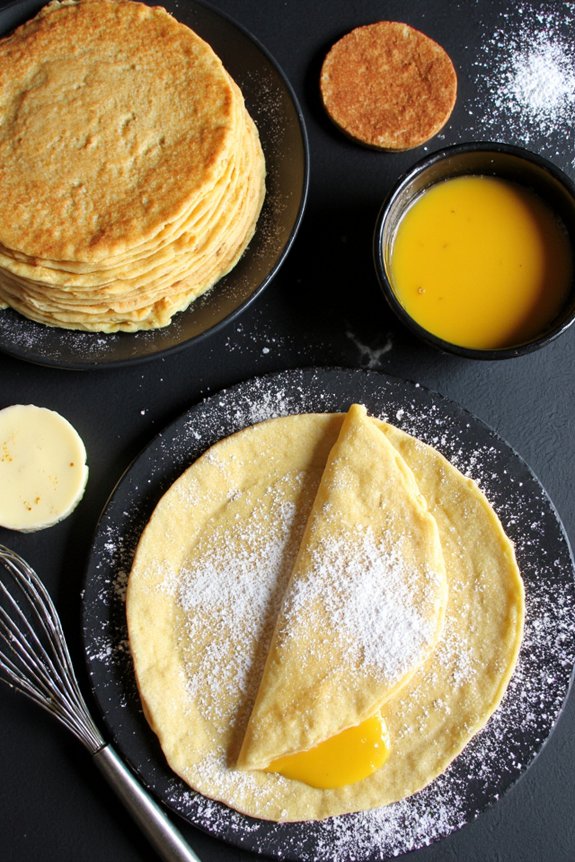
Surface Moisture Response Signs
You’ll notice pretty quickly that your crepe batter’s surface tells you everything about what’s happening in that pan. Once that batter hits the heat, watch for these telltale signs:
- Surface beads forming around the edges signal that your batter’s setting up nicely, not sticking or sliding around anymore
- Evaporation rings appearing means moisture’s leaving at the right pace, creating those delicate lacy edges you’re after
- A slight matte finish replacing the glossy look indicates your crepe’s ready to flip without falling apart
The key thing here is that you’re reading your batter’s actual behavior instead of guessing based on time. These moisture response signs don’t lie. They’ll tell you when that first side’s cooked through and when it’s time to get that baby flipped over for the other side.
The Micro-Adjustment Technique Professional Crepe Makers Use
Once you’ve got your crepe maker heated to the right ballpark temperature, that’s really just the starting point. The real magic happens with micro adjustments. You’ll want to master edge dialing, which means tweaking your heat based on what you see happening at the crepe’s edges. If they’re browning too fast, dial it down a notch. Too pale and sluggish? Bump it up slightly.
Professional crepe makers make these tiny corrections constantly, almost instinctively. They’re reading the batter’s behavior and responding in real time. You’re not making huge temperature swings, just small, deliberate nudges that keep everything in that sweet spot. Once you get comfortable with these micro adjustments, you’ll nail consistency every single time.


Different Crepe Makers, Different Temperature Zones: Finding Your Machine’s Sweet Spot
Not all crepe makers are created equal, and that’s where things get interesting—your machine’s got its own personality when it comes to how heat distributes across the cooking surface. You’ll want to figure out where the hot spots and cool zones actually are on your specific model, because calibrating blindly is like trying to make crepes in the dark. Once you map out your maker’s heat distribution patterns, you can adjust your technique and batter placement accordingly, turning what seemed like a temperamental appliance into your new best friend in the kitchen.
Calibrating Your Specific Model
Because every crepe maker’s got its own personality, calibrating yours is kind of like learning someone’s quirks before you can really work together. Your model calibration process starts with understanding where the hot spots actually live on your griddle surface.
Here’s what you need to do:
- Use an infrared thermometer to map temperature zones across your cooking surface, identifying those sneaky cold corners and blazing hot centers
- Check your machine’s manual for sensor mapping details, since manufacturers hide some useful info in there
- Make test crepes at different dial settings, noting which spots cook faster than others
Once you’ve figured out these patterns, you’ll stop fighting your machine and start making consistently golden crepes instead.
Heat Distribution Patterns Explained
While you’ve now mapped out your machine’s basic personality, here’s where things get real: not all crepe makers heat up the same way, and that’s actually the whole ballgame when it comes to consistent results. You’ll notice thermal gradients across your cooking surface. The center’s usually hotter than the edges, and edge convection pulls cooler air around the perimeter.
| Zone | Temperature Behavior |
|---|---|
| Center | Hottest spot |
| Mid-ring | Moderate heat |
| Edges | Coolest area |
| Corners | Variable temps |
| Overall | Uneven distribution |
Understanding these patterns means you’re not fighting your machine anymore. You’re working with it. Start your crepes in the cooler zones, then rotate them toward the heat. It’s honestly the difference between mediocre crepes and ones that’ll actually impress people.
Temperature Recovery Time and Why It Matters Between Each Crepe
Once you’ve poured that first crepe onto your griddle, you’ve got to think about what happens after it’s done—and you’d be surprised how much the recovery time between crepes actually matters.
Here’s why it’s such a big deal:
- Rapid recovery guarantees your next crepe cooks evenly without burnt edges or undercooked centers
- A controlled ramp down prevents temperature swings that’ll mess with your consistency batch after batch
- Consistent heat lets you maintain that perfect golden-brown color your customers actually want
See, when you flip that crepe off, your griddle’s temperature drops. If it takes forever to bounce back, you’re basically guessing with each new one. You’ll get frustrated fast. The sweet spot? Your griddle should recover within thirty seconds or so, keeping things predictable and delicious.
Seasonal and Environmental Factors That Throw Off Your Settings
Your griddle’s thirty-second recovery sweet spot? Yeah, it shifts with the seasons. Winter throws everything off. Cold air pressure changes mean your heating element works harder, and suddenly you’re waiting forty-five seconds instead of thirty. Summer’s the opposite problem, kind of. Those seasonal drafts from open windows or AC vents cool your griddle faster than you’d expect, messing with your carefully calibrated settings. Your kitchen’s humidity matters too. High moisture in the air affects how heat distributes across the surface. What worked perfectly in March might leave you with uneven crepes by July. You’ll need to tweak your temperature dial seasonally. It’s annoying, but that’s the reality nobody mentions when they’re selling you their fancy crepe makers.
Frequently Asked Questions
What’s the Ideal Temperature Range for Different Crepe Styles and Batters?
You’ll want 350-375°F for thin batter crepes, ensuring delicate, lacy edges. Savory buckwheat crepes perform best at 400-425°F for crispy exteriors. Lower temperatures prevent proper browning; higher ones risk burning your delicate batters.
How Do I Calibrate My Crepe Maker’s Thermostat for Accuracy?
You’ll calibrate your crepe maker by testing probe resistance with a multimeter and adjusting for thermostat hysteresis. Compare actual pan temperatures against your maker’s display, then recalibrate the internal settings accordingly.
Can I Use an Infrared Thermometer Instead of Built-In Controls?
You can use an infrared thermometer, but you’ll face challenges. Surface emissivity variations on your crepe maker affect readings’ accuracy. You’re better off relying on built-in controls for consistent, dependable infrared reliability and temperature precision.
What Temperature Adjustments Are Needed for High-Altitude Cooking Locations?
You’ll need to increase your crepe maker’s temperature by 15-25°F at high altitudes due to faster evaporation. You should also adjust batter hydration by adding slightly more liquid, and make altitude adjustments gradually while monitoring your crepes’ texture.
How Quickly Should a Crepe Maker Recover Heat Between Batches?
Your crepe maker should recover heat within 30-45 seconds between batches. You’ll notice rapid cooldown occurs when pouring batter, so monitoring batter viscosity helps you time the next crepe perfectly for consistent results.
Conclusion
You’ve now got the real deal on crepe maker temps. Stop trusting that single dial—it’s basically useless. Map your hot spots, watch your batter like a hawk, and adjust seasonally. Yeah, it’s more work than just cranking heat to medium, but you’ll nail consistent, perfect crepes every single time. Your machine’s got personality. Learn it, and you’ll cook like a pro.


