
You’ve probably cranked your panini press to maximum heat, expecting magic. Instead, you got a charred crust and a cold center—not exactly Instagram-worthy. Here’s the thing: temperature control matters way more than how hard you press down. Once you nail the right heat sweet spot, those perfect grill marks practically happen on their own, and we’re about to show you exactly how to find it.
Key Takeaways
- Preheat your panini press for 5–10 minutes to ensure even browning and defined grill marks across the entire sandwich.
- Target 375–400°F as your ideal temperature range for consistent, golden grill marks without burning the exterior.
- Use gentle, consistent pressure rather than aggressive clamping to achieve even contact and uniform grill mark development.
- Adjust heat upward if marks appear pale; lower heat if the crust darkens too quickly before interior cooks.
- Let heat do most of the work with a 3–4 minute cook time; avoid rushing on maximum heat settings.


Why Temperature Control Matters More Than Technique
Getting that perfect panini comes down to one thing way more than you’d think: nailing the temperature. You could have flawless technique, but if your press isn’t at the right heat, you’re basically fighting an uphill battle. Here’s why it matters so much.
The right temperature does the heavy lifting for you. It creates that golden crust development you’re after without turning your sandwich into a charred brick. Too hot? You’ll burn the outside while the inside stays cold. Too cool? Forget about it—you’ll get soggy bread instead of that satisfying crunch.
Temperature also controls moisture retention inside your panini. The sweet spot keeps your fillings warm and juicy while your bread gets crispy on the outside. That’s the real magic happening here.
A panini press with precise temperature control makes it much easier to achieve consistently crispy exteriors and perfectly cooked fillings every time.
Finding Your Panini Press’s Sweet Spot: The Ideal Temperature Range

Most panini presses work best between 350°F and 400°F, though you’ll want to check your specific model’s manual since they’re kinda all over the place. You’ve gotta test things out with a few practice sandwiches, adjusting the heat up or down depending on whether your bread’s getting charred like a campfire marshmallow or staying pale and sad. Start low, watch carefully, and dial it in until you’re getting that perfect golden-brown exterior with warm, melted insides. If you’re using a countertop oven or toaster oven for paninis, remember that quartz heating elements can provide more even heat and help achieve those picture-perfect grill marks.
Temperature Range Guidelines
Since every panini press has its own personality (yes, really), finding the sweet spot means understanding the temperature range that’ll actually work for your machine. Most presses perform best between 350 and 400 degrees Fahrenheit, though you’ll want to test yours specifically. Lower temperatures, around 325 degrees, give you better moisture control and prevent your bread from burning before the cheese melts inside. Higher heat speeds things up but risks overcooking the exterior while leaving the center cold. Aim for medium-high settings initially. Watch your first sandwich carefully. You’re looking for golden-brown crust development without charring. If it’s taking forever, bump it up slightly. Too dark too fast? Dial it back down. It’s really just experimentation and paying attention to what your particular press prefers doing. For the best results, look for presses that offer precise temperature control to help you maintain even heat and achieve consistent grill marks.
2. Testing Your Press
Now that you know the general temperature sweet spot, it’s time to stop guessing and actually figure out what your specific press wants. Every panini maker’s got its own personality, so testing matters. Start by preheating and checking your alignment—make sure those plates sit evenly. If they’re wonky, you’ll get uneven cooking and sorry-looking results. Use pressure sensors if your model’s got ’em, they’ll tell you how hard you’re actually pressing down. Try a test sandwich with something forgiving like cheese and bread. Press for about three minutes. Did you get those gorgeous golden-brown grill marks? If it’s too light, crank up the heat slightly. Too dark? Back it down. You’ll nail your perfect temperature in just a few tries. For best results, keep in mind that even heat distribution—just like in high-end pizza ovens—leads to more consistent browning and that true “restaurant quality” finish.
Preheating: The Step Most Home Cooks Skip
You’d be surprised how many home cooks skip preheating their panini press entirely. This mistake costs you perfect grill marks and uneven cooking. Your press needs time to reach that sweet spot temperature, which brings us to preheat timing.
Most presses need about five to ten minutes. Here’s what you should know:
| Method | Time Required |
|---|---|
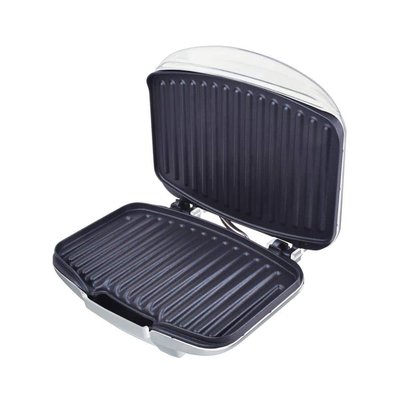
| Standard panini press | 5-10 minutes |
| Oven alternatives | 8-12 minutes |
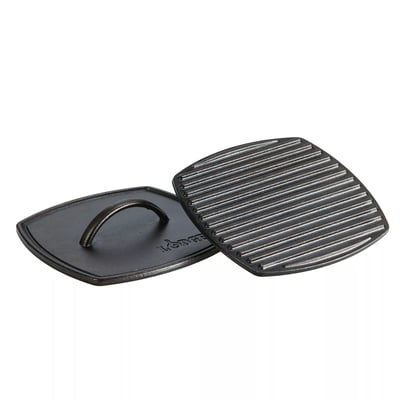
| Cast iron skillet | 10-15 minutes |
Think of preheating like warming up before exercise, except way tastier. When you skip this step, you’re basically cooking on a cold surface, which means soggy bread instead of crispy goodness. Just set a timer, grab your ingredients, and you’ll be golden.
For even better results, consider using a press with adjustable thermostats so you can fine-tune the temperature and achieve consistently crisp grill marks every time.
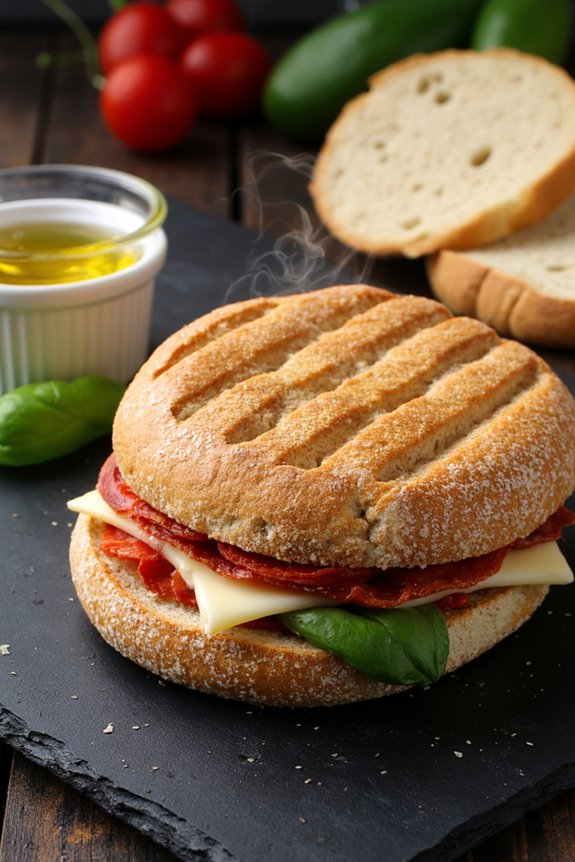
How Heat Creates Those Instagram-Worthy Grill Marks
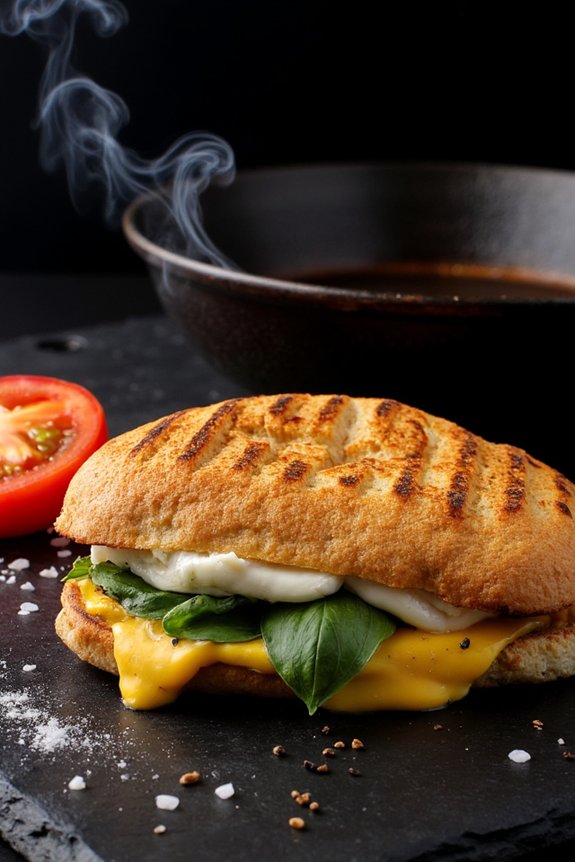
Here’s the thing, though: temperature matters way more than people think. Too cool, and you’ll get pale, sad lines that won’t impress anyone. Too hot, and you’re basically torching your bread while the insides stay cold. Hit that sweet spot around 375 to 400 degrees, and you’ll nail those Instagram-worthy marks every single time. The heat works fast, searing the surface while keeping everything inside perfectly melted and warm.
Common Temperature Mistakes and How to Avoid Them
You’ve probably cranked your panini press to the max, only to watch your bread turn into charcoal while the inside stayed cold—yeah, that’s the too-hot trap. On the flip side, keeping things lukewarm gives you those sad, pale marks that don’t exactly scream “I made this with purpose,” so finding that sweet spot between medium and medium-high heat is where the magic actually happens, and honestly, it usually takes a test sandwich or two to nail it.
Too Hot Burns Bread
One of the quickest ways to wreck a perfectly good sandwich is cranking your panini press up to its maximum temperature and hoping for the best. You’ll end up with burned crusts that taste like charcoal while your smoked fillings become an unappetizing mess inside. It’s a rookie mistake, honestly.
The sweet spot? Around 375-400°F for most sandwiches. This temperature gives you those gorgeous grill marks without turning everything into a disaster. Your bread gets that perfect golden-brown exterior while the inside stays warm and melty.
Here’s the thing: patience beats speed every time. Give your sandwich three to four minutes on a moderate heat setting, and you’ll get way better results than rushing it on high. Your taste buds will thank you.


Low Heat Pale Marks
While cranking up the heat seems like the obvious move, going too low is actually just as problematic—it’s just a different kind of disappointment. You’ll end up with pale marks that barely kiss your bread, missing that appetizing color entirely. Instead of achieving light searing and gentle browning, you’re basically just warming things up without any real char.
| Temperature Range | Result | Problem | Fix |
|---|---|---|---|
| Below 350°F | Pale marks | No browning | Increase heat |
| 350-375°F | Light searing | Barely visible | Slight bump up |
| 375-400°F | Gentle browning | Perfect marks | Stay here |
| 400°F+ | Dark char | Too intense | Back off |
The sweet spot? You want enough heat to actually create those golden-brown stripes. Pale marks just look sad on your plate.
Finding Your Sweet Spot
Getting the temperature right is where most people trip up, and honestly, it’s easier to fix than you’d think. You’re looking for that sweet spot where crust chemistry happens without burning your sandwich. Too hot and you’ll char the outside before the inside cooks. Too cold? You’ll get those pale marks we just talked about.
Start around 375°F and adjust from there. Pay attention to how your bread responds in those first few seconds. The pressure balance matters too, so don’t clamp down like you’re angry at your sandwich. A gentle, consistent press works way better than aggressive squeezing.
Give yourself permission to experiment a bit. Your perfect temperature might differ slightly from someone else’s, and that’s completely fine. You’ll find your groove quickly.
Adjusting Temperature Based on Your Bread Type and Fillings
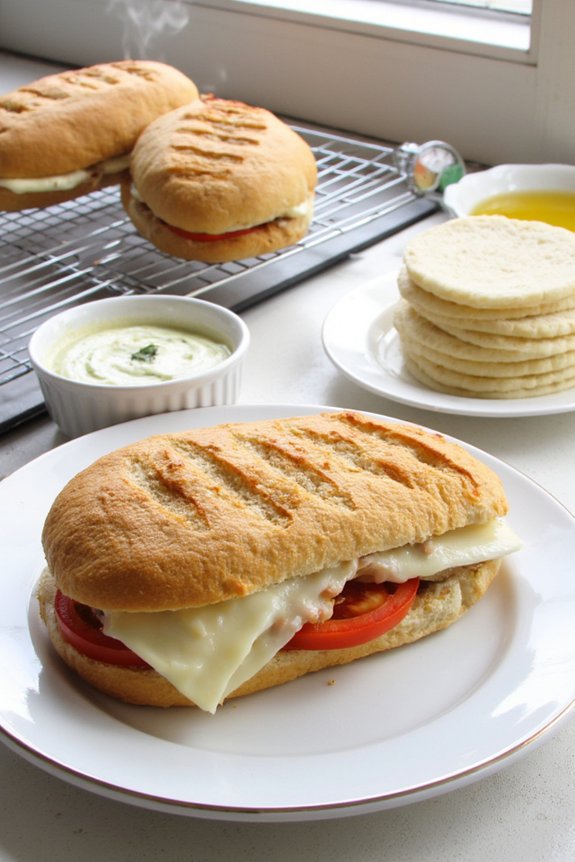
Because different breads and fillings have totally different needs, your panini press temperature isn’t a one-size-fits-all situation. Delicate breads with an airy crumb structure? You’ll want lower heat, around 350°F, so they toast without burning. Denser, heartier breads can handle 400°F without breaking a sweat. Then there’s filling moisture to take into account. If you’re stuffing your panini with juicy tomatoes or fresh mozzarella, crank up that temperature slightly to seal everything quickly before moisture seeps into the bread. But load it up with deli meats and cheese? Medium heat works just fine. The key’s experimenting with your particular press until you nail that golden-brown exterior while keeping the inside warm and gooey without turning your bread into charcoal.
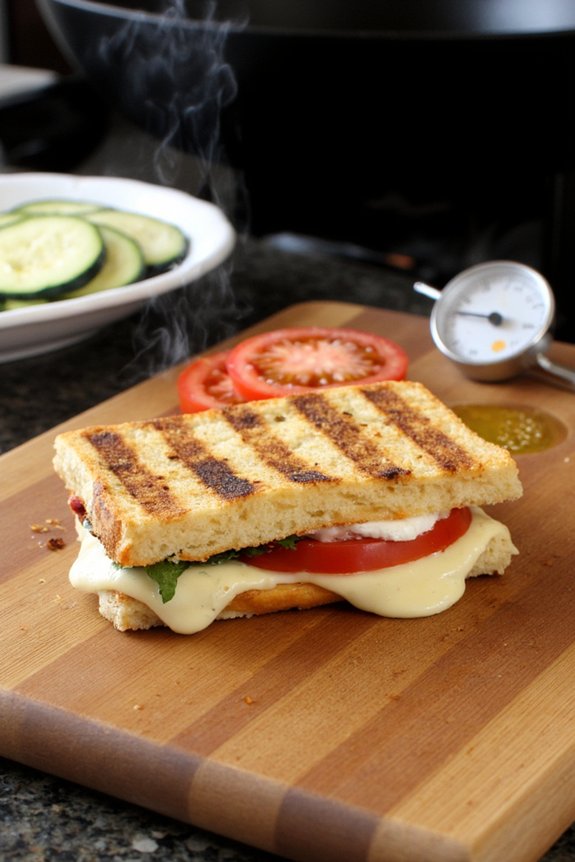
Pro Tips for Consistent Results Every Single Time
You’ll want to preheat your panini press for a solid five to ten minutes before you even think about slapping that sandwich down, and yeah, this step actually matters more than you’d think. This guarantees even browning across your entire sandwich, not just the edges. Once you’ve got your press heated up, try using a meat thermometer to dial in the exact temperature you need. You’ll nail crisp crusts without burning anything. Here’s the thing: consistency comes from repetition and paying attention. Keep a little notebook handy and jot down what temperature worked best for different bread types. It sounds silly, but you’ll spot patterns fast. Also, apply gentle pressure when closing the press, letting heat do most of the work rather than squishing everything flat.
Frequently Asked Questions
Can I Use a Panini Press Without Preheating It First?
You shouldn’t use your panini press without preheating it first. You’ll compromise food safety and texture contrast—the bread won’t crisp properly, and your sandwich’s interior won’t heat evenly, risking undercooked fillings.
What’s the Difference Between Electric and Stovetop Panini Press Temperatures?
You’ll find electric panini presses offer consistent, preset temperatures you can’t adjust, while stovetop control lets you regulate heat manually over your burner. Electric models typically reach 350-400°F; stovetop versions depend entirely on your flame’s intensity.
How Long Does a Panini Press Typically Take to Preheat?
Your panini press’s preheat time typically ranges from 3-5 minutes for the thermal ramp and warm up duration. You’ll want to monitor the startup heat indicators before your press reaches ideal cooking temperature for perfect results.
Will My Panini Press Temperature Settings Vary by Brand or Model?
Yes, your panini press temperature settings will vary by brand and model. You’ll notice brand variability in thermostat accuracy across manufacturers. It’s best to test your specific press’s heat output before cooking.
Can I Achieve Grill Marks With a Lower Temperature Setting?
You can achieve grill marks with lower heat, though they’ll develop more slowly. Your gentle pressing combined with lower heat enables surface searing while preserving moisture retention in your sandwich’s interior layers.
Conclusion
You’ve got this. Mastering your panini press really comes down to respecting the heat—it’s your secret weapon, not your enemy. Start with that moderate-high sweet spot around 375–400°F, test your setup, and adjust from there. You’ll nail those gorgeous grill marks faster than you’d think, and honestly, your sandwiches’ll taste even better when you’re not fighting against the machine.


