Your kettle’s probably looking pretty gnarly right now—all that white, crusty stuff isn’t just unsightly, it’s sabotaging your brew. You’ve got a secret weapon hiding in your kitchen cabinet: white vinegar. It’s cheap, it’s effective, and honestly? It’s kind of magical at dissolving that stubborn limescale. But here’s the thing—knowing *how* to use it makes all the difference between a sparkling kettle and…
Key Takeaways
- Fill kettle halfway with white vinegar, top with water, and boil to dissolve mineral deposits effectively.
- Let vinegar soak for one hour, or use straight vinegar overnight for stubborn, heavy buildup removal.
- Rinse thoroughly with multiple fresh water cycles, boiling between each rinse to ensure complete cleaning.
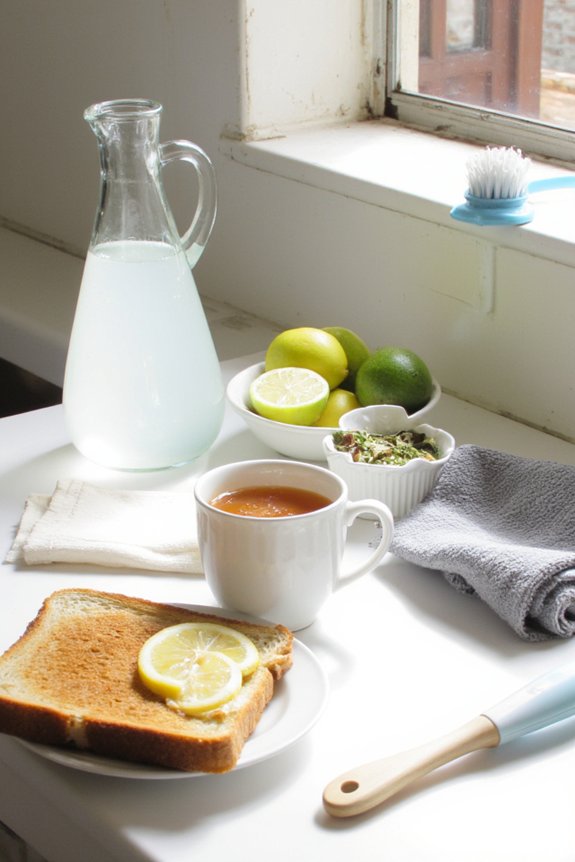
- Boil water with lemon slices to neutralize vinegar odor if unpleasant smell persists after cleaning.
- Clean portable kettles every one to three months depending on water hardness and usage frequency.
Why Mineral Buildup Happens in Electric Kettles
You’ve probably noticed it—that crusty, chalky layer coating the inside of your electric kettle. That’s mineral buildup, and it’s totally normal. Here’s what’s happening: when you boil water, especially hard water, the minerals don’t evaporate. They stay behind. Calcium and magnesium are the usual culprits, accumulating with every single kettle you brew. Hard water contains dissolved minerals that concentrate as the water heats up and transforms into steam. Over time, these mineral deposits create that annoying crusty coating that looks kinda gross. It’s not dangerous, but it can affect your kettle’s performance and make your tea taste slightly off. The more you use your kettle, the faster the buildup happens. That’s why regular cleaning is key to keeping your portable electric kettle running smoothly and tasting fresh. Using a kettle with concealed heating element can help minimize mineral buildup and make cleaning easier.
Signs Your Kettle Needs Descaling
You’ll notice your kettle’s giving you some pretty clear hints that it’s time for a good cleaning—like that crusty white or brownish stuff clinging to the inside (yeah, that’s mineral deposits throwing a party in there). When your water takes forever to heat up or your kettle seems to be moving slower than a sloth on a lazy Sunday, those’re your cues that descaling isn’t just a nice-to-do, it’s a gotta-do situation that’ll get your trusty appliance back to its speedy, efficient self. Regular descaling with vinegar is especially recommended if your kettle has a stainless steel heating element, since hard water buildup can affect both performance and longevity.
Visible Mineral Buildup Inside
When white, chalky, or brownish crusty deposits start coating the inside of your kettle, that’s your cue that descaling time has arrived. You’ve probably noticed this mineral aesthetics problem before—those stubborn layers that make your kettle look like it’s hosting a geological exhibition. Scale discoloration isn’t just ugly; it’s basically your kettle screaming for help.
Here’s the thing: hard water leaves behind minerals like calcium and magnesium. They build up faster than you’d expect, especially if you’re boiling water daily. The crusty coating reduces efficiency and can affect your water’s taste. Plus, let’s be honest—nobody wants to sip from something that looks like it survived an archaeological dig.
The good news? Vinegar’s your hero here. It’ll dissolve that gunk faster than you can say “mineral buildup.” Time to get cleaning! Just like with food-grade, BPA-free materials, prioritizing cleanliness ensures your kettle stays safe and your hot drinks taste their best.


Slower Heating and Performance
Beyond the crusty deposits lurking inside, your kettle might be sending you another signal that it’s time for a vinegar bath: it’s gotten lazy. When mineral buildup accumulates on your heating elements, your kettle’s performance takes a nosedive. You’ll notice it’s slower to boil, which means it’s working harder and draining more power draw than it should. That’s frustrating and wasteful.
Here’s what happens when descaling gets neglected:
- Your kettle takes forever to reach boiling temperature
- Energy efficiency plummets as heating elements struggle against mineral coating
- Temperature control becomes inconsistent, leaving you with lukewarm water
The culprit? Those sneaky minerals are basically insulating your heating elements, forcing your kettle to overwork itself. It’s like asking someone to run a marathon wearing a winter coat. A simple vinegar descaling session restores your kettle’s former glory and gets it performing like new again. Regular self-cleaning cycles are also recommended for other countertop appliances, like ice makers, to keep them running efficiently and prevent similar performance issues.
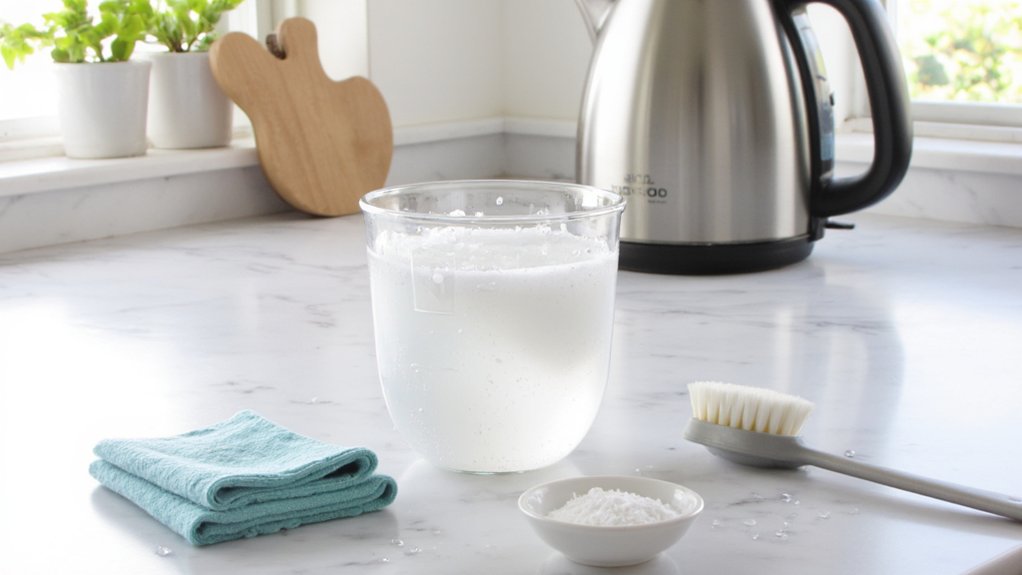
Gathering Your Supplies
Before you tackle that crusty kettle, you’ll need to round up a few basic items—and don’t worry, you probably already have most of them hanging around your kitchen. White vinegar’s your MVP here, plus you’ll want some water, a soft cloth or sponge, and maybe a small brush if you’re feeling fancy about getting into those tricky corners. It’s honestly that simple: grab these supplies and you’re ready to transform your kettle from grimy to shiny! If you have other small appliances, these dishwasher-safe removable parts make cleaning a breeze and can help keep your kitchen gadgets in top shape.
Gathering Your Supplies
How hard can it be to round up a few basic items you probably already have hanging around your kitchen? Seriously, you’re about to become a kettle-cleaning pro with minimal effort. Let’s start your supply checklist right now.
Here’s what you’ll need:
- White vinegar (the hero of this operation)
- Water (tap water works fine, no fancy stuff required)
- A soft cloth or sponge (nothing too abrasive, please)
Before you get started, set up a simple workspace setup near your sink. It’s just smart planning. Grab a small bowl for mixing if you’re feeling fancy. Honestly, you’ve probably got everything you need already stashed somewhere. Check your cabinets. That’s it—you’re ready to tackle some serious kettle grime and feel genuinely proud afterward.
Essential Items Needed
Now that you’ve got the basic game plan down, let’s talk about what you’re actually gonna need to make this whole vinegar-cleaning thing work. First up, grab white vinegar—the cheap stuff works just fine. You’ll also want distilled water because tap water’s got minerals that’ll mess with your portable steam kettle. A soft-bristled brush or sponge handles the stubborn gunk without scratching anything. Don’t forget a small bowl for soaking removable parts. For travel maintenance on the go, keep a microfiber cloth handy to dry everything after cleaning. Optional but clutch? Lemon juice. It cuts through buildup like nobody’s business and smells way better than vinegar alone. Honestly, that’s really it. You’re not exactly building a rocket here, just gathering simple household items that probably already live under your sink.
Preparing Your Kettle for Cleaning
Getting your kettle ready for a vinegar bath is simpler than you’d think, and it’s the essential first step that’ll make the whole cleaning process go smoothly. You’re gonna want to follow these safety precautions and prep steps carefully:
- Unplug your kettle from the electrical outlet first, because obviously you don’t want any shocking surprises
- Let it cool completely if you’ve recently used it, giving those heating elements time to chill out
- Complete the emptying procedure by pouring out any remaining water or debris
Once you’ve handled those basics, give your kettle a quick rinse with cool water. This removes loose particles and prepares the interior for the vinegar solution. Don’t skip this step—it really does make a diference. You’re almost there!


The Vinegar Descaling Process
With your kettle prepped and ready, it’s time to release the descaling power of vinegar. Fill that baby halfway with white vinegar—the secret weapon against stubborn mineral buildup. Now add water to the top and flip the switch. Let it boil. Your kitchen’s gonna smell like a pickle factory, but trust me, it’s worth it. Once it’s bubbling away, unplug it and let everything sit for about fifteen minutes. This waiting period is essential because the vinegar works its magic, breaking down those crusty deposits that’ve been hanging around.
If you’re dealing with seriously gnarly buildup, consider using citric acid instead—it packs an even stronger punch and smells slightly less intense. Empty the kettle, rinse it thoroughly with fresh water, and boil plain water once more to eliminate any lingering vinegar flavor. Your kettle’s practically brand new!
Rinsing Out the Vinegar
Now comes the fun part—getting all that vinegar out of there! You’ll want to use the multiple rinse method, filling your kettle with fresh water, boiling it, and pouring it out several times until you can’t smell that pungent vinegar anymore, because trust me, nobody wants their coffee tasting like a salad dressing. If some stubborn odor lingers after your rinses, try boiling a kettle of water with a squeeze of lemon or a splash of vanilla extract, which’ll neutralize those remaining smells and leave your portable kettle smelling fresh as the day you bought it.
Multiple Rinse Method
After you’ve let that vinegar work its magic inside your kettle, you’ll want to flush it out—and this is where the multiple rinse method really shines. This technique prevents thermal shock while ensuring a thorough sediment flush.
Here’s your game plan:
- Fill the kettle with fresh water and boil it, then pour out completely
- Repeat the water cycling process two more times for maximum clarity
- Do a final rinse with cool water to catch any lingering vinegar particles
Each cycle removes more residue and that pesky vinegar smell. Your kettle’ll feel like it’s gotten a spa day, honestly. The multiple rinse approach takes just a few extra minutes but delivers professional-level results. You’re basically giving your portable kettle the VIP treatment it deserves. No shortcuts needed here.
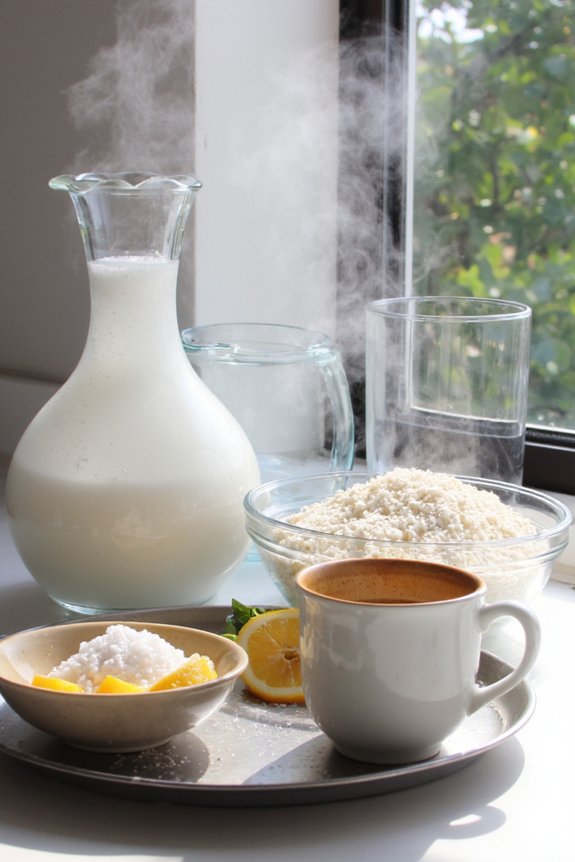
Odor Removal Techniques
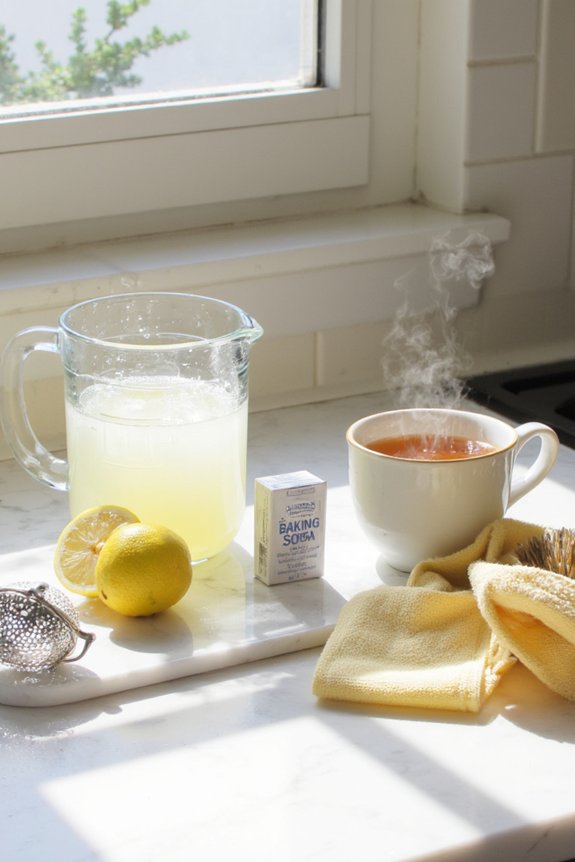
Even though you’ve rinsed that kettle three times over, you might still catch a whiff of vinegar lingering around like an uninvited guest at a party. Don’t worry—you’ve got options. Try filling your kettle with fresh water and a few slices of lemon, then boiling it. The citrus works wonders for air freshening and natural scent masking. Another trick? Boil plain water alone a couple times to help dissipate remaining odors. You could also leave your kettle open near a window for a few hours, letting fresh air do its thing. If you’re still catching that vinegar vibe, sprinkle some baking soda inside and let it sit overnight. These methods’ll have your portable kettle smelling fresh and ready for your next cup of tea.
Removing Stubborn Remaining Deposits
If those stubborn mineral deposits are still hanging around like an unwanted houseguest, don’t worry—you’ve got options. Sometimes calcium stains and mineral crust need extra firepower to vanish completely.
Try these approaches:
- Double vinegar soak – Fill your kettle with straight white vinegar, let it sit overnight, then boil it the next morning for maximum mineral-dissolving power.
- Vinegar and baking soda combo – Mix equal parts vinegar and baking soda to create a fizzy paste that tackles stubborn buildup with serious intensity.
- Extended boiling method – Boil vinegar multiple times, emptying between rounds, until those pesky deposits surrender completely.
You’re basically giving those mineral deposits an eviction notice. Be patient and persistant—sometimes the toughest stains need a little extra love and attention before they finally give up the ghost.
Testing Your Kettle’s Performance
Now comes the moment of truth—time to see if your kettle’s actually clean or if you’ve just been boiling vinegar for nothing. Fill it with fresh water and flip the switch. Listen carefully. Does it sound normal, or’s there still a weird gurgling happening?
Check your kettle’s power draw too. A clean heating element should heat water efficiently without struggling. If it’s taking forever to boil, mineral buildup might still be lurking inside. The water conductivity will also improve once all those deposits are gone—your water’ll taste fresher, less funky.
Give everything a good sniff. No vinegar smell? Exellent! You’ve crushed this cleaning mission. Run one more cycle with plain water to be absolutely sure, and you’re golden.
How Often to Clean Your Kettle
You’ll want to clean your kettle roughly every one to three months, depending on how hard your water is. Your kettle maintenance schedule really depends on several factors that’ll affect buildup speed.
Here’s what you should consider:
- Hard water regions need cleaning every month or so, since minerals accumulate faster
- Soft water areas can stretch cleaning to three months without much hassle
- Heavy daily use means you’ll want to bump up your cleaning frequency markedly
Think of your cleaning schedule like brushing your teeth, except less frequent and way less unpleasant. If you notice white crusty deposits forming on the heating element or inside walls, that’s your kettle basically screaming for attention. Don’t ignore those signals! Regular kettle maintenance keeps everything running smoothly and guarantees your water tastes fresher. Your future self will appreciate the effort.
Tips for Preventing Future Limescale Buildup
Once you’ve scrubbed away that stubborn limescale, the real victory is keeping it from coming back. You’ll want to contemplate installing water softeners if you’re living in a hard water area, because they’ll dramatically reduce mineral deposits before they even reach your kettle. It’s like having a bouncer at the door, stopping troublemakers before they cause chaos.
Regular maintenance matters too. Empty your kettle after each use instead of letting water sit around like it owns the place. Use distilled water when you can—it’s basically the VIP treatment for your appliance.
For extra protection, some manufacturers offer protective coatings you can apply. Think of it as sunscreen for your kettle. These simple steps? They’ll keep your portable buddy running smooth and limescale-free for years.
Frequently Asked Questions
Can I Use White Vinegar on Stainless Steel Kettles Without Causing Damage?
Yes, you can safely use white vinegar on stainless steel kettles. It won’t cause damage when diluted properly. You’ll enjoy scratches prevention and finish polishing benefits while effectively removing mineral deposits and buildup.
Is It Safe to Drink Water Immediately After Vinegar Descaling?
No, you shouldn’t drink immediately after vinegar descaling. Consider Sarah who got a bitter taste—proper rinse timing matters. You’ll need multiple water rinses to eliminate residual flavor before it’s safe to drink.
What’s the Best Vinegar-To-Water Ratio for Optimal Descaling Results?
You’ll get the ideal ratio by mixing equal parts white vinegar and water. Fill your kettle halfway, then use gradual heating through multiple heating cycles for peak descaling results.
Can I Descale My Kettle While Traveling or on the Go?
Yes, you can! Like a Swiss Army knife for kettles, travel-sized descaler products work perfectly on-the-go. You’ll appreciate the portable steaming technique—it’s quick, efficient, and won’t leave you stranded without your morning brew.
Are There Alternative Natural Substances as Effective as Vinegar for Descaling?
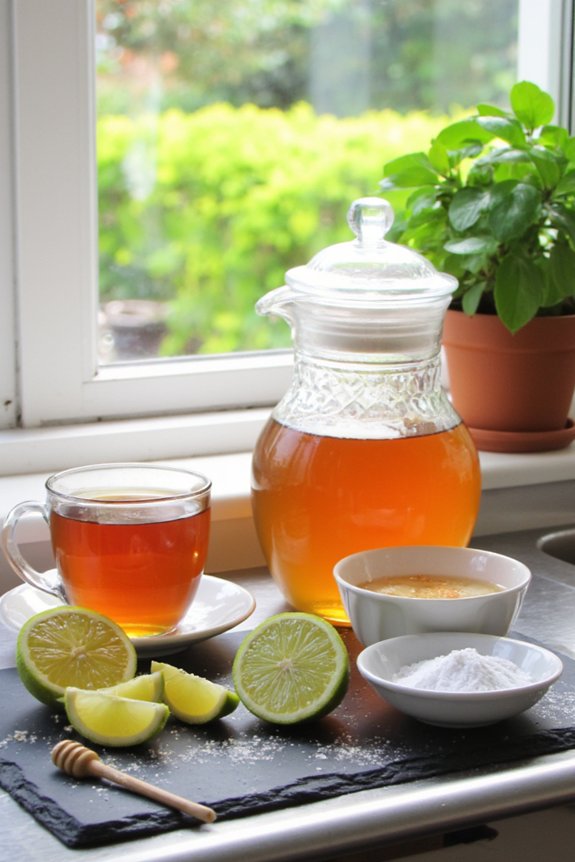
Yes, you’ve got alternatives. Citric acid works just as effectively as vinegar for descaling. You can also use lemon juice, which contains natural acids that break down mineral deposits. Both options are equally powerful for cleaning your kettle.
Conclusion
You’ve successfully scrubbed away the stubborn stuf! Your kettle’s practically pristine, performing perfectly once more. Regular maintenance means you’ll never need to nervous about nasty mineral buildup again. You’re now a descaling pro. Keep that kettle clean and you’ll enjoy delicious, deposit-free drinks for years to come. Pretty simple stuff, right? Your future self’s gonna be so grateful you tackled this task today.


