You’ve probably heard the urban legend that ice cream churns in exactly twenty minutes, right? Well, that’s about as reliable as a weather forecast. Your machine’s got secrets—quirks that nobody bothers mentioning until you’ve already ruined a batch. The truth? Churn time’s not some fixed magic number. It’s a puzzle shaped by fat, temperature, and your dasher’s personality, and once you crack it, everything changes.
Key Takeaways
- Fat content lowers freezing point, requiring longer churn times for rich custards than lean mixes.
- Bowl pre-chilling is essential; an insufficiently frozen bowl leads to slower churning and grainier texture.
- Dasher design dramatically affects speed—spiral coils churn fast and smooth while flat paddles produce grainy results.
- Ambient temperature and humidity significantly impact churn duration; cooler, well-ventilated kitchens reduce churn time considerably.
- Track every batch with temperature readings, texture notes, and photos to develop machine-specific benchmarks for consistency.

Fat Content and Freezing Point Depression
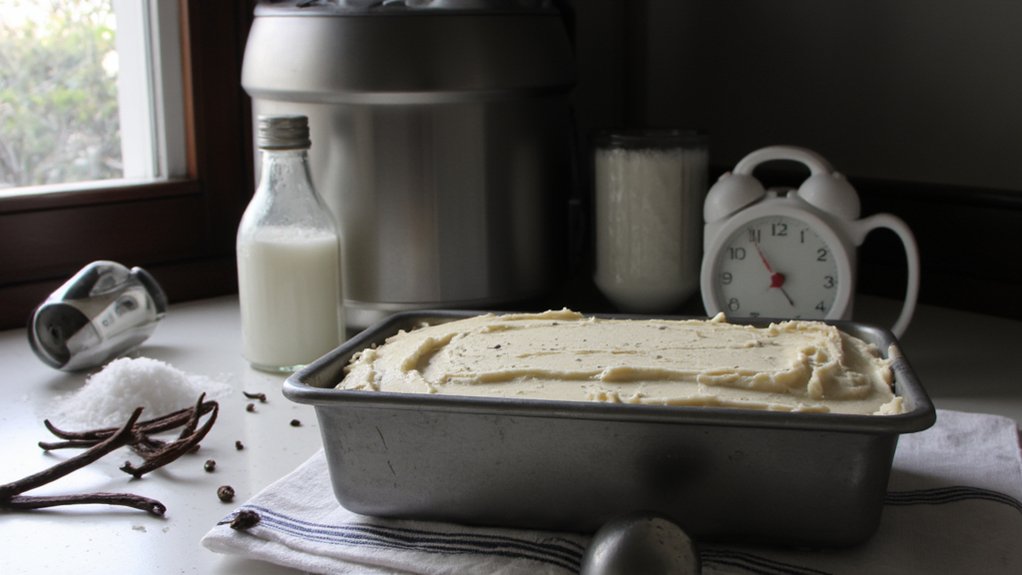
When you’re standing in front of your ice cream maker with a bowl of custard that’s chilled to perfection, you might not realize that the fat in your mixture is quietly doing some pretty clever chemistry work. Here’s the thing: fat percentage dramatically affects how your ice cream freezes. Higher fat content actually lowers the freezing point through a process called freezing depression. Sounds backwards, right? But it’s real science. That’s why your rich, buttery custard with 16% fat takes longer to churn solid than a leaner mix. The fat molecules basically convince water molecules to stay liquid longer. So when your recipe calls for extra yolks or heavy cream, you’re not just adding flavor—you’re playing with physics. Pretty neat when you think about it. Your patience during those extra churning minutes? Totally worth it for that silky texture. If you’re using a machine with a pre-frozen bowl, like many home models, the fat content’s effect on freezing means you might need to adjust your expectations for churn time.
2. The Critical Role of Bowl Pre-Chilling
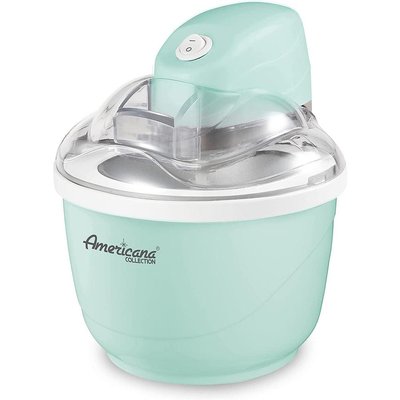
Your ice cream maker’s freezing bowl is basically the unsung hero of the entire operation—and honestly, it deserves way more credit than it usually gets. You’ve gotta understand that pre-chilling isn’t just some optional extra step you can skip when you’re impatient. It’s absolutely critical.
Here’s the thing: when your bowl hasn’t been properly frozen, you’re fighting an uphill battle. The mixture won’t achieve rapid cooling, which means slower churning times and grainier results. But a thoroughly pre-chilled bowl? That’s where the magic happens. It maintains thermal retention long enough for your custard to freeze properly while the dasher does its work.
Think of it like this: a cold bowl is your secret weapon for perfectly creamy texture. Don’t skip this step. Just like rapid boiling times are crucial for top-performing electric kettles, rapid cooling from a fully frozen bowl is the key to smooth, luscious ice cream.
3. How Dasher Design Affects Churn Speed
The dasher—that paddle-like contraption spinning inside your bowl—isn’t just there for show, and it definitely isn’t one-size-fits-all. You’ve probably never thought much about it, but paddle geometry matters way more than you’d think. Different designs create varying amounts of flow turbulence, which directly impacts how fast your ice cream freezes.
| Dasher Type | Speed | Texture |
|---|---|---|
| Flat Paddle | Moderate | Grainy |
| Spiral Coil | Fast | Smooth |
| Beater Blade | Slow | Dense |
| Twisted Fin | Very Fast | Creamy |
| Classic Dasher | Medium | Standard |
Here’s the thing: aggressive dasher designs with more surface area churn faster, incorporating more air and breaking up ice crystals quicker. Your machine’s dasher design? It’s secretly the unsung hero determining whether you’re waiting twenty minutes or forty.
Just like the heat retention and distribution of cast iron skillets affects your cooking results, the dasher’s shape and efficiency can make all the difference in your ice cream’s texture and churn time.


4. Kitchen Temperature and Ambient Conditions
While you’re busy obsessing over dasher geometry, there’s another player in this ice cream game you might be totally ignoring: your kitchen itself. Your room humidity and appliance ventilation actually matter way more than you’d think. When it’s humid outside, your ice cream mix takes longer to freeze because moisture in the air interferes with temperature control. That’s not just annoying—it’s science. Poor appliance ventilation around your machine traps heat, making churning drag on forever. Open a window. Use a fan. Create airflow. Keep your kitchen cool, and I’m not being dramatic when I say your churn time’ll drop noticeably. The environment isn’t just background noise; it’s a silent saboteur or your secret weapon, depending on how you handel it. If you’re dealing with compact appliances like countertop ice makers, their performance can drop in hot or poorly ventilated spaces for the same reasons—efficient cooling relies on good airflow and stable temperatures.
5. Recognizing Over-Churning and Under-Churning
Once you’ve nailed your churn time down to a science, here comes the tricky part: knowing when to stop. Timing is everything, and honestly, it’s where most home ice cream makers stumble.
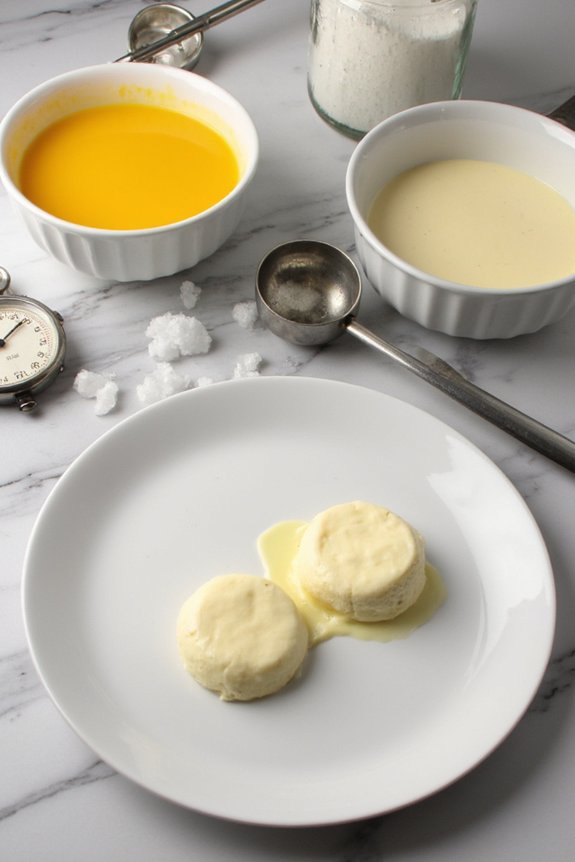
Under-churned ice cream feels soft and soupy. It’ll have that gritty crystallization problem that makes your tongue cringe. Over-churning? That’s when you’ve accidentally made butter. Seriously. The mixture loses its elastic stretch and becomes grainy and dense.
Here’s what to watch for:
- Soft-serve stage: Mixture holds its shape but still moves slightly
- Gritty texture: Sign you’ve gone too far or frozen unevenly
- Smooth, creamy feel: The sweet spot where magic happens
Trust your instincts. Pull it out when it looks like premium soft-serve, not when it’s rock solid. Your taste buds’ll thank you.
6. Building Your Personal Churn Time Guide Through Experimentation
The best way to nail your machine’s rhythm is to become a mad scientist in your own kitchen, tracking every variable that matters, like freezer temperature, mix consistency, and how your particular churn behaves when it’s feeling cooperative. You’ll want to jot down quick texture notes as you go, sketching out those moments when your ice cream shifts from sloppy soup to silky soft-serve to potentially tragic brick, because what works for your neighbor’s fancy machine might totally flop on yours. Build yourself a personalized churn-time cheat sheet by running a few experimental batches and documenting what actually happens, transforming those sweet (and occasionally sad) attempts into a reliable roadmap that’ll make you look like a pro. Just like with timer functions and convenience in electric steamers, keeping track of timing and recording your results helps you optimize performance and avoid over- or under-processing.
Track Your Machine Variables
Keeping a churn journal might sound like you’re documenting your ice cream maker’s diary, but it’s actually one of the smartest moves you can make if you want to nail consistent results. Your machine’s got personality, quirks, and moods—just like your coffee maker that brews faster on Tuesdays.
Here’s what matters in your batch records:
- Temperature readings at the start, middle, and finish of each churn
- Power fluctuations that might speed things up or slow ’em down
- Ambient conditions like kitchen temperature and humidity levels
Jot down churn times alongside these details. You’ll spot patterns faster than you can say “brain freeze.” Maybe your machine loves cold mornings or despises humid afternoons. That’s gold. This intel transforms you from guessing-and-hoping into a genuine ice cream scientist.
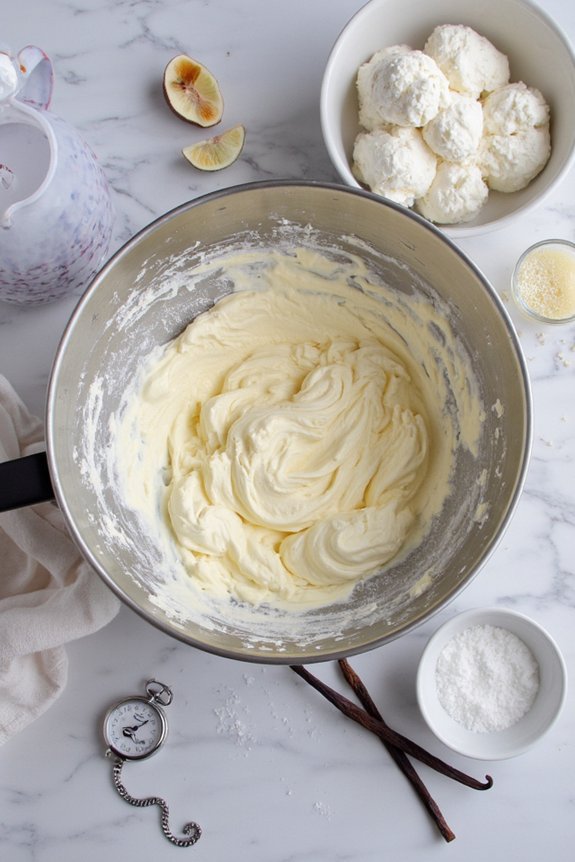
Document Texture Progression Notes
If you’ve been jotting down temperatures and ambient conditions like a dedicated ice cream detective, you’re ready for the next level—documenting how your mixture actually transforms as it churns. This is where things get realy interesting. Pay attention to mouthfeel milestones: when does it shift from liquid to soft-serve consistency? Notice your melting rate too. Does it melt fast or hold its shape? Snap quick photos at five-minute intervals. You’ll spot patterns you never knew existed. Maybe your vanilla reaches peak texture at eighteen minutes, but chocolate needs twenty-two. These personal observations become your secret weapon. Your machine’s got its own rhythm, its own personality. By tracking texture progression, you’re basically creating a custom instruction manual that beats any generic guide. That’s powerful stuff right there.


Create Custom Time Benchmarks
Consider these game-changers:
- Season adjustments matter: Summer’s heat speeds freezing; winter’s cold slows it down
- Ingredient variance affects timing: Different cream brands churn differently, so test each one
- Machine quirks are real: Your specific machine’s personality deserves its own benchmark notebook
Track everything obsessively. Yeah, it sounds nerdy, but you’re basically becoming an ice cream scientist now. After a few batches, you’ll develop an almost supernatural ability to nail perfect consistency. Your custom benchmarks become your secret weapon.
Frequently Asked Questions
Does Ice Cream Flavor Intensity Change Based on How Long You Churn?
Yes, you’ll notice flavor intensity peaks during ideal churning because extended time allows better flavor extraction. However, over-churning at warmer churning temperatures can actually diminish taste complexity and create an undesirably dense texture.
Can You Reuse the Same Bowl Multiple Times Without Thawing Between Batches?
You can’t reuse your bowl without thawing—it’s like trying to build on melting foundations. You’ll face sanitization concerns and texture inconsistency. Each batch deserves a frozen, clean slate for peak results.
Why Does Homemade Ice Cream Melt Faster Than Store-Bought Ice Cream?
Your homemade ice cream melts faster because you’re incorporating less air during churning and using lower sugar concentration than commercial producers, both of which stabilize the product and slow melting.
What’s the Ideal Churn Time for Different Ice Cream Styles and Bases?
You’ll want to churn custard-based ice cream for 20-25 minutes for ideal overrun control, while gelato needs just 5-10 minutes. Shorter times prevent ice crystallization control issues, ensuring smoother texture regardless of your base style.
How Does Altitude Affect Churn Time and Final Ice Cream Texture?
You’ll find that altitude reduces air pressure, slowing your freezing point and increasing viscosity. Your mix takes longer to churn at higher elevations, resulting in denser, icier texture unless you adjust timing accordingly.
Conclusion
So here’s the thing—you’re basically a ice cream scientist now. Yeah, that’s right. Your machine’s got its own personality, kinda like a temperamental artist. Start experimenting obsessively, track everything religiously, and you’ll crack the code. Your custom churn-time guide? That’s liquid gold. Stop guessing. Start testing. Your taste buds’ll thank you forever, and honestly, you’ll make better ice cream than most shops.


