Your outdoor electric griddle’s got potential, but without proper seasoning, you’re missing out on that non-stick magic and incredible flavor development. Think of it like breaking in a new pair of shoes—you’ve gotta do it right or you’ll regret it later. The good news? It’s not complicated. We’ll walk you through exactly what you need to know to transform your griddle into a cooking powerhouse.
Key Takeaways
- Clean the griddle surface thoroughly with warm soapy water and dry completely before seasoning begins.
- Choose high smoke point oils like canola or avocado oil to create an effective seasoning layer.
- Preheat the griddle to medium-high heat, then apply thin oil layers and allow each to smoke.
- Repeat the apply-smoke-wipe cycle three to four times to build a durable non-stick surface.
- Maintain seasoning by wiping the warm surface after cooking and reseasonning every few months as needed.
Why Seasoning Your Electric Griddle Matters
If you’ve ever noticed your food sticking to your griddle like it’s got a personal vendetta against you, well, seasoning might just be your answer. A properly seasoned electric griddle creates a natural non-stick surface that improves over time. You’ll notice better flavor retention as that seasoning layer prevents food from absorbing excess moisture and metallic tastes. Plus, seasoning helps distribute heat more evenly across the cooking surface, eliminating those annoying hot spots that cause uneven heating and burnt edges. Think of it like building up a protective shield that makes your griddle more forgiving and way more enjoyable to cook on. It’s honestly one of those small efforts that pays huge dividends. For best results, always start with a thoroughly clean surface and ensure your nonstick cooking surface is free of residue before seasoning.
Cleaning Your Griddle Before Seasoning
Before you can build up that protective seasoning layer, you’ve gotta start with a clean slate. Grab a damp cloth and wipe down that cooking surface real good, getting rid of any dust or debris that’s settled on there. If your griddle’s been sitting around, you might have some rust prevention work to do, so don’t skip this step.
Use warm soapy water and a soft brush for stubborn spots. Dry everything thoroughly with a clean towel because moisture is your enemy right now. Make sure you also clean underneath and around the edges, not just the top cooking area.
If you’ve got grill covers protecting your investment, take ’em off and give those a quick clean too. A spotless griddle means better seasoning results and a tastier cooking surface down the road.
Regular cleaning is not only important for seasoning, but also helps extend the lifespan of your griddle and ensures optimal performance over the years.
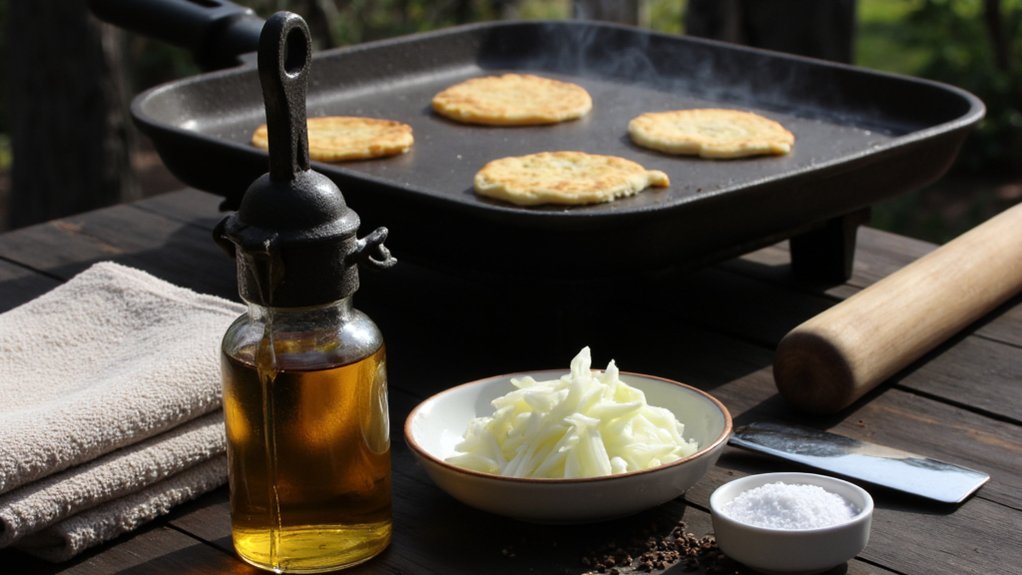
Choosing the Right Oil for Seasoning
The oil you choose makes all the difference when you’re seasoning your griddle, and honestly, not every oil’s gonna cut it. You need something with a high smoke point that’ll create that perfect nonstick layer without burning up on ya.
Here’s what’ll work best for your griddle:
- Canola oil – affordable and reliable with a smoke point around 400°F
- Avocado oil – premium choice that handles heat like a champ at 520°F
- Grapeseed oil – another solid high-heat option for serious cooking
- Vegetable oil – budget-friendly and dependable for seasoning
- Refined coconut oil – works well if you don’t mind the slight flavor
Skip the olive oil and butter though, they’ll just smoke and mess things up. Pick whichever fits your budget and cooking style, then you’re ready to move forward with the actual seasoning process. For best results, choose oils that are 100% natural to build a durable, food-safe nonstick layer on your griddle.
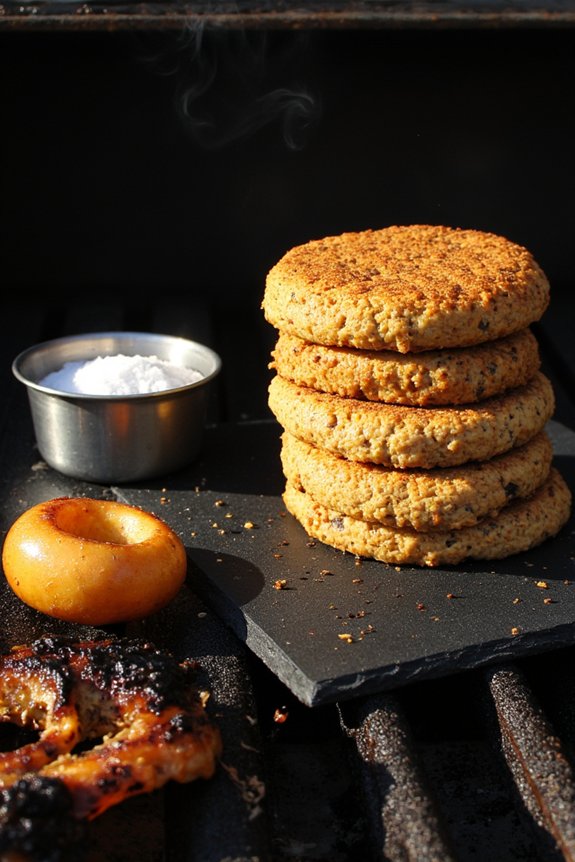
The Seasoning Process Step-by-Step
Now that you’ve got your oil picked out, it’s time to actually get that griddle seasoned up. Start with your preheating technique—crank that griddle to medium-high heat for about five minutes. You want it warm but not screaming hot just yet. Once it’s ready, apply a thin layer of oil across the entire cooking surface using a paper towel or cloth. Don’t go overboard here; you’re seasoning, not deep-frying.
Next comes smoke management, which honestly isn’t complicated. You’ll see some smoke, and that’s totally normal. It means the oil’s bonding with the griddle surface. Let it sit for another five minutes, then wipe away excess oil. Repeat this process three or four times for a solid foundation. Your griddle’ll thank you with better nonstick performance.
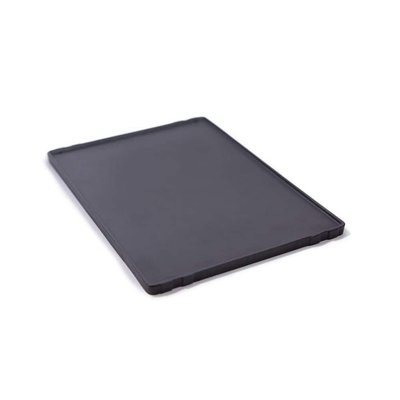
If you’re using a model with removable, dishwasher-safe parts, be sure to detach any grill plates or trays before beginning the seasoning process for thorough and easy maintenance.
Maintaining Your Seasoned Griddle for Long-Term Use
Once you’ve built up that seasoned layer, keeping it in good shape is honestly easier than you’d think. Regular maintenance prevents you from having to start from scratch, and your griddle’ll thank you for it.
Here’s what you need to do:
- Wipe down after cooking while it’s still warm
- Use oil sparingly to avoid buildup and gunk
- Store it covered to protect from the elements
- Establish a reseasoning schedule every few months
- Address rust spots immediately for seasoned surface restoration
Don’t stress about perfection. Your griddle’s designed to handle outdoor life. Just keep it dry, oiled, and protected when you’re not using it. That’s really all there is to maintaining your investment long-term. Taking inspiration from stainless steel maintenance practices found in electric kitchen appliances, periodic cleaning with vinegar or baking soda can also help keep your griddle’s surface in top shape.
Frequently Asked Questions
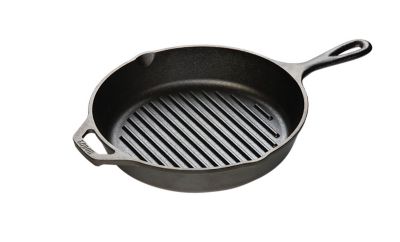
Can I Season an Electric Griddle the Same Way as a Cast Iron Skillet?
No, you can’t season an electric griddle like cast iron. You’ll avoid non-stick myths by using proper maintenance tools instead. Electric griddles have different surfaces that don’t require traditional seasoning methods for peak performance.
How Often Should I Re-Season My Electric Griddle After Initial Seasoning?
You’ll want to re-season your electric griddle every few months as part of monthly maintenance. Watch for wear indicators like sticking or discoloration, then reapply seasoning as needed to maintain peak performance.


What Happens if I Use the Wrong Oil Temperature During Seasoning?
If you’re using the wrong oil temperature, you’ll risk not reaching the smoke point for proper polymerization. This causes residual stickiness and poor flavor transfer, compromising your griddle’s seasoning layer and cooking performance.
Is It Safe to Season an Electric Griddle Indoors or Outdoors?
You shouldn’t season indoors without proper ventilation—the smoke’s harmful. Outdoors is safer, but you’ll need favorable weather considerations. Avoid high winds, rain, and extreme temperatures for successful seasoning.
Can I Cook Food Immediately After Seasoning, or Must I Wait?
You shouldn’t cook food immediately after seasoning. You’ll need to wait for the oil to cool and set properly, typically 15-30 minutes, ensuring your seasoning bonds correctly to the griddle’s surface.
Conclusion
You’ve got this! Your griddle’s now ready to become your outdoor cooking workhorse. Just remember to wipe it down after each use, and you’ll keep that seasoning locked in. When it starts looking a bit tired, don’t sweat it—just repeat the seasoning process. With a little regular maintenance, you’re gonna be flipping pancakes and searing steaks like a pro for years to come.


