You’ve probably watched someone whip out a perfect crepe in like thirty seconds and wondered if you’re just missing some secret ingredient. Spoiler alert: it’s not magic, it’s technique. Getting that thin, lacy circle right takes the right temperature, confident wrist action, and honestly, knowing which tool won’t betray you mid-flip. But here’s the thing—most people mess up before they even pour the batter.
Key Takeaways
- Maintain medium-high heat around 375°F; water droplets should sizzle immediately but not evaporate instantly for optimal batter spreading.
- Tilt the pan at 45 degrees and rotate your wrist in one smooth motion within two to three seconds for even coverage.
- Use a wooden T spreader or silicone fan spreader depending on batter consistency and pan type for controlled application.
- Avoid pouring excessive batter, spreading too aggressively, overmixing, or skipping rest periods, as these ruin even distribution.
- Practice daily with deliberate 15-minute sessions focusing on wrist control, timing rhythm, and varied spreading motions to master the technique.


Understanding Pan Temperature and Its Impact on Batter Spread

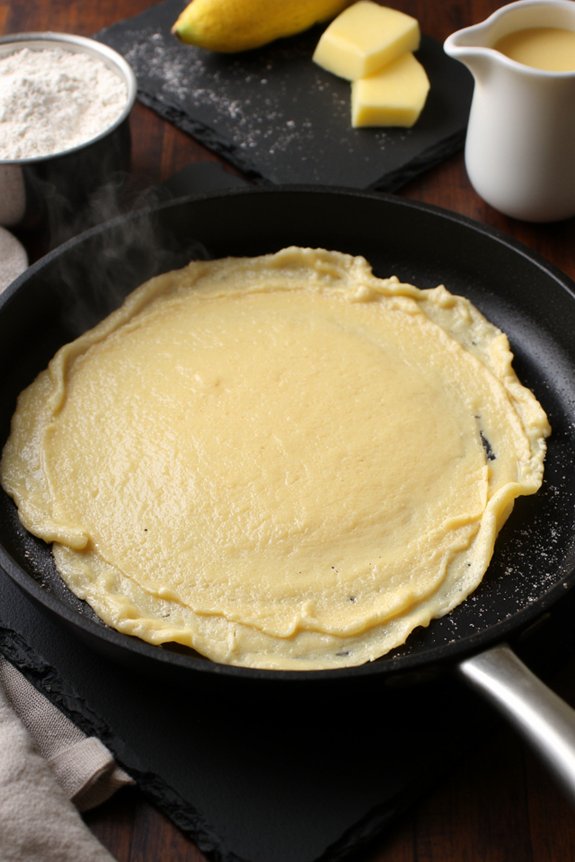
When you’re standing at the stove with a ladle of batter in one hand and a crepe pan in the other, temperature’s honestly the make-or-break factor between a gorgeous, evenly-spread crepe and a lumpy disaster. Get your pan temperature right, and everything else falls into place. You want medium-high heat, around 375°F, where a drop of water sizzles immediately but doesn’t evaporate instantly. This sweet spot affects your batter viscosity in vital ways. Too cold, and your batter thickens up, refusing to spread smoothly across the pan. Too hot, and it sets faster than you can work with it. The perfect pan temperature keeps your batter flowing at just the right consistency, allowing it to spread thin and even before it begins cooking. Many electric crepe makers feature automatic temperature control to help maintain this ideal heat, preventing uneven cooking and making it easier to achieve consistently thin crepes every time.
3. The Tilting Technique: Angle and Speed for Even Coverage
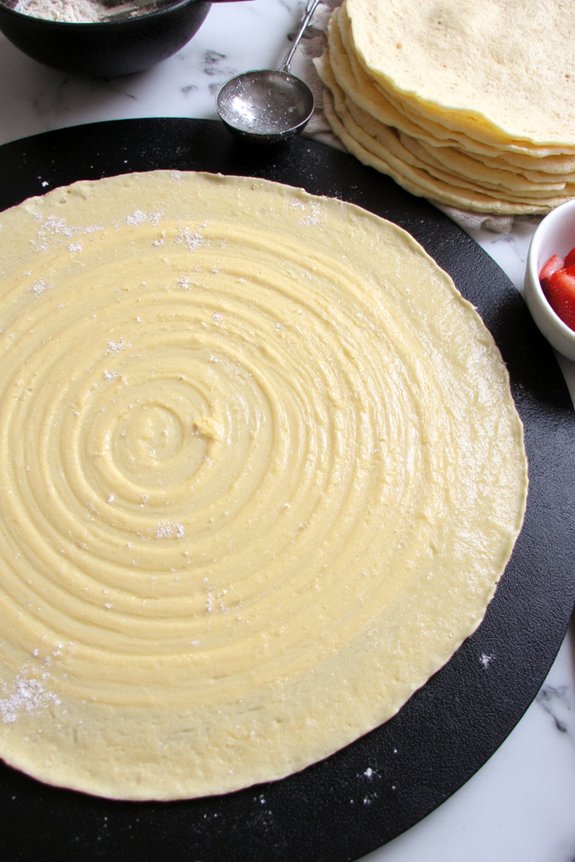
Once you’ve nailed that perfect pan temperature, it’s time to get your tilting technique down, because honestly, this is where the magic happens. Your wrist angle matters more than you’d think. Start by tilting the pan away from you at about forty-five degrees, then immediately rotate your wrist in one smooth motion. This tilt rhythm keeps batter flowing evenly across the surface without pooling in corners.
Move quickly but don’t rush it. You’re aiming for that sweet spot between speed and control, usually taking just two or three seconds to coat the entire pan. If you’re hesitating, the batter’s already starting to set, and you’ll end up with thick, uneven crepes. Keep your movements confident and fluid, letting gravity and momentum do their thing.
Choosing the right cooking surface size can make this tilting technique easier, since a larger surface gives you more room to maneuver and achieve an even, thin layer.
4. Choosing the Right Spreader Tool for Your Crepe Pan
While your tilting technique sets the foundation, picking out the right spreader tool can honestly make or break your crepe game. You’ve got a couple solid options worth weighing here. A wooden T spreader is the classic choice, offering great control and a smooth glide across your batter. It’s durable, heats up gently, and won’t scratch your pan. Then there’s the silicone fan, which works beautifully for spreading thinner batters with minimal effort. It’s flexible, easy to clean, and honestly pretty forgiving if you mess up. Your pick really depends on your pan type and batter consistency. Experiment with both, and you’ll quickly figure out which tool feels most natural in your hands. If you’re using a blender to mix your crepe batter, choosing a model with removable blades can make cleanup much easier after your crepe-making session.


5. Common Mistakes That Ruin Your Batter Distribution
Even with the perfect spreader tool in hand, there’s still plenty of ways to mess up your batter distribution before it ever hits the pan. You might be overmixing batter, which creates too much gluten and makes everything thick and stubborn. Or maybe you’re dealing with uneven resting—letting your batter sit too long in one spot creates lumps that won’t cooperate.
| Mistake | Why It Ruins Things |
|---|---|
| Pouring too much batter | Creates thick, doughy crepes instead of delicate ones |
| Spreading too aggressively | Tears the batter before it sets properly |
| Skipping the rest period | Batter’s too active and won’t spread smoothly |
The key? Work gently, stay patient, and give your batter the respect it deserves. You’ve got this.
If you’re using cast iron for your crepes, remember that even heat distribution is essential for consistent results across every batch.
6. Practice Drills to Master the Perfect Spreading Motion
Mastering your spreading motion takes practice, and honestly, the best way to get there is through deliberate repetition. Start by doing slow-motion spreads without heat, just you and your pan. Focus on your wrist control and how it guides the ladle in smooth, confident arcs. Practice the rhythm timing too—you’ll notice crepes come together faster once you nail that tempo.
Try spreading in figure-eight patterns one day, then circles the next. Mix it up. Your muscle memory needs variety to adapt to different batter consistencies and pan temperatures. Spend fifteen minutes daily drilling these motions, and you’ll feel the difference almost immediately. Don’t rush it. Quality reps beat quantity every time, so concentrate on smooth, deliberate movements rather than speed. You’ve got this.
For even better results, consider experimenting with variable speed control on your immersion blender to achieve the ideal batter consistency before spreading, as this can make your crepe technique even smoother.
Frequently Asked Questions
What Type of Batter Consistency Works Best for Easy Spreading?
You’ll find that a thin batter with a silken texture works best for easy spreading. It’s the ideal consistency because it flows smoothly across your crepe maker’s surface without lumps or resistance, ensuring perfectly even coverage.
How Do I Prevent Crepes From Sticking to My Spreader Tool?
You’ll prevent sticking by maintaining your nonstick spreader with proper cleaning and seasoning. Try silicone or wooden tool alternatives, which naturally resist batter adhesion better than metal options.


Can I Spread Batter on a Cold Pan Successfully?
You can’t spread batter successfully on cold pans because they won’t cook properly and you’ll risk thermal shock when heating. Always preheat your pan to medium heat before spreading for best results.
What Should I Do if My Batter Is Too Thick?
You’ll need to add liquid gradually to your batter until it reaches the right consistency. If you’ve added too much liquid, you can alternate flour to balance it out. Whisk thoroughly between adjustments.
How Long Should Batter Rest Before I Begin Spreading?
You’ll want your batter resting for 30 minutes to an hour. This resting period allows protein hydration and fermentation benefits to develop, giving you smoother, more elastic crepes that’ll spread beautifully without tearing.
Conclusion
You’ve got this. Mastering crepe spreading isn’t some fancy culinary secret, it’s just about getting comfortable with the basics. Hit that 375°F sweet spot, nail your tilting angle, and keep your wrist motion smooth and confident. Yeah, you’ll mess up a few times—that’s totally normal. But stick with it and you’ll be flipping perfect crepes like you’ve been doing it forever. Practice makes pancakes, or something like that.


