
You know that moment when restaurant fried chicken hits different—crispy, golden, perfect? Most home cooks think it’s magic, but it’s actually just oil temperature and technique working in harmony. You’re probably crowding your pan and guessing at heat like it’s a game show. The good news? You’re three key steps away from nailing this at home, and we’re about to expose exactly what those are.
Key Takeaways
- Maintain oil temperature between 325–375°F using a reliable thermometer for consistent, evenly cooked results.
- Apply double-dredge coating technique with buttermilk wash to maximize crunchiness and flavor adhesion.
- Pat ingredients completely dry before frying to reduce spatter and improve exterior crispiness.
- Fry in batches to avoid crowding the pan, which prevents temperature drops and uneven cooking.
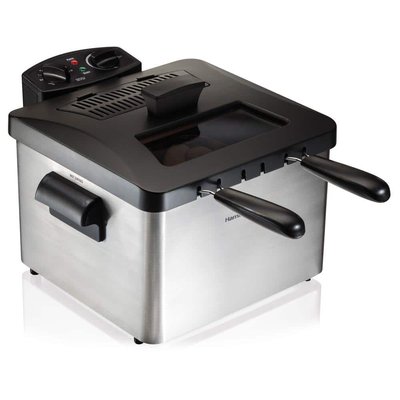
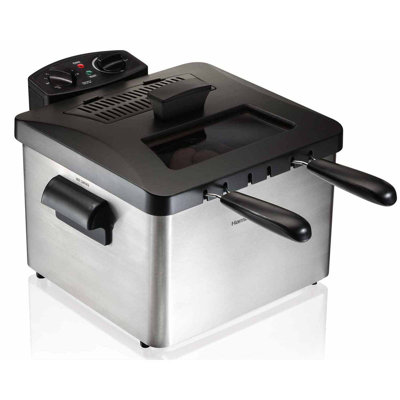
- Use cast iron skillets or electric fryers with precise temperature control for professional-quality heat distribution.


Mastering Oil Temperature Control
Here’s the thing about oil temperature—it’s basically the difference between crispy, golden perfection and a greasy, soggy disaster. You’ve gotta invest in a reliable thermometer and nail thermometer calibration, because eyeballing it’s a recipe for failure. Most fried foods want that sweet spot between 325 and 375 degrees Fahrenheit. Know your oil’s smokepoint too—it tells you the maximum heat before things go sideways. Peanut oil? Great for high heat. Olive oil? Not so much. Get yourself a quality cooking thermometer, check it regularly, and you’ll nail it every time. Temperature consistency is what seperates home cooks from restaurant pros, honestly. You’re basically controlling the entire outcome with one simple number. Many top home deep fryers offer adjustable thermostat range so you can precisely dial in the temperature for perfect, consistent results every time.
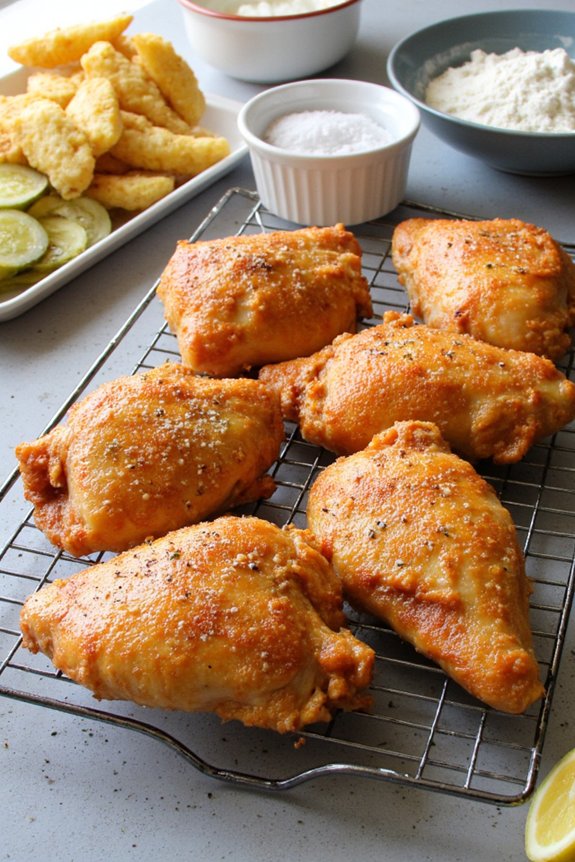
Selecting and Preparing Your Coating
The coating’s where you really get to flex your creativity, and honestly, it’s just as important as nailing that oil temperature. Your crisp spice blends make all the difference between bland and unforgettable. Here’s what you need to know:
- Mix your dry ingredients thoroughly—flour, cornstarch, and seasonings combined evenly
- Add buttermilk or egg wash for superior seasoning adhesion to your proteins
- Double-dredge technique: coat, dip in liquid, coat again for maximum crunch
Don’t skimp on flavor. That’s your secret weapon. Think paprika, garlic powder, cayenne—whatever makes your taste buds dance. The moisture from your wet ingredients helps spices stick like glue to the surface, creating layers of taste that’ll make people wonder if you’ve secretly opened a restuarant. Your coating isn’t just decoration; it’s the star of the show. For perfectly even results and a consistently crispy exterior, try using a high-quality electric slicer to cut proteins or vegetables to uniform thickness before coating.
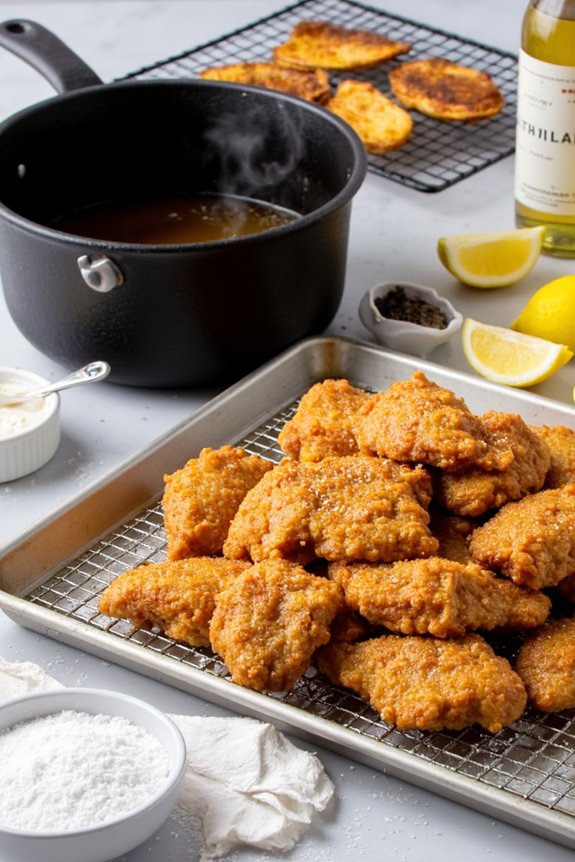
Preparing Ingredients for Optimal Results
Now that you’ve got your coating dialed in, it’s time to set yourself up for success with your actual ingredients. Start with ingredient mise en place—that fancy French way of saying “get everything ready before you start.” Lay out your proteins, seasonings, and oil on your workspace. This prevents panicked scrambling mid-fry, which nobody wants.
Here’s the real game-changer: moisture management. Pat your chicken, fish, or veggies completely dry with paper towels. Wet ingredients? They’ll spatter like crazy and create soggy, greasy disasters. Seriously, don’t skip this step. Let them air-dry for a few minutes if you’re feeling fancy. Cold ingredients also fry better than room-temperature ones, so refrigerate everything until you’re ready to roll. Your crispiness quotient will skyrocket.
For the best results, use a cast iron skillet for its exceptional heat retention and even cooking, ensuring your fried food develops that perfect golden crust.
Equipment and Tools for Home Frying
While you don’t need fancy restaurant equipment to nail crispy, golden-brown results, having the right tools absolutely makes a difference. You’ll want to invest in a few essentials that’ll transform your home frying game.
- Cast iron skillets—they’re workhorses that distribute heat evenly and retain temperature like champs, giving you that restaurant-grade crunch every single time
- An oil thermometer calibration tool to make sure your oil’s hitting the perfect temperature, because guessing is basically a recipe for disaster
- A slotted spoon or spider strainer for safely fishing out your golden treasures without splashing hot oil everywhere
These three items? They’re game-changers. Don’t skimp here. Quality equipment means consistent, delicious results that’ll make your friends wonder if you’ve secretly opened a restaurant in your kitchen. For even more consistent results on large batches, consider using electric griddles with even heat distribution to ensure your fried foods cook evenly and cleanup stays hassle-free.
Troubleshooting Common Fried Food Problems
Even with all the right equipment and technique, sometimes your fried food still comes out looking like a sad, soggy disappointment, and that’s when troubleshooting becomes your best friend. If you’re getting an overcooked batter that’s too dark but the inside’s still raw, your oil’s probably too hot. Dial it back a few degrees. Conversely, a greasy center? That screams undercooked oil temperature. You need that heat to seal the exterior fast. Another culprit is crowding your pan—too many items means temperature drops instantly. Fry in batches instead. Also check your batter consistency; it should cling smoothly, not globby. And hey, sometimes you’re just impatient. Give items enough time to cook through. A lil’ patience goes a long way, my friend. Just like with grilling, temperature control is crucial for perfect results, so invest in a food thermometer to keep your frying on point.
Frequently Asked Questions
How Often Should I Replace or Filter My Frying Oil for Safety?
You should filter your oil daily and replace it every 3-4 weeks. Use oil testing strips to monitor degradation and make sure you’re not exceeding the smoke point, which indicates unsafe conditions for frying.
What Are the Best Foods to Fry as a Beginner Cook?
You’ll find success starting with chicken tenders—they’re forgiving and cook quickly. Beer battered fish works too. Both require minimal technique, cook evenly, and deliver impressive results that’ll build your confidence fast.


Can I Reuse Frying Oil, and How Long Does It Last?
You can reuse frying oil several times if you’re careful with oil storage and strain it well between uses. Watch for flavor transfer from previous foods, and discard it once it’s dark or smells off—typically after 6-8 uses.
What’s the Healthiest Oil to Use for Deep Frying at Home?
You’ll want to choose high oleic sunflower oil or avocado oil for healthier deep frying. Both offer excellent stability and a high smoke point, withstanding repeated heating while maintaining nutritional value better than alternatives.
How Do I Safely Dispose of Used Cooking Oil After Frying?
You shouldn’t pour used oil down drains. Instead, let it cool, pour it into a container for municipal pickup or biofuel conversion programs. Some facilities accept it as solid waste. Never add it to household compost.
Conclusion
You’ve got the golden recipe for frying success. Perfect your oil’s temperature, prepare your coating carefully, and keep your ingredients in top shape—you’re practically perfecting the process. With the right tools and techniques, you’ll be serving up stunning, sizzling, satisfyingly crispy creations that’ll have your friends and family feasting like they’re at their favorite restaurant. You’re ready. Get frying!


