So you’ve just made that gorgeous glass of fresh juice, and now you’re staring at your centrifugal juicer like it’s a crime scene. Yeah, cleaning it doesn’t have to be a nightmare. You can actually get everything sparkling clean in under three minutes if you know the right moves—and trust me, there’s a specific order that makes all the difference.
Key Takeaways
- Disassemble immediately after use by pressing ergonomic release latches to prevent pulp from drying and sticking.
- Rinse basket and filter under warm running water while wet, using a soft brush for clogged mesh.
- Scrub the cutting disc carefully with a soft brush, focusing on sharp edges to remove pulp residue.
- Wash pitcher and lid in warm soapy water, then rinse thoroughly and dry completely with a clean towel.
- Reassemble by matching components to correct positions, ensuring the cutting blade sits centered and the lid clicks firmly.
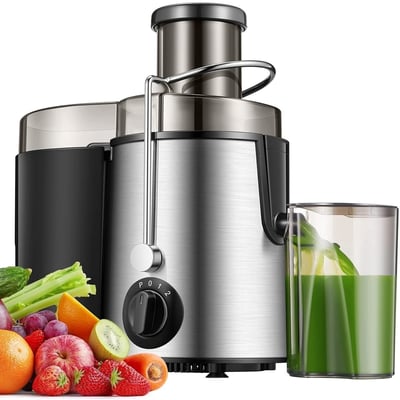
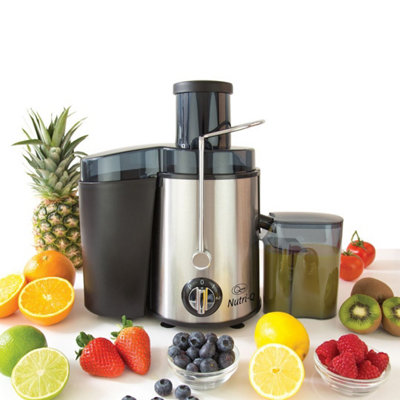
Disassemble Your Juicer Immediately
Since you’ve just finished making that delicious juice, you’re probably thinking about cleaning up—and you’d be right to jump on it. The longer you wait, the harder those pulpy bits stick to your machine. Fast disassembly is your secret weapon here.
Most centrifugal juicers feature ergonomic latches that make taking them apart super simple. You’ll typically find these release buttons on the sides of the main housing. Just press them, and the top lifts right off. Then remove the filter basket and the collection container.
Don’t overthink it—these pieces are designed to come apart easily. You’ll get the hang of it after your first try. Seriously, getting everything apart in under thirty seconds is totally doable once you know where those latches are hiding.
Many models, like dishwasher-safe parts, make cleanup even faster since you can toss most components right in the dishwasher after disassembly.
Rinse the Basket and Filter Screen First
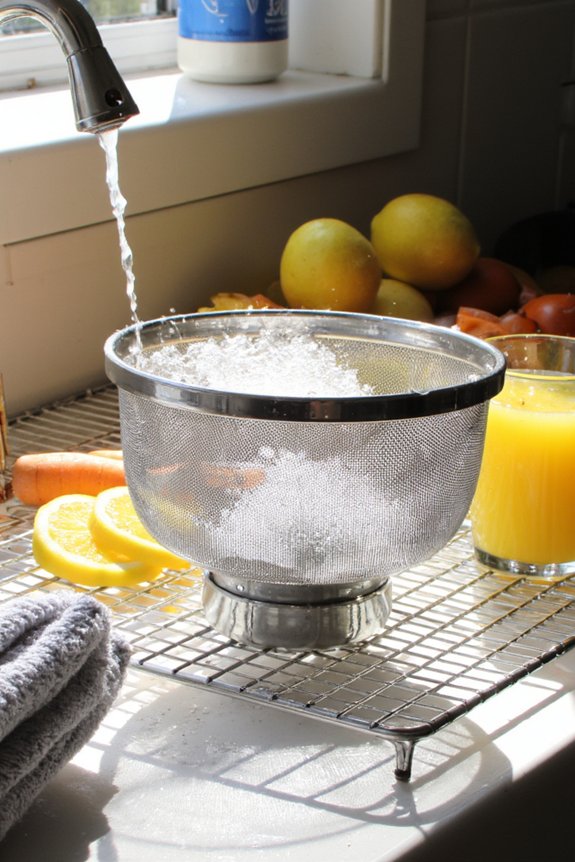
The basket and filter screen will almost always be the messiest parts of your juicer, so tackling them first makes total sense. You’ll want to rinse them under running water immediately after juicing, while the pulp’s still wet and easier to remove. Don’t let that stuff dry out, or you’re gonna have a real problem on your hands.
| Part | Issue | Solution |
|---|---|---|
| Basket | Pulp buildup | Rinse under warm water |
| Filter screen | Clogged mesh | Use soft brush gently |
| Corners | Stubborn bits | Pick out with finger |
| Overall | Dried residue | Soak if needed |
For screen unclogging, use a soft brush to gently work through the mesh without damaging it. This protects mesh longevity and keeps your juicer running smooth for years.
Some juicer components, particularly dishwasher-safe parts, can be cleaned even more efficiently if your model supports them, saving you even more time.
Clean the Pulp Ejection Chute
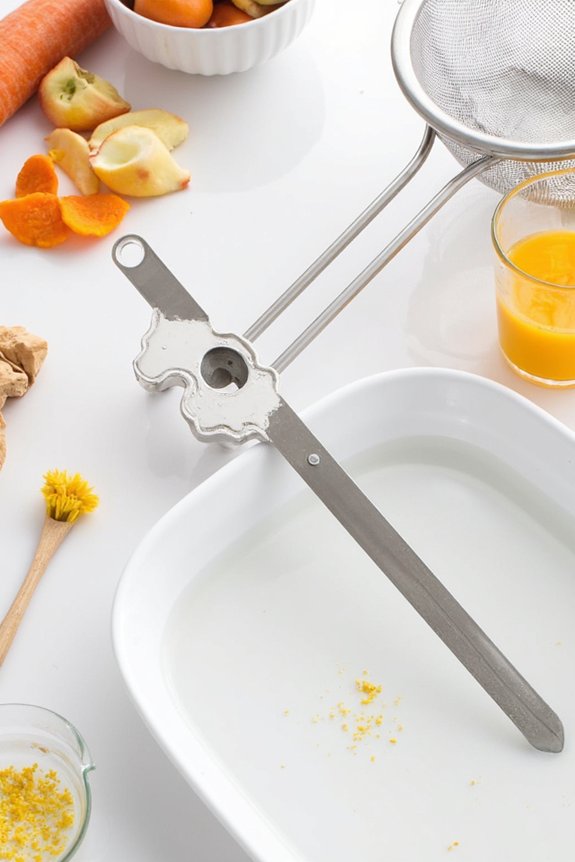
Once you’ve got the basket and filter screen squeaky clean, don’t forget about the pulp ejection chute—it’s sneaky in how quickly it can get gunked up. This narrow passage tends to trap dried pulp particles that’ll create nasty odors if left sitting around. Here’s the thing: a quick rinse under warm water usually does the trick. Use your fingers or a small brush to dislodge stubborn bits stuck in there. For odor control, run some hot water mixed with a little dish soap through the chute. Pay attention to chute lubrication too—some models benefit from a light coating of food-safe oil on the interior walls. Check your manual for material compatibility before applying anything, since you’ll want to protect those seals properly. Just like with dishwasher-safe components, choosing tools and cleaning methods that work with your juicer’s materials will help keep everything hygienic and prevent buildup over time.
Scrub the Cutting Disc and Housing
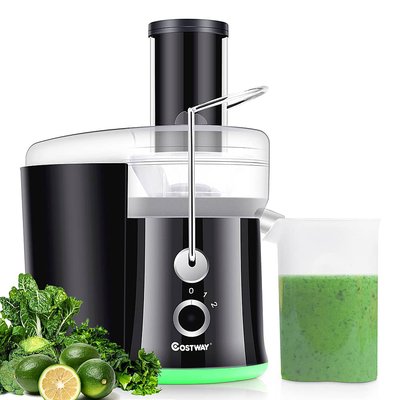
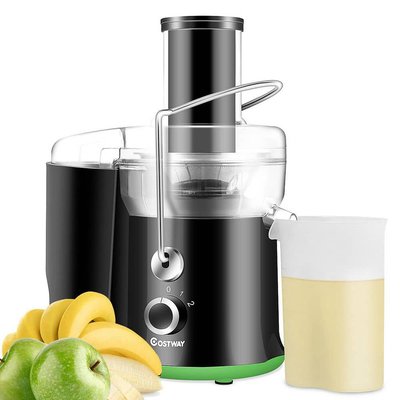
Now it’s time to tackle the cutting disc and housing, which honestly gets the most workout during juicing. This is where all the action happens, so don’t skimp on blade maintenance here. Use your soft brush to gently scrub around the disc’s sharp edges, being careful with your fingers. For stainless polishing, grab a damp cloth and wipe down the housing interior, removing any pulp residue that’s stuck on there. You’ll want to get into those nooks and crannies where juice likes to hide and dry up. A small bottle brush works great for tight spots. Rinse everything thoroughly under warm water, then dry with a clean towel. Your disc will thank you later. Just like with stainless steel blades, regular cleaning prevents stubborn buildup and helps maintain long-term performance.
Wash the Juice Pitcher and Lid

Once you’ve finished juicing, don’t let that pitcher sit around getting all crusty and gross—rinse it out right away to keep buildup from becoming your next cleaning nightmare. You’ll want to use warm water and a bit of dish soap, working both the inside and lid thoroughly, and here’s the thing: making sure everything’s completely dry before you tuck it away prevents any funky stuff from hanging around in there. For best results, treat your juicer’s pitcher like self-cleaning appliances by cleaning it promptly and drying it completely to prevent bacteria buildup.
Immediate Rinsing Prevents Buildup
After you’ve squeezed your last apple or carrot, grab that juice pitcher and lid right away—don’t let the sticky stuff dry on there, because once it hardens, you’re basically fighting concrete. Preventive rinsing is your secret weapon here. A quick rinse under warm water immediately after juicing stops residue prevention problems before they start. You’ll notice the difference immediately.
Fill the pitcher with warm water and swish it around. The lid gets the same treatment. Don’t overthink it—just give everything a thorough rinse while the juice’s still wet and cooperative. This simple step saves you serious scrubbing time later. Your future self will thank you when cleanup takes seconds instead of minutes.
Warm Water and Dish Soap
The pitcher and lid’ll benefit from a proper wash with warm water and dish soap. You’ll want to fill your sink or a basin with warm suds, making sure you’ve got enough soap concentration to cut through any remaining pulp or residue. Don’t just rinse these parts—actually scrub them. Here’s what you should do:
- Fill your basin with hot water and a good squirt of dish soap
- Submerge the pitcher and lid for a minute or two
- Use a soft brush or sponge to scrub all surfaces thoroughly
- Rinse everything completely under running water
The warm water helps loosen stubborn bits, while the soap breaks down oils and keeps things sanitized. It’s quick, it’s easy, and your pitcher’ll look brand new.
Dry Completely Before Storage
Moisture is your pitcher’s worst enemy, so you’ll want to dry everything thoroughly before tucking it away in the cupboard. Grab a clean towel and wipe down the pitcher and lid completely. Don’t rush this step—any leftover water can lead to mold or mildew buildup, which is seriously gross.
If you’ve got time, let the pieces air dry on your counter for a few minutes. It’s an easy way to guarantee moisture control without extra effort. Once everything’s completely dry, you can safely store your pitcher and lid together.
Your juicer will thank you later. Proper drying keeps everything fresh and ready for your next smoothie session, so you’re not dealing with unpleasant surprises down the road.

Use a Soft Brush for Hard-to-Reach Areas
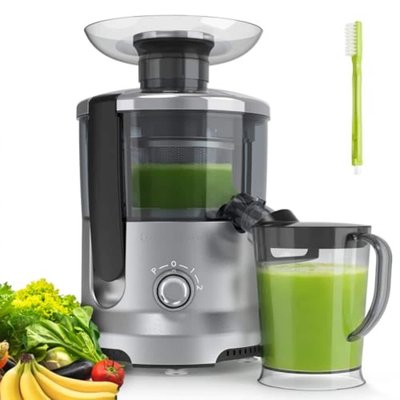
Most centrifugal juicers have those annoying little nooks and crannies where pulp likes to hide, and that’s where a soft brush becomes your best friend. You’ll want to grab one with soft bristles to avoid scratching delicate parts. A precision tip really helps you get into those tight spaces where your regular cloth just can’t reach.
Here’s what works best:
- Use a soft bristle brush with gentle, circular motions on the mesh filter
- Focus on the area between the basket and the bowl where gunk accumulates
- Work around the motor housing carefully, keeping water away from electrical components
- Don’t forget the lid’s underside, which traps surprising amounts of debris
Take your time here. Those hard-to-reach spots often hold the most stubborn dried pulp, so patience pays off when you’re keeping your juicer genuinely clean.
Dry All Components Thoroughly
After you’ve scrubbed every corner of your juicer, you’ll want to dry everything completely before reassembling. Moisture is basically the enemy of any small appliance, so don’t skip this step. Grab a clean towel and wipe down each component thoroughly.
Pay special attention to the motor base and cord connections. Use a lint-free cloth to avoid fabric linting, which can get annoying real quick. For the mesh strainer and other detailed parts, consider using a microfiber cloth since it works magic on hard-to-reach spots.
Let everything air dry for a few minutes. This guarantees proper airflow testing throughout your machine. You want zero moisture hiding in crevices. Once everything’s bone dry, you’re ready to put your juicer back together and get juicing again.
Reassemble Your Juicer Properly
Now it’s time to put your juicer back together, and you’ll want to make sure everything lines up just right. Match each component to its correct position, because trust me, forcing a piece where it doesn’t belong is a quick way to create problems later on. Secure all those locking mechanisms firmly so your juicer’s ready to spin without any wobbly surprises next time you’re craving fresh juice.
Match Components to Correct Positions
Putting your juicer back together is where the real puzzle comes in, and you’ll want to take your time getting each piece in its proper spot. One wrong move, and you’re looking at leaks or worse. Here’s what you need to focus on:
- Blade alignment – Make sure the cutting blade sits perfectly centered on the spindle, or it’ll wobble like crazy
- Spout orientation – Check that your juice spout faces forward before tightening anything down
- Basket positioning – The strainer basket should click into place without forcing it
- Lid securing – Twist the top on firmly until you feel gentle resistance
Take a breath, work methodically through each component, and you’ll have everything reassembled in no time flat.
Secure All Locking Mechanisms
Once you’ve got all your pieces lined up correctly, the locking mechanisms are what’ll keep everything from doing a grand spinning performance and flying apart mid-juice. These little guys are seriously important for your safety and the juicer’s longevity.
Start by locating the safety latch on your juicer’s lid. Push it down firmly until you hear a satisfying click. That sound means you’re locked and loaded. Next, check if your model has a travel lock feature, which prevents accidental activation during storage or transport. Twist or slide it into place depending on your juicer’s design.
Go through each locking point methodically. Don’t rush this part. Give everything a gentle tug to confirm nothing’s loose. You want your juicer rock-solid before powering it on. A properly secured machine means smoother operation and way fewer messy surprises.
Store Everything in Its Designated Place
After you’ve dried everything off, it’s time to put your juicer back together like a puzzle where all the pieces actually have homes.
Organization keeps your juicer from becoming a chaotic mess in your cabinet. You’ll want to store each component thoughtfully:
- Motor base – Keep it on a flat, dry surface away from water sources
- Basket and drum – Stack them neatly together in one spot
- Filters and strainers – Store in a dedicated drawer or container
- Pusher and lid – Tuck these smaller pieces where they won’t get lost
Consider using a label containers system for your storage space. An inventory checklist helps you remember where everything lives, making cleanup easier next time. When all your parts have designated homes, you’ll actually look forward to juicing again instead of dreading the cleanup nightmare.
Maintain Your Juicer for Longevity
Regular cleaning isn’t just about keeping your juicer looking pretty, it’s actually the best defense against wear and tear that’ll have you shopping for a replacement way sooner than you’d like. You’ll want to establish a routine maintenance schedule and keep an eye on parts like the basket, filter, and seals since these components take the most abuse and’ll eventually need swapping out to keep everything running smooth. Think of it this way: a little elbow grease now saves you from costly repairs or buying a whole new machine down the road.
Regular Cleaning Prevents Damage
If you’re serious about keeping your centrifugal juicer in top shape, you’ll want to make cleaning a regular habit rather than something you put off until sticky fruit residue has basically become part of the machine.
Here’s why staying on top of maintenance matters:
- Prevents buildup that corrodes internal components and reduces efficiency over time
- Keeps your warranty valid since manufacturers often require proof of regular maintenance for claims
- Enables preventive inspections so you catch small issues before they become expensive repairs
- Extends your juicer’s lifespan appreciably when you’re consistent with care
When you clean after every use, you’re not just removing gunk. You’re protecting your investment and ensuring those morning juices taste fresh, not funky. Plus, a clean machine just works better and lasts longer.
Parts Replacement Schedule Guide
Even the best juicers need some parts swapped out eventually, and knowing when to do it’ll save you from a machine that’s more paperweight than kitchen helper. Most manufacturers recommend replacing your strainer basket every 12 to 18 months, depending on how often you’re juicing. The rubber gaskets and seals? They typically last about a year before they start wearing out and causing leaks everywhere.
Check your warranty timelines first, since some parts might still be covered. Hit up manufacturer contacts if you’re unsure about what needs replacing. Keep receipts handy. Motors generally last years if you’re treating your juicer right, but blades and filters wear faster. Setting reminders helps you stay on top of replacements before things get messy. Staying proactive beats emergency repairs.
Frequently Asked Questions
Can I Put My Centrifugal Juicer Parts in the Dishwasher?
Yes, you can put most centrifugal juicer parts in the dishwasher if they’re dishwasher safe. Check your manual first. Place smaller components on the top rack placement to protect them from high heat and damage during the cycle.
How Often Should I Deep Clean My Juicer Beyond Regular Maintenance?
You should deep clean your juicer monthly for peak performance. Beyond that, conduct a seasonal inspection every three months and perform an annual overhaul to maintain longevity and make certain you’re getting maximum juice extraction efficiency.
What Should I Do if My Juicer Starts Making Unusual Noises?
Stop using your juicer immediately. Unusual noises typically indicate motor vibration or bearing wear. Check for loose parts, debris, or misaligned components. If problems persist after cleaning, you’ll need professional repair or replacement.
Is It Safe to Use Bleach or Harsh Chemicals on Juicer Parts?
You shouldn’t use bleach or harsh chemicals on your juicer parts. Instead, you’ll want safe alternatives like vinegar and baking soda to avoid chemical residues that could contaminate your juice and damage components.
How Do I Prevent Mold Growth Inside My Juicer Between Uses?
You’ll prevent mold by ensuring proper airflow maintenance—leave parts disassembled and air-dry completely. Store in a dry location with moisture control; never seal wet components together in enclosed spaces.
Conclusion
You’ve got this down to a science now. Clean your juicer right after you’re done, and you’ll actually enjoy using it next time instead of dreading that crusty mess. Seriously, those three minutes upfront save you from scrubbing for twenty later. Your juicer’ll thank you with years of smooth, delicious juice, and your future self will be really grateful you didn’t procrastinate on cleanup.


