Like Prometheus bringing fire to humanity, your meat grinder’s cleanliness brings safety to your kitchen. You’ve probably noticed that funky smell lurking inside after grinding—yeah, that’s bacterial party central. Here’s the thing: most folks skip the deep clean and wonder why their ground beef tastes off. We’re gonna walk you through the process that’ll make your grinder sparkle, but first, you gotta understand why it matters so much.
Key Takeaways
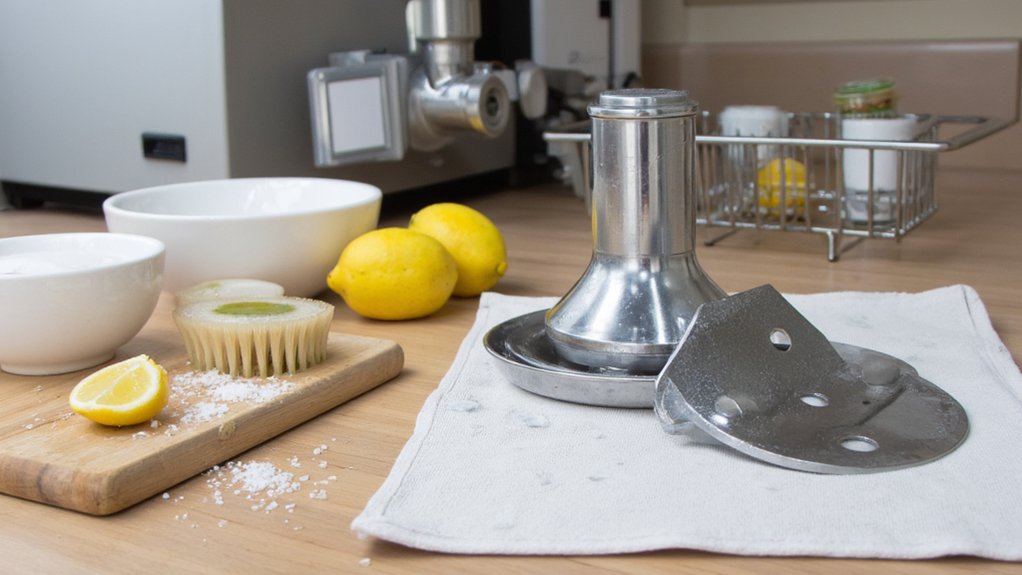
- Unplug the unit and disassemble all components carefully, laying out screws and small parts on a clean towel for easy reassembly.
- Soak stuck meat in 130–140°F water for 15–20 minutes, then scrub crevices with a stiff brush to remove all residue.
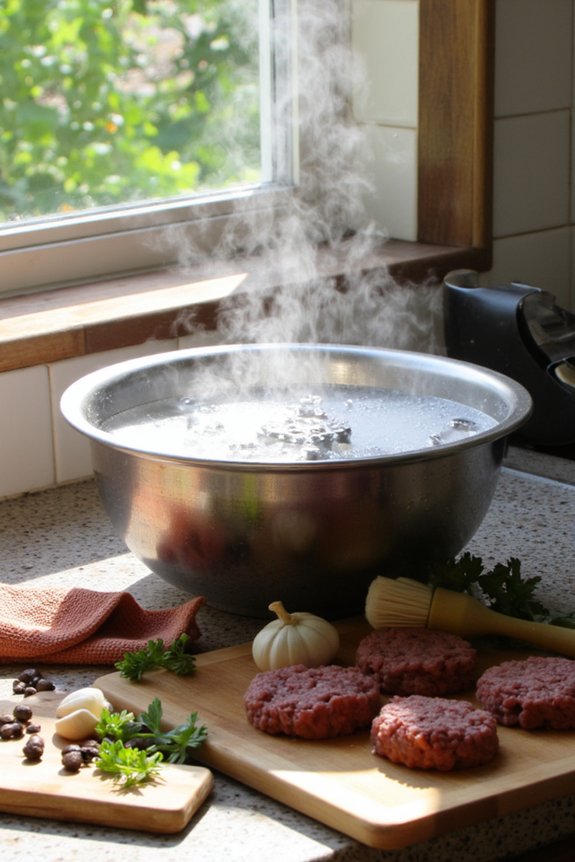
- Sanitize using steam at 212°F for 5 minutes or boiling water for 10 minutes to eliminate harmful bacteria effectively.
- Dry each component completely on a clean towel for several hours to prevent rust, corrosion, and bacterial growth.
- Reassemble by inserting the auger first, followed by the grinding plate, ensuring proper shaft alignment before storage in a cool, dry place.


Disassemble Your Meat Grinder Safely
Before you can give your meat grinder a proper scrubbing, you’ve gotta take the thing apart—and yes, that means actually disassembling it instead of just spraying it down with water and calling it a day. First, unplug that beast from the wall. Safety checklist, people! Check it twice. Now, locate the main components: the hopper, auger, grinding plates, and blade alignment mechanisms. These parts usually twist or slide out pretty easily, though some grinders are trickier than others. Work slowly and methodically. Don’t force anything—you’ll strip the threads or worse, hurt yourself. Keep track of which piece goes where; take a quick photo if you’re worried about reassembly. Those tiny screws? They’ll dissappear fast. Store them in a small bowl. You’re almost there. If your grinder has dishwasher-safe components, separate those out now to streamline cleaning and prevent damage to parts that require hand-washing.
Remove Stuck Meat and Debris
Now that you’ve got all the pieces separated, it’s time to tackle the gunk—and trust me, there’s always gunk. Grab a brush or old toothbrush and start scrubbing away those stubborn meat bits lodged in the crevices. You’ll want to pay special attention to the grinding plate and auger, where debris loves to hide like it’s in freezer storage. Rinse everything under warm water, really working those spots. For knife maintenance, be extra careful around the sharp blades—no fingers, please. If meat’s seriously stuck, soak the parts in warm water for ten minutes. This softens everything up nicely. A little elbow grease and patience goes a long way here. Your grinder will thank you, and honestly, so will your next batch of ground beef. Using detachable, dishwasher-safe parts in your kitchen tools can make cleaning much easier and help maintain durability over time.
Soak Components in Hot Water
Now you’ll want to give those grimy components a proper soak—think of it as a spa day for your meat grinder, except way more effective. Hot water’s your best friend here; aim for water that’s steaming but not quite boiling, then let those parts luxuriate for about 15 to 30 minutes, which’ll soften up even the gnarliest stuck-on meat and give you way less elbow grease to deal with later. Once they’ve had their soak, you’ll find those stubborn bits practically surrender without much scrubbing, making the rest of the cleaning process feel almost easy, almost. Just like cast iron cookware benefits from a thorough soak and careful maintenance to protect its seasoned surface, giving your meat grinder components time in hot water helps ensure every piece comes out clean and ready for safe food prep.


Water Temperature and Duration
How hot should you really go when it comes to soaking your grinder parts? You’ll want to aim for the ideal temp of around 130 to 140 degrees Fahrenheit. That’s hot enough to break down stubborn meat residue without warping your plastic components. Too cold, and you’re basically just wasting time. Too hot? You might damage those delicate parts, and nobody wants that disaster.
For soak duration, give it about 15 to 20 minutes. This timeframe works like a charm, softening up any dried-on bits that’ve gotten comfortable in all those nooks and crannies. You’re not trying to cook anything here, just loosen things up a bit. Check the manufacturer’s instructions too, since some grinders have specific reccomendations. Let physics do its thing, then you’re ready to scrub away.
For best results and to protect your investment, it’s wise to check if your grinder’s warranty coverage includes recommendations about cleaning methods, as improper care can sometimes void long-term protection.
Removing Stubborn Residue
Once you’ve let those parts soak for the recommended time, you’re ready to tackle what’s been lurking in all those hard-to-reach spots. Now comes the fun part—scrubbing! Grab a soft brush or old toothbrush and really dig into the crevices where meat particles love to hide. You’ll be amazed at what comes loose. For stubborn, dried-on bits that won’t budge, try soaking a little longer or using a gentle paste of baking soda and water, which doubles as excellent odor removal. Don’t use anything too abrasive though; you could damage the grinder’s surfaces, especially the blade, which you’ll want to keep sharp for knife sharpening tasks. Work through each component methodically. Your future grinding sessions will thank you for the thorough effort you’ve invested today. For even easier cleanup, consider using dishwasher-safe attachments when available, just as some top-rated immersion blenders feature for user convenience.
Scrub Each Part Thoroughly
Now that you’ve let those parts soak, it’s time to get scrubby with it. Grab a brush or sponge and really work those grinding components, paying special attention to any stubborn meat residue that’s clinging on like it owns the place, because hot water alone won’t cut through all that gunk. Once you’ve scrubbed each part thoroughly and everything’s sanitized with that hot water, you’ll be amazed at how shiny and clean your grinder looks, ready for round two of chopping.
Disassemble All Grinding Components
Work methodically through each component. Separate the hopper, grinding plate, blade, and housing. Pay special attention to blade alignment when you remove it, because reassembling it wrong creates a disaster waiting to happen. Those little screws and springs? Lay them out on a clean towel in order so you won’t lose your mind later.
Take photos if you’re worried about forgetting how it goes back together. Your future self’ll thank you.
Remove Stubborn Meat Residue
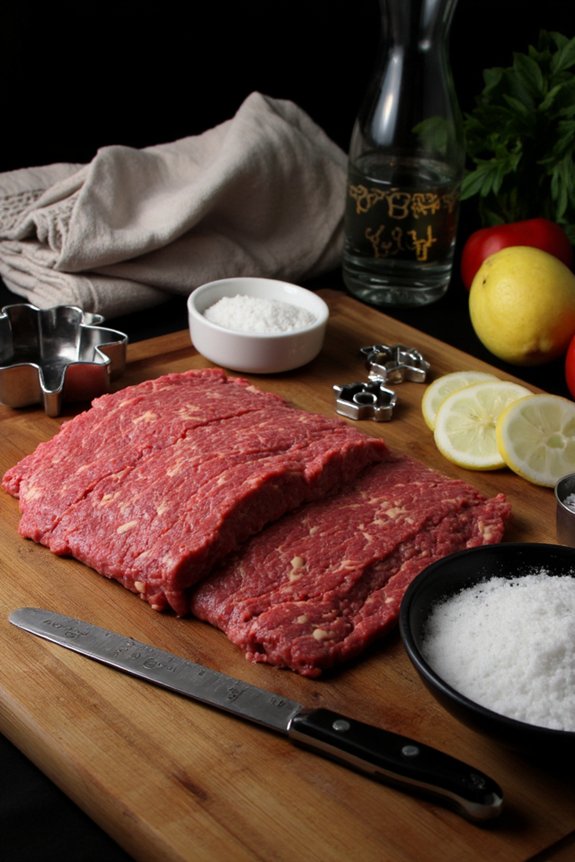
With all your parts laid out like a surgical kit, it’s time to tackle the real mess—the meat that’s basically cemented itself into every crevice of your grinder. Grab a stiff brush and some hot water. Scrub hard. Don’t be gentle here; those stubborn bits won’t budge with wimpy effort. Pay special attention to the blade sharpening grooves where meat loves to hide like it’s paying rent. For odor removal, soak troublesome pieces in warm water mixed with baking soda for fifteen minutes. It’ll work wonders on that funky smell. Use an old toothbrush for tight spaces—they’re perfect for detail work. Rinse thoroughly under hot running water, making sure you’ve eliminated every last speck. Your grinder’ll thank you, and so will your next batch of burgers.


Sanitize With Hot Water
After you’ve scrubbed away the stuck-on crud, it’s time to give everything the spa treatment it deserves. Now comes the hot rinse technique—your secret weapon for truly clean parts. Run steaming water through each component, letting the heat work its magic on any lingering gunk. This isn’t just about rinsing; it’s sanitization at its finest.
| Method | Temperature | Time | Effectiveness | Best For |
|---|---|---|---|---|
| Hot Rinse | 140°F+ | 2-3 min | High | Daily cleaning |
| Steam Sanitization | 212°F | 5 min | Maximum | Deep cleaning |
| Boiling Water Soak | 212°F | 10 min | Excellent | Weekly maintenance |
| Hot Spray | 160°F | 1-2 min | Good | Quick jobs |
| Steam Wand | 200°F+ | 3 min | Very High | Thorough work |
Consider steam sanitization methods for truly germ-free equipment. They’re remarkably effective at eliminating bacteria that regular washing misses. Your meat grinder’ll thank you.
Sanitize to Eliminate Bacteria
Once you’ve scrubbed away all those meat particles, you’re ready to tackle the real enemy: bacteria that’s lurking in every nook and cranny of your grinder. This is where things get serious. You’ll want to use food safe disinfectants—nothing sketchy—to really obliterate those microscopic troublemakers. Hot water alone? Nope. Not enough. A proper sanitizing solution is your best friend here, especially if you’re worried about cold chain monitoring and keeping your grinder food-safe ready. Let that disinfectant sit for a few minutes on all the parts. Don’t rush it. Those bacteria won’t eliminate themselves, and your next burger batch deserves better than contaminated equipment. Your diligence now means delicious, safe meat grinding later.
Dry and Reassemble Properly
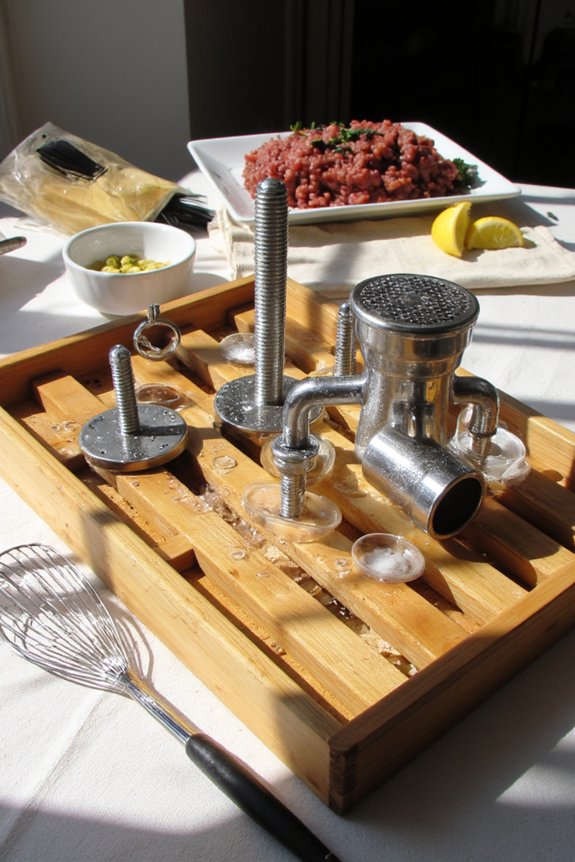
Now that you’ve nuked those bacteria into oblivion, it’s time to dry everything out and put your grinder back together like the culinary pro you’re becoming. Don’t rush this part. Let each component air dry completely on a clean towel, preferably for several hours. Moisture is your enemy here, and patience is your friend. When everything’s bone dry, carefully align shafts as you reassemble. This prevents grinding mishaps later.
Here’s what makes this step vital:
- Air dry prevents rust and corrosion on metal parts
- Proper shaft alignment guarantees smooth operation and consistent grinding
- Thorough drying eliminates hidden moisture that breeds bacteria
Insert the auger first, then the grinding plate and die. Hand-tighten the retaining nut snugly but not aggressively. Your grinder’s ready for action now!
Maintain Your Grinder Between Uses
Your grinder’s not done working just because you’ve put it away clean and dry. Think of maintenance like brushing your teeth—you wouldn’t just do it once and call it good. Storage tips matter big time. Keep your grinder in a cool, dry place away from moisture and extreme temperature swings that’ll mess with the metal. Store all the removable parts together in a sealed container if you can. Before your next grinding session, inspect everything carefully. Check for rust spots or corrosion that might’ve snuck in. Blade sharpening deserves attention too—dull blades make grinding harder and produce inconsistent results. Consider sharpening them every few months, depending on usage. A little preventative care keeps your grinder humming happily for years to come.
Frequently Asked Questions
How Often Should I Deep Clean My Meat Grinder for Food Safety?
You should deep clean your meat grinder monthly for food safety. Additionally, you’ll want to perform a seasonal overhaul to guarantee peak hygiene. Regular monthly maintenance prevents bacterial buildup and keeps your equipment safe.
Can I Put Meat Grinder Parts in the Dishwasher Safely?
No, you shouldn’t. Dishwasher damage doesn’t deter determined deterioration of delicate parts. You’ll risk dishwasher risks, corrosion, and costly warranty issues since manufacturers don’t permit machine washing your grinder’s components.
What’s the Best Way to Remove Rust From Metal Components?
You’ll find that soaking your metal components in vinegar works well for light rust. For stubborn rust, you can use an electrolysis bath, which safely removes rust without damaging the underlying metal.
Is It Safe to Use Bleach When Sanitizing My Grinder?
No, you shouldn’t use bleach on your grinder. You’ll face chemical risks and potential damage to metal parts. Instead, try bleach alternatives like white vinegar or food-grade sanitizers designed specifically for kitchen equipment.
How Do I Prevent My Meat Grinder From Developing Odors?
You’ll keep your grinder smelling fresh as a daisy by cleaning it promptly after use. Sprinkle baking soda on parts, then give them a lemon rinse. You’ve got odor prevention locked down.
Conclusion
You’ve just transformed your grinder from a crusty battlefield into a sparkling kitchen champion. Think of it like giving your machine a spa day—it emerges refreshed, sanitized, and ready to pulverize meat like a pro. You’re not just cleaning; you’re extending its life and keeping your family safe. That’s the real victory here. So don’t skimp on maintenance. Your grinder’s future self will totally thank you.


