Your premium kettle’s been working overtime, and honestly, it’s probably begging for a cleanup. Over time, mineral deposits build up inside—you know, that white crusty stuff—and it’s silently tanking your kettle’s performance. The good news? Descaling’s easier than you’d think, and you’ve probably got everything you need in your kitchen already. Let’s walk through how to bring it back to life.
Key Takeaways
- Fill kettle halfway with white vinegar, top with water, boil for 10 minutes, then let sit overnight for deep mineral deposit removal.
- Rinse thoroughly multiple times with fresh water, then boil and discard water 2–3 times to eliminate vinegar odor and residue completely.
- Use monthly maintenance with 1:1 vinegar-to-water ratio or quarterly with 1:2 ratio to prevent limescale buildup and maintain peak performance.
- For stubborn deposits, combine acid soak with baking soda treatment, or use commercial descaling solutions following product instructions carefully.
- Empty kettle after each use, use filtered or distilled water when possible, and install a compatible filter to reduce mineral accumulation.

Understanding Limescale and Mineral Buildup

Building up inside your kettle over time, limescale isn’t just unsightly—it’s actually mineral deposits left behind when water heats up. You’re dealing with water hardness here, which varies depending on where you live. Hard water contains more minerals like calcium and magnesium, and that’s where the trouble starts.
Here’s the thing about mineral chemistry: when you heat water, these minerals become less soluble and stick to your kettle’s interior. It’s basically nature’s way of creating a crusty mess. The buildup doesn’t just look gross, it actually reduces your kettle’s efficiency and can affect your water’s taste. Think of it as your kettle wearing an unwanted mineral coat. Regular descaling keeps everything running smoothly and your tea tasting fresh.
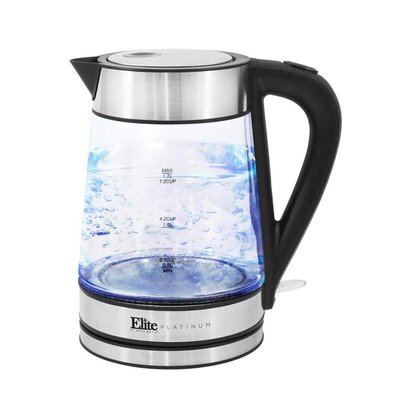
Many premium kettles—especially those with stainless steel elements—require periodic descaling with vinegar, lemon, or baking soda to prevent mineral buildup and maintain optimal performance.
Signs Your Kettle Needs Descaling
Unless you’re living in a bubble of perfect water conditions, your kettle’s probably sending you signals that it’s time for a cleaning. Here’s what to watch for. Notice a white, crusty buildup on the heating element or interior walls? That’s your cue. Kettle odors are another big red flag, especially if your water smells off or tastes slightly metallic. You might also experience heating inefficiency where your kettle takes noticeably longer to boil water than it used to. Sometimes you’ll hear unusual crackling or popping sounds during heating. If your kettle’s performance has declined or the water quality seems compromised, don’t ignore these signs. Your kettle’s basically begging for some TLC, and descaling is the answer. Just like with regular cleaning cycles recommended for countertop appliances, descaling your kettle helps prevent mineral buildup and ensures optimal performance.
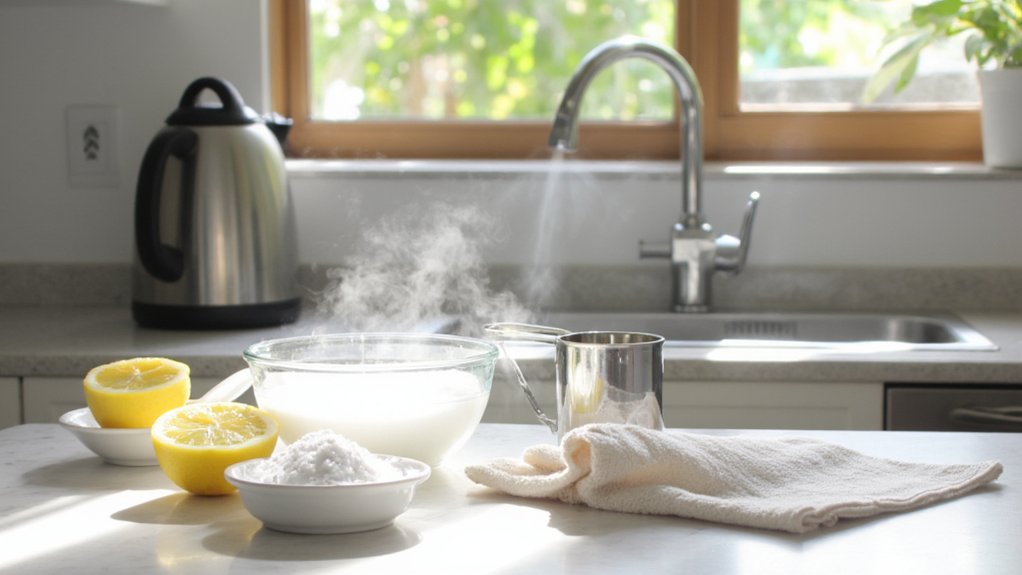
Essential Supplies for the Descaling Process
Now that you’ve identified the problem, it’s time to gather your supplies so you can actually fix it. You won’t need much, which is honestly the best part about descaling.
First up, grab white vinegar or a commercial descaling solution. Both work great, though vinegar’s cheaper and probably already in your kitchen. You’ll also want fresh water for rinsing afterwards, so fill up a pitcher or have your tap ready.
For tool selection, keep things simple. A soft cloth or sponge handles the exterior cleaning nicely. Don’t use anything abrasive that’ll scratch your kettle’s surface.
Safety precautions matter too. Wear gloves to protect your hands from vinegar or descaling chemicals, and make sure you’re working in a well-ventilated area. That’s genuinely it. You’re all set to begin.
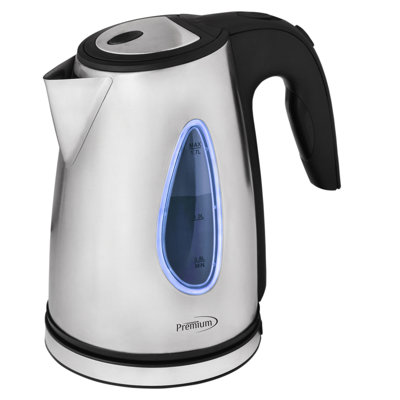
If your kettle features a concealed heating element, this design makes cleaning and descaling more effective because it resists corrosion and prevents mineral buildup.

Using White Vinegar to Remove Mineral Deposits
White vinegar’s got your back when it comes to tackling those stubborn mineral deposits lurking inside your kettle. This natural cleaning powerhouse breaks down limescale without harsh chemicals, making vinegar safety a non-issue for your family.
| Step | Action | Time | Result |
|---|---|---|---|
| 1 | Fill kettle halfway with vinegar | Immediate | Vinegar coats interior |
| 2 | Boil the mixture | 10 minutes | Heat dissolves deposits |
| 3 | Let it sit overnight | 12 hours | Deep cleaning occurs |
| 4 | Rinse thoroughly | 5 minutes | Odor removal complete |
Here’s the thing: fill your kettle halfway with white vinegar, boil it, then let it chill overnight. The acidity works magic on those crusty mineral buildup spots. After soaking, give it several good rinses and run fresh water through it. Your kettle’ll smell fresh, perform better, and you’ll feel pretty great about using something so simple and effective from your pantry. For more tips on keeping your appliances at their best, consider the importance of power and heating technology when choosing kitchen gear.
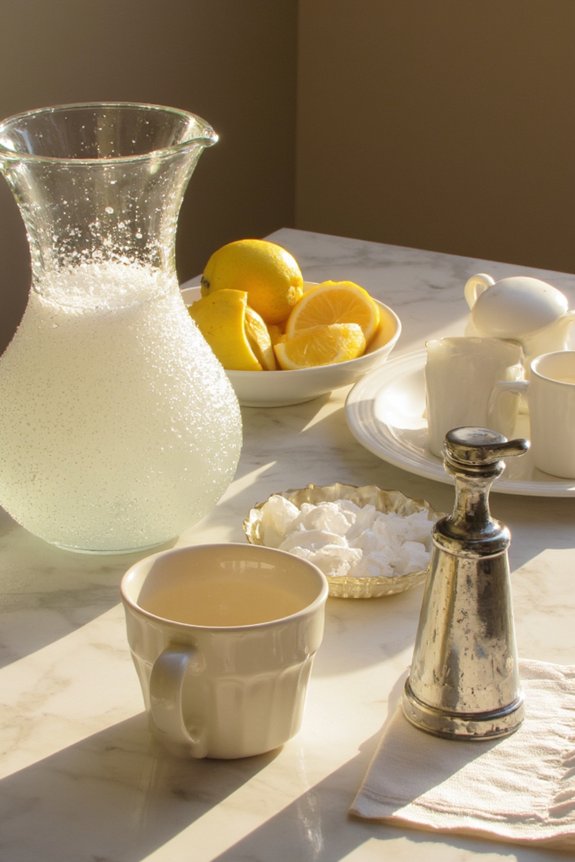
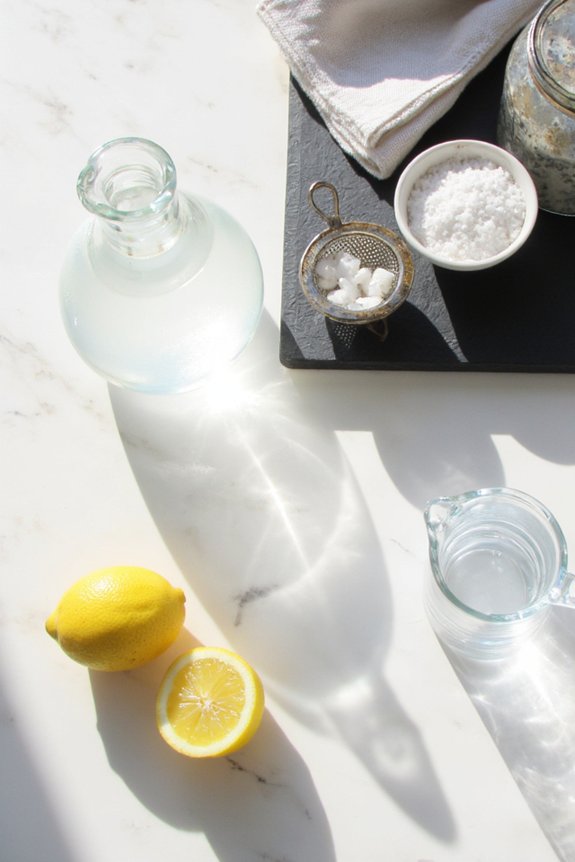
Descaling With Citric Acid or Lemon Juice
If white vinegar isn’t what you’ve got on hand, don’t sweat it. Citric acid and lemon juice work just as well for tackling mineral buildup. You’ll want to dissolve about two tablespoons of citric acid in water, then pour it into your kettle and let it sit for thirty minutes. For lemon juice, use roughly half a cup mixed with water.
Both methods are effective and safe, though citric acid safety is worth noting—always dilute it properly to avoid damaging your kettle’s interior. The main thing to watch for is flavor residue concerns. After descaling, run several cycles of fresh water through your kettle to rinse everything out thoroughly. This makes certain you won’t taste lemony or acidic notes in your next cup of tea. Simple, effective, and probably already in your kitchen. When choosing cleaning methods for appliances, it’s a good idea to consider material quality and durability to help maintain optimal performance and longevity.
The Baking Soda Method for Stubborn Buildup
When those white mineral deposits just won’t budge with acid alone, baking soda’s your secret weapon—it’s gentler than harsh chemicals but surprisingly effective at tackling stubborn limescale that’s settled in for the long haul. You’ll want to know the right technique: mix baking soda with a little water to form a paste, apply it directly to the crusty buildup, let it sit for about 15 minutes, then scrub gently and rinse thoroughly. The results speak for themselves, and you’ll find your kettle looking almost new again without any weird aftertaste lingering around.
Baking Soda Method Benefits
Baking soda can really work wonders on those stubborn mineral deposits that refuse to budge with vinegar alone. You’ll love how this powder tackles buildup that’s practically cemented itself inside your kettle. The alkaline neutralization process breaks down those pesky minerals way better than acidic solutions alone, making it your secret weapon for seriously gunked-up kettles. Beyond just cleaning, you’re getting odor elimination as a bonus, so your kettle won’t smell like old mineral water anymore. What’s really great about baking soda is that it’s gentle on your kettle’s interior while still packing serious cleaning power. Plus, it’s dirt cheap and probably already sitting in your kitchen cabinet. You’ll be amazed how effective this simple method actually is for restoring your electric kettle to like-new condition.
Proper Application Techniques
Now that you understand why baking soda works so well, let’s get into the nitty-gritty of actually using it. First, fill your kettle halfway with water and add three tablespoons of baking soda. You’ll notice some fizzing—that’s the magic happening. Let it sit for fifteen minutes so the soda can break down stubborn deposits.
Next, use spray application with a bottle filled with baking soda solution to target hard-to-reach spots inside. For targeted agitation, grab a soft brush or cloth and gently scrub the interior walls. Don’t go crazy though, you don’t want to damage anything.
Pour out the mixture, rinse thoroughly with fresh water, and repeat the process if needed. Your kettle’ll be sparkling clean and ready to brew some seriously good tea or coffee.

Results and Effectiveness
As long as you’ve followed the steps above, you’ll be amazed at how effective baking soda really is for tackling those stubborn mineral deposits. Your kettle’ll look practically brand new. The interior surfaces become noticeably cleaner, and that’s where the real magic happens. You’re not just improving appearance—you’re boosting energy efficiency too. A descaled kettle heats water faster, which means less electricity consumed and lower bills over time. Plus, your warranty considerations remain intact since you’re using natural, safe ingredients rather than harsh chemicals that might void coverage. The water tastes better without that mineral flavor, and you’ll notice your kettle heating more quietly. That’s the sound of proper performance returning. Pretty satisfying results from something sitting in your pantry.
Commercial Descaling Solutions and When to Use Them
While vinegar and baking soda work great for most situations, sometimes you’ll want to bring in the heavy hitters. Commercial descaling solutions offer more powerful results when buildup gets stubborn. You might consider industrial cleaners if your kettle’s seen better days or you’re dealing with seriously hard water.
| Product Type | Best For | Frequency |
|---|---|---|
| Vinegar | Regular maintenance | Monthly |
| Commercial solutions | Heavy buildup | Every 2-3 months |
| Professional maintenance | Severe cases | Annually |
Most folks don’t need professional maintenance regularly, but it’s worth considering if you’ve got mineral-heavy water. These stronger formulas cut through deposits faster. Just follow the instructions carefully, rinse thoroughly, and you’ll have your kettle running like new again.
Step-by-Step Descaling Instructions
Now that you’ve picked your descaling solution, it’s time to actually get down to business and make your kettle sparkle again. You’ll want to prep your kettle properly first, apply the descaling solution using the right method, and then rinse and test everything thoroughly to make sure you haven’t accidentally created a potion that tastes like chemicals. Don’t worry though, we’ll walk you through each step so you can knock this out without any drama.
Prepare Your Kettle Properly
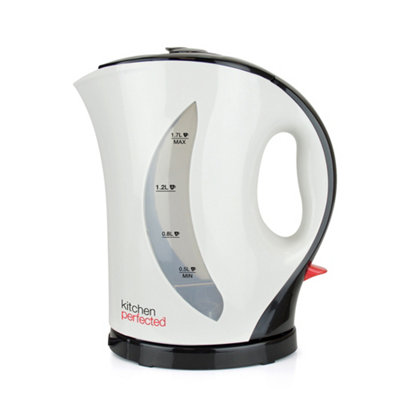
Before you plunge into the descaling process, gather your supplies and get your kettle ready for its much-needed cleaning session. First, unplug that bad boy and let it cool down completely—no burnt fingers here. Next, find a good kettle placement near your sink where you’ll have plenty of workspace. You’ll want your white vinegar, water, and a soft cloth within arm’s reach.
Empty any remaining water from the reservoir. Check that cord storage is clear and won’t get wet during the process. Fill your kettle halfway with white vinegar, then top it off with water. This mixture is your secret weapon against stubborn mineral buildup that’s been accumulating in there.
You’re almost ready to start the actual descaling. Just take a breath and remember—this whole thing takes maybe thirty minutes, tops.
Apply Descaling Solution Method
Your kettle’s now loaded up with that vinegar and water combo, so it’s time to actually put it to work. Flip the power switch and let it heat up completely. Once it boils, turn it off and let everything sit for about 15 minutes, allowing the solution to break down those stubborn mineral deposits.
| Descaling Frequency | Solution Concentration |
|---|---|
| Monthly | 1:1 vinegar to water |
| Quarterly | 1:2 vinegar to water |
| Bi-annually | Equal parts vinegar |
| Annually | Diluted solution |
After waiting, empty the kettle carefully. The liquid might look pretty gnarly with all those loosened minerals floating around. Rinse it thoroughly with fresh water several times until you don’t smell vinegar anymore, and your kettle’s basically good as new.
Rinse and Test Thoroughly
After you’ve let that descaling solution do its thing and emptied out the kettle, the real work begins—getting rid of all those vinegar fumes and mineral residue. Fill it with fresh water and boil it. Then dump that out and repeat the process two or three times until the smell’s completely gone. You’ll know you’re done when there’s no lingering vinegar scent.
Next up, water testing and performance checks are vital. Fill your kettle with fresh water one more time, boil it, and listen for any weird sounds or notice any off-tastes. Your kettle should heat up quickly and smoothly without any strange noises. If everything’s running smooth, congrats—you’ve successfully restored your kettle to its former glory.
Rinsing and Cleaning After Descaling
Once you’ve let that vinegar solution do its magic, it’s time to give your kettle a proper rinse. Fill it with fresh water and empty it out a few times, making sure you’re getting rid of all that vinegar smell and residue. Don’t forget about filter removal either—take out that filter basket and rinse it separately under running water. You’ll probably notice some water spots on the inside, so keep rinsing until they’re gone and the water runs clear. After a couple rounds, fill your kettle with clean water, boil it, and toss that water out. Do this twice more just to be safe. Your kettle’s now squeaky clean and ready to brew some seriously good tea or coffee without any funky aftertaste hanging around.
Maintenance Tips to Prevent Future Mineral Accumulation
Now that you’ve got your kettle sparkling clean, the real trick is keeping it that way without having to scrub it down every other week. Start with routine flushing by boiling distilled water once a month, then discarding it. This simple habit prevents mineral buildup before it becomes a problem. Consider filter installation if your kettle supports one—it’s like giving your water a mini spa treatment before it even enters the chamber. You’ll notice fewer deposits accumulating over time. Also, use filtered or distilled water whenever possible instead of tap water. It’s a game-changer, honestly. Empty your kettle completely after each use so water doesn’t sit around and get all crusty. These small steps keep your kettle performing like it’s brand new.
Frequently Asked Questions
How Often Should I Descale My Electric Kettle to Maintain Optimal Performance?
You should descale your electric kettle every one to three months, depending on your water’s mineral content. Follow frequency guidelines based on mineral buildup in your area. Hard water requires more frequent descaling for peak performance.
Is It Safe to Drink Water Immediately After Descaling With Vinegar or Citric Acid?
You shouldn’t drink water immediately after descaling. Rinse your kettle thoroughly multiple times to eliminate vinegar taste and residual acidity. Boil fresh water twice before consuming to guarantee it’s safe.
Can I Descale My Kettle if It Has a Non-Removable Filter or Heating Element?
Yes, you can descale your kettle with non-removable filters and heating elements. You’ll need to work around these components carefully. Make certain proper accessibility by following your manufacturer’s guidelines for filter care and avoid direct contact with the heating element during descaling.
What’s the Difference Between Descaling and Regular Cleaning of an Electric Kettle?
Regular cleaning removes dust and debris from your kettle’s exterior and interior surfaces. Descaling, however, tackles mineral buildup that accumulates from hard water, requiring routine maintenance with acidic solutions to restore peak performance.
Will Descaling Void My Kettle’s Warranty or Damage Any Internal Components?
No, descaling won’t void your kettle’s warranty or damage internal components. You’re actually protecting them. Regular descaling prevents component corrosion and mineral buildup, extending your kettle’s lifespan while maintaining manufacturer warranty implications.
Conclusion
Your kettle’ll thank you for regular descaling. It’s honestly not that hard—just vinegar, a little patience, and you’re golden. You’ll notice your water tastes better and heating’s faster, which is pretty neat. Stick with filtered water going forward and you won’t need to descale nearly as often. Keep it simple, and your kettle stays happy for years.


