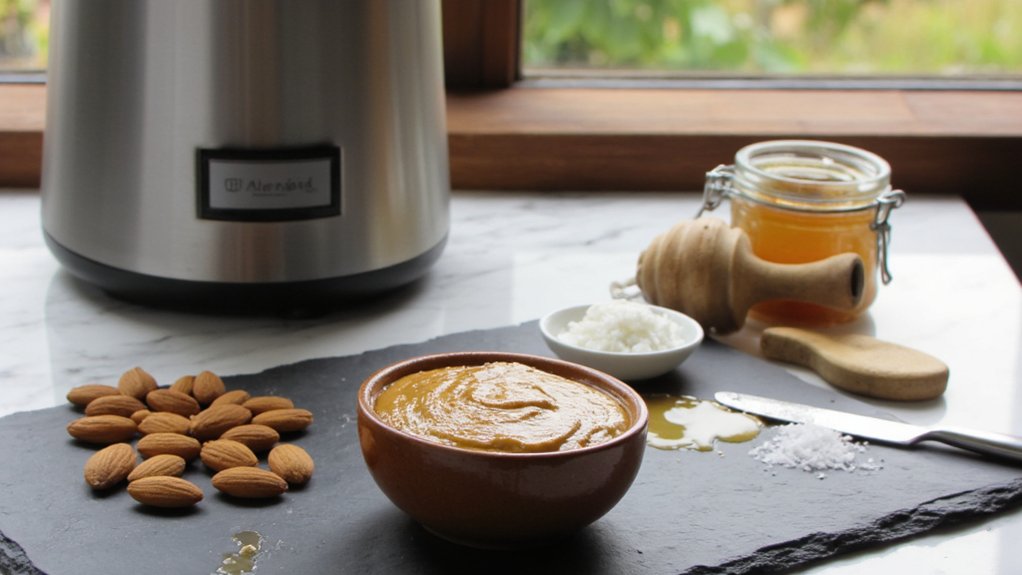
Making your own nut butter? It’s easier than you’d think, and way more satisfying than store-bought stuff. You’re gonna roast some nuts, run ’em through your machine, and boom—creamy spreadable gold in your jar. But here’s the thing: there’s a real technique to nailing that perfect texture without turning everything into nut paste soup, and we’re about to show you exactly how.
Key Takeaways
- Select quality raw or lightly roasted nuts, avoiding pre-roasted varieties with excessive salt and oil for cleaner flavor.
- Roast nuts at 350°F for 10–15 minutes, stirring halfway through, then cool completely before processing to prevent uneven texture.
- Blend using progressive power settings with pulse intervals and rest periods to prevent overheating while achieving creamy consistency.
- Extend blending time with patience, monitoring progress through taste-tests until reaching spreadable consistency without crumbling.
- Add honey, maple syrup, or neutral oil slowly during processing to enhance smoothness and adjust final texture as needed.
Choosing the Right Nuts for Your Butter
Have you ever wondered why some homemade nut butters taste like heaven while others taste like disappointment in a jar? The secret’s in your nut selection, friend. You’ve gotta pick quality nuts that’ll actually make you excited to spread that butter on toast.
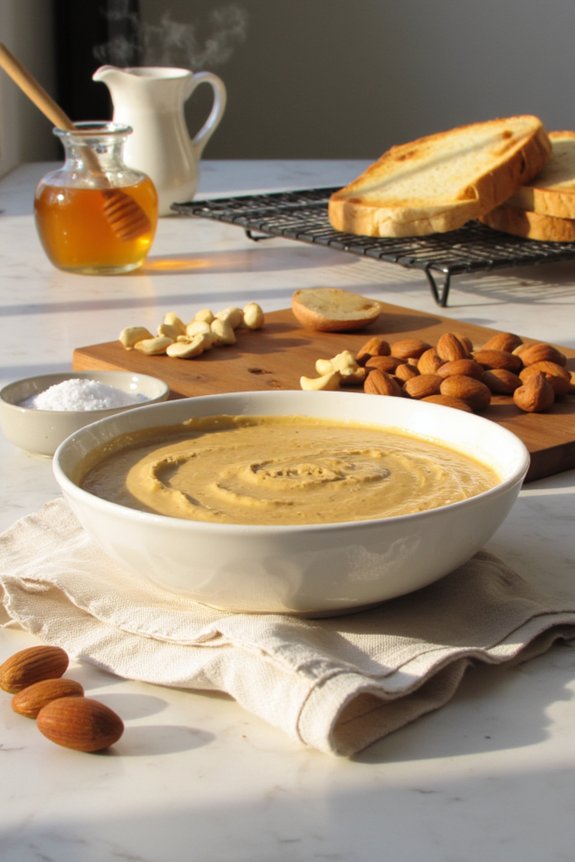
Start by considering seasonal sourcing, which means buying nuts when they’re freshest and most flavorful. Raw almonds, cashews, and peanuts each bring their own vibe to the party. Almonds offer earthiness, cashews deliver creaminess, and peanuts bring nostalgia. Mix and match for custom flavors that’ll blow your mind.
Here’s the thing: check for nut allergy concerns if you’re sharing with others. Also, avoid pre-roasted nuts loaded with salt and oil. Fresh, high-quality nuts’ll transform your nut butter maker into a flavor-producing machine that deserves respect.
When choosing nuts, remember that proper seasoning and maintenance can influence the final taste and texture of your spread, especially if you plan to roast them in cast iron before blending.
Preparing Your Nuts Before Processing
Before you start transforming those nuts into creamy gold, you’ll want to make sure you’re starting with quality ingredients that’ll actually taste amazing. Roasting your nuts brings out all those rich, toasty flavors you’re after, and letting them cool completely is non-negotiable if you want smooth butter instead of a greasy mess that’ll make you question your life choices. Get these two steps right, and you’re basicly halfway to nut butter nirvana. For the best results, select nuts that are compatible with your blender’s motor power to ensure a smooth, creamy texture without risking damage to your machine.
Selecting Quality Nuts
Starting your nut butter journey with quality nuts is absolutely essential, and honestly, it’s easier than you’d think. You’ll want to hunt for organic certification labels because they’re worth the extra look. Fair trade sourcing matters too—it’s about knowing your nuts came from ethical sources. Raw or roasted? That’s your call, friend.
| Nut Type | Best For | Flavor Profile | Price Range |
|---|---|---|---|
| Almonds | Creamy texture | Mild, slightly sweet | Budget-friendly |
| Cashews | Ultra smooth | Rich, buttery | Moderate |
| Peanuts | Bold taste | Strong, nutty | Economical |
| Walnuts | Earthiness | Deep, robust | Mid-range |
Check the packaging dates carefully. Fresher nuts mean better flavor and nutrition. Look for vacuum-sealed bags without weird discoloration or rancid smells. You’re investing in deliciousness here, so don’t settle for questionable stock gathering dust on shelves. When selecting nuts, consider material quality and durability as you would with your blender to ensure the best end result.
Roasting and Cooling Process
Once you’ve got your quality nuts locked down, it’s time to give them some heat—and trust me, this step’s where the magic really starts happening. Preheat your oven to around 350°F, which’s the sweet spot for roasting without burning your precious ingredients. Spread those nuts out on a baking sheet in a single layer. You want ’em toasted evenly, so stir them halfway through, roughly 10 to 15 minutes total. Your kitchen’ll smell absolutely incredible. Once they’re golden and fragrant, here comes the tricky part: cooling time. Don’t rush this. Let them sit on the baking sheet for at least 15 minutes before processing. Why? Hot nuts release oils unevenly, creating texture problems. Cool nuts give you that creamy, smooth consistency you’re after. Patience pays off. For best results when transitioning to your nut butter maker, make sure both your nuts and any equipment attachment are thoroughly dry and clean to prevent sticking or clumping during processing.
Setting Up Your Nut Butter Maker
Now that you’ve got your nuts prepped and ready to roll, it’s time to get your nut butter maker all set up—and trust me, there’s more to it than just plugging it in and hoping for the best. You’ll want to nail down three key things: assembling your machine correctly so nothing flies apart mid-process, picking the bowl that’ll handle your specific nut load without complaint, and figuring out which power setting’ll transform your nuts into creamy gold without burning them to a crispy, regrettable mess. If your nut butter maker uses a motorized system similar to those found in copper-wound motors, make sure you understand the difference between peak and continuous power to avoid overheating during operation.
Assembling Your Maker
Get your nut butter maker ready—this is where the magic happens. You’re about to transform whole nuts into smooth, creamy deliciousness, so let’s get everything in place properly.
Before you plunge in, perform these essential steps:
- Check the power cord for any damage or fraying
- Verify the container sits snugly in the base
- Make sure the blade assembly clicks securely into position
- Test that the lid closes completely without forcing
- Run a quick safety checks on all electrical components
Alignment tips matter too. Make sure your container’s notches line up perfectly with the base grooves—misalignment can cause messy leaks and uneven mixing. Double-check that everything’s tight but not overly forced, since over-tightening damages the threading. You’ll hear a satisfying click when it’s right. Now you’re ready to start blending some nut butter magic!
Choosing the Right Bowl
With your maker all assembled and ready to rock, the bowl you choose is actually gonna make or break your nut butter game. You’ll want to grab a bowl made from stainless steel or durable plastic—these bowl materials handle the heat like champs. Stainless steel’s your MVP here because of its superior heat distribution, which keeps your nuts from burning while they’re transforming into buttery perfection. Plus, it doesn’t retain flavors or odors, so your almond butter won’t taste like last week’s peanut creation. Plastic works too, honestly, but it can get a little toasty and might warp if you’re running extended cycles. Pick the right bowl and you’re already halfway to nut butter success. Your future spread is thanking you.
Power Settings Explained
Your nut butter maker’s power settings are basically the difference between a smooth, creamy spread and a grainy disaster that tastes like sadness. Don’t just crank it to max and hope for the best. Here’s what you really need to know about controlling your machine:
- Low setting works great for initial grinding and breaking down whole nuts
- Medium speed balances efficiency with heat management during processing
- High power accelerates the creaming process but risks overheating your mixture
- Pulse durations let you stop between intervals and prevent over-processing
- Motor torque determines how effectively your maker handles different nut varieties
Start low, gradually increase speed, and monitor everything carefully. The motor torque on mid-range settings usually works best for most nuts. Your patience now means buttery perfection later, so don’t rush it.
The Grinding Process: What to Expect
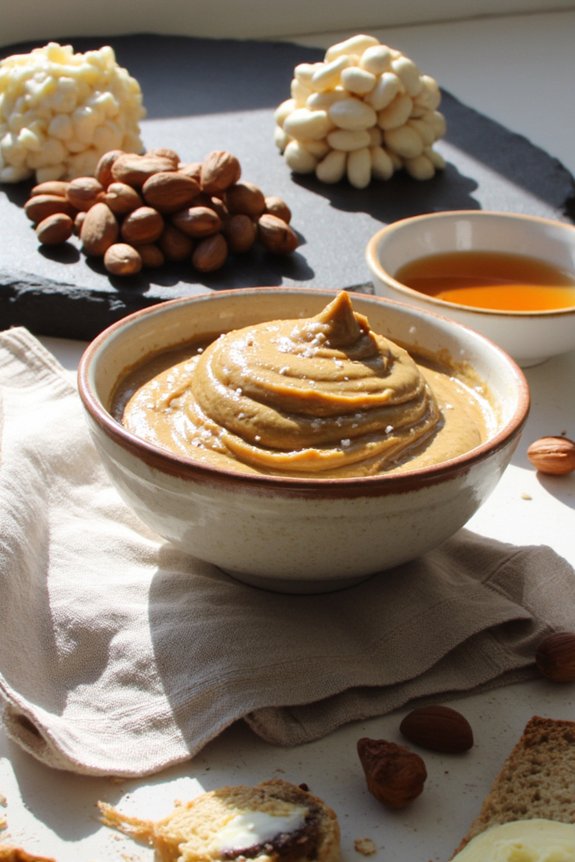
Transforming whole nuts into silky butter takes patience—and honestly, a little bit of faith. You’ll notice the texture evolution unfold right before your eyes. First comes coarse grinding, then it gets clumpy. Don’t panic! That’s completely normal. Keep going. Around the five-minute mark, oils start releasing and things get real. The mixture transforms from dry crumbles into something creamy and smooth. It’s genuinely magical watching those stubborn nuts surrender to the machine’s power. You’re basically witnessing a delicious breakdown in real time. Once you’ve reached peak creaminess, you’re done! For cleanup tips, wipe down your nut butter maker immediately while it’s still warm—dried nut butter becomes stubborn and annoying. A damp cloth works wonders. Your patience just paid off big time.
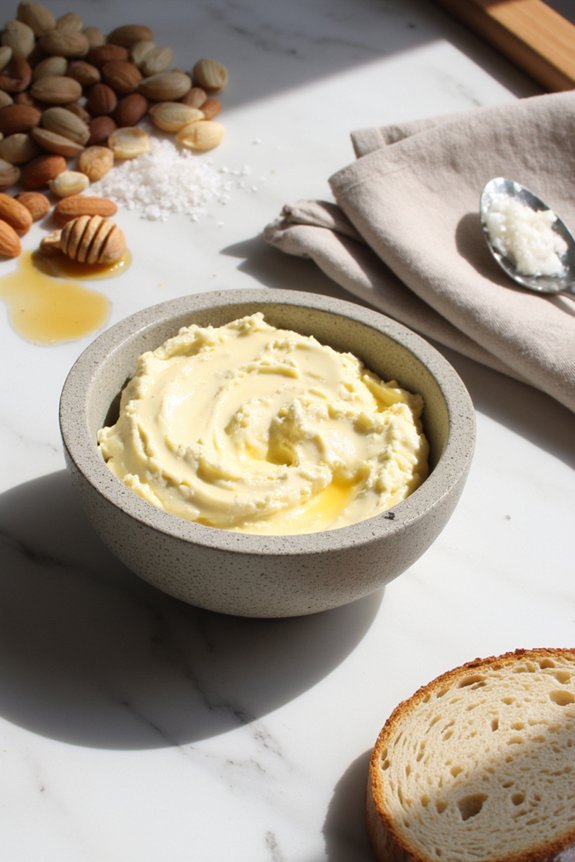
Achieving the Perfect Creamy Consistency
- Add a teaspoon of honey or maple syrup for sweetness and smoothness
- Drizzle in neutral oil slowly, mixing as you go
- Let it rest between pulses so the machine doesn’t overheat
- Stir manually if you need micro-adjustments
- Taste-test frequently for flavor development
- Use airtight sealing with glass jars or containers to lock out moisture and air
- Store in a cool, dark place away from direct sunlight and heat
- Keep your pantry organized with shelf rotation, placing newer batches behind older ones
- Refrigerate for longer freshness, especially nut butters with add-ins like chocolate or fruit
- Check for any off smells or mold before using
Emulsion stability matters here, too. Your nut butter’s holding together through sheer force and friction, so don’t rush it. The longer you blend, the creamier it gets—but patience pays off. You’ll know it’s perfect when it spreads like butter without crumbling.
Flavor Customization and Add-Ins
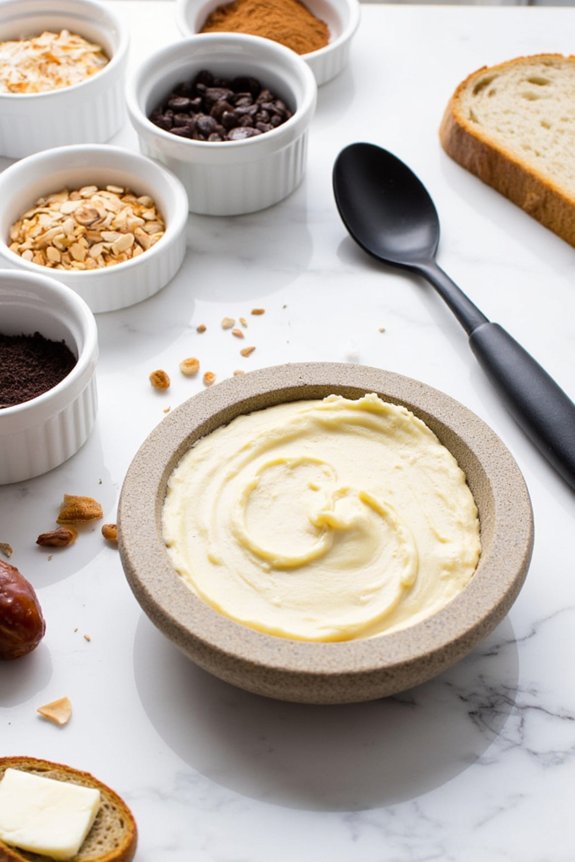
Once you’ve nailed that creamy base, the real fun kicks in—because plain nut butter is nice, but customized nut butter? That’s where the magic happens. You can experiment with spice pairings like cinnamon, vanilla, and a pinch of cayenne for that sweet heat kick. Want something fruity? Blend in seasonal fruits during their peak to add natural sweetness and texture. Think strawberries in spring or pumpkin in fall. Honey, maple syrup, and dark chocolate chips are your friends too. Don’t be afraid to get adventurous—add a little sea salt, coconut flakes, or even espresso powder. The beauty is that your nut butter maker makes it dead easy to incorporate whatever sounds delicious. Your taste buds will thank you.
Storage Tips to Keep Your Butter Fresh
Now that you’ve crafted your perfect batch of homemade nut butter—complete with all those delicious flavor tweaks—you’ll want to keep it tasting as fresh and fabulous as the day you made it. Proper storage is key to maintaining that creamy goodness.
Here’s what you need to know:
Your homemade creation can last weeks when stored properly. That’s pretty sweet.
Frequently Asked Questions
Can I Make Nut Butter From Raw Nuts, or Do They Need to Be Roasted First?
You can make nut butter from raw nuts without roasting them first. Raw nuts retain more enzymes and nutrients, though you’ll get a different texture. Roasted nuts produce creamier results, but the raw vs. roasted choice depends on your preference.
How Long Does Homemade Nut Butter Typically Last in the Refrigerator?
Your homemade nut butter’s shelf life in fridge storage is practically eternal—well, almost! You’ll find it’ll last magnificently for three to four weeks when you’ve sealed it properly, though it’s practically impossible it’ll last that long before you’ve devoured it.
What’s the Difference Between Natural and Conventional Nut Butter Makers?
Natural nut butter makers typically feature quieter motors with reduced motor noise, while conventional models often operate louder. You’ll find natural versions often include extended warranty coverage and eco-friendly materials, though they’re usually pricier.
Can I Use a Food Processor Instead of a Dedicated Nut Butter Maker?
Yes, you can use a food processor, though you’ll have less texture control and blending speed consistency. You’ll need to manually manage oil addition and process longer to achieve the creamy texture a dedicated maker provides.
Why Does My Nut Butter Separate, and How Do I Prevent It?
Over 70% of homemade nut butters separate within weeks. Your butter separates due to oil migration and texture layering. You’ll prevent this by stirring frequently during processing and storing it upside-down in airtight containers.
Conclusion
You’ve totally got this! You’re now armed with everything you need to make nut butter that’ll knock store-bought stuff right off your shelf. Here’s the kicker: did you know that homemade nut butters retain up to 40% more nutrients than comercial versions? That’s because you’re controlling the heat and processing time. So go ahead, fire up that machine, and get ready to spread some seriously delicious, nutritious magic on everything.


