Making Greek yogurt at home is basically like becoming a dairy wizard—except way less complicated than it sounds. You’re probably thinking it’s some impossible kitchen feat, but here’s the thing: with your yogurt maker and a little patience, you’ll be churning out thick, creamy yogurt that’ll make store-bought versions look like sad, watery jokes. The secret? It’s all about nailing the temperature, choosing quality milk, and mastering one game-changing step that transforms ordinary yogurt into something truly special. Ready to find out what that is?
Key Takeaways
- Use whole cow’s milk with at least 3.5% fat for rich, creamy texture and superior results.
- Maintain steady incubation temperature of 110–115°F for 8–12 hours; longer fermentation increases thickness and tanginess.
- Line a fine-mesh strainer with cheesecloth and strain for 4–8 hours or overnight for maximum density.
- Cool milk to ~110°F before adding fresh, room-temperature starter culture to avoid lumps and ensure even fermentation.
- Refrigerate immediately after incubation to halt fermentation and lock in your desired thick, custard-like texture.
Choosing the Right Milk for Greek Yogurt
If you’ve ever wondered why your homemade yogurt turned out more like sad milk soup than creamy perfection, the culprit was probably sitting in your fridge the whole time. Yeah, we’re talking about milk. Here’s the thing: not all milk is created equal when you’re making Greek yogurt. You’ll want whole cow’s milk with at least 3.5% fat content. Anything less? Forget about it. The fat’s what gives you that luxurious, thick texture you’re craving. Some folks experiment with plant alternatives, but they’re trickier—they don’t strain as nicely. Full-fat cow’s milk is your MVP here. Skip the skim stuff entirely. Pasteurized works great, though ultra-pasteurized can sometimes mess with your results. Hunt down the good stuff, and your yogurt maker’s gonna thank you. For best results, temperature control precision during fermentation is just as important as the type of milk you use, since steady heat helps create that extra-thick, creamy Greek yogurt texture.
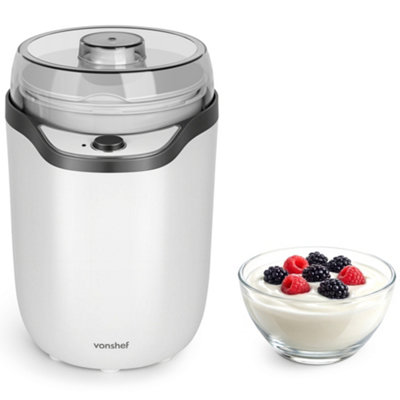
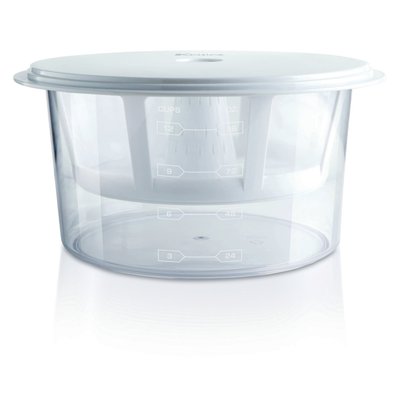
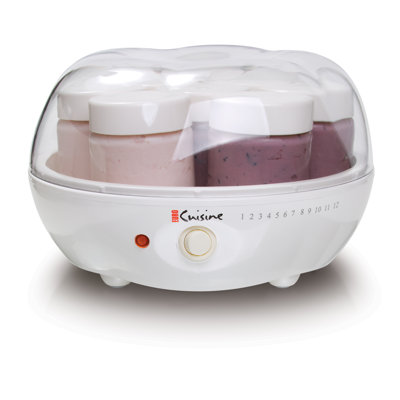
Understanding Your Yogurt Maker Settings
Once you’ve got that perfect milk sitting in your yogurt maker, it’s time to decode the mysterious control panel staring back at you. Don’t worry, it’s not rocket science. Here’s what you’re actually working with:
- Temperature settings: Most makers range from 100-110°F, which is where those friendly bacteria throw their party
- Calibration modes: These bad boys guarantee your machine’s hitting the right temps consistently, no guessing games
- Power cycles: They control how long your yogurt incubates, usually between 6-12 hours depending on thickness desires
- Timer functions: Your trusty alarm so you don’t forget about your creamy creation
Understanding these features means you’re basically halfway to yogurt mastery already. Your machine’s not being cryptic on purpose. It’s just waiting for you to take charge and make some seriously thick, delicious Greek yogurt magic happen. When choosing or using a yogurt maker, it’s helpful to consider multiple independent safeguards to ensure safe and consistent results every time.
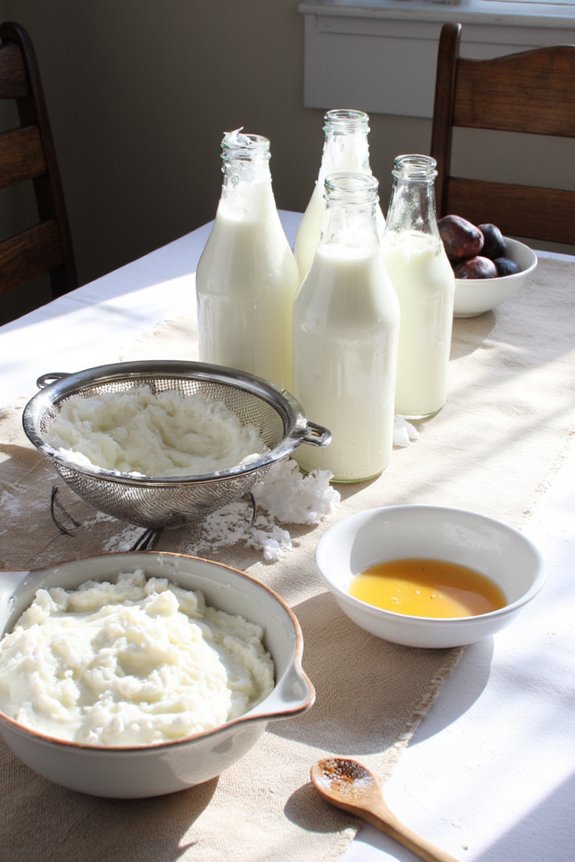
Preparing Your Milk and Starter Culture
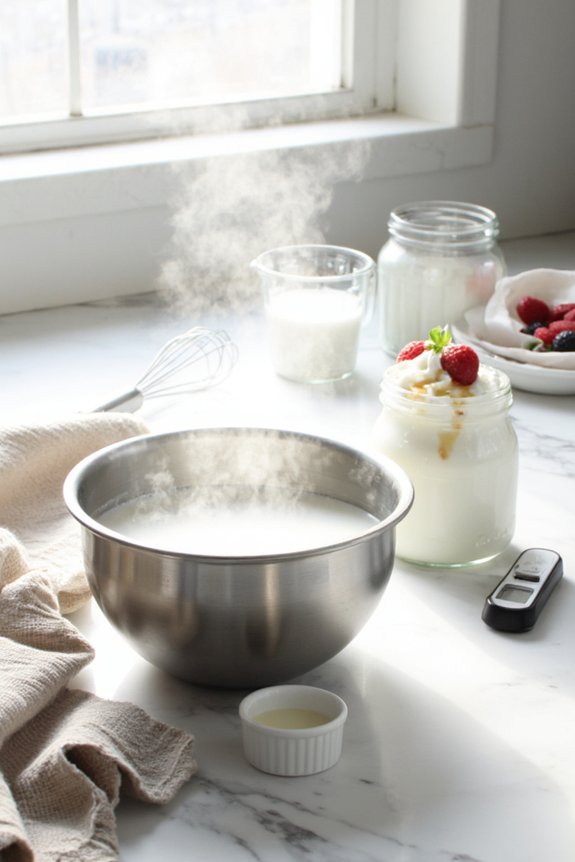
Now comes the fun part—getting your milk and starter culture ready to work their magic together. You’ll want to grab the highest-quality milk you can find, because honestly, thick, creamy yogurt starts with what you put in, and whole milk or even cream-top varieties will give you that luxurious texture you’re after, while your starter culture needs to be fresh and activated properly so those beneficial bacteria can get busy doing what they do best. Think of it like assembling your yogurt dream team before the big game. For the best results, make sure your milk is heated evenly and cooled to the ideal temperature, similar to how precise temperature control ensures perfect results in electric kettles.

Selecting Quality Milk
The foundation of killer Greek yogurt sits right there in your fridge—milk. You’ve gotta pick the right stuff if you want creamy, delicious results. Here’s what you’re looking for:
- Whole milk gives you the richness and fat content that thick yogurt craves
- Organic milk reduces unwanted additives and pesticides that might interfere with fermentation
- Raw milk offers beneficial bacteria, though it requires careful handling
- Ultra-pasteurized milk won’t work—the heat processing damages protein structures
Skip skim milk entirely. It’ll disappoint you. Go for full-fat options when possible because that fat’s doing heavy lifting for texture and taste. Fresh is best, so check those expiration dates. Quality milk means quality yogurt, plain and simple. Don’t cheap out here. If you’re using a yogurt maker with a cast iron base, you’ll benefit from even heat distribution for more consistent fermentation.
Activating Your Starter Culture
Bring your milk and starter culture to the party, because this is where the magic really starts happening. You’re about to witness starter activation in all its glory! Here’s what you need to know before diving in.
| Element | Temperature | Time |
|---|---|---|
| Milk | 110°F | Pre-warm |
| Starter Culture | Room Temp | 30 mins |
| Mixture | 110°F | Ready to go |
Culture revival happens when you let that starter sit out first. Don’t rush it. Your starter’s been chilling in the fridge, so give it time to wake up and get excited. Mix your warmed milk with the activated culture slowly, stirring gently to distribute everything evenly. You’re basically introducing old friends who haven’t seen each other in forever. Keep things smooth and steady. This careful preparation? It’s gonna reward you big time with creamy, delicious yogurt.
For best results, ensure your utensils and containers are properly cleaned and rinsed since even a little contamination can affect your final yogurt’s taste and thickness.
Setting the Correct Temperature and Time
Now here’s where things get a little finicky, because nailing that ideal temperature range—we’re talking 110 to 115 degrees Fahrenheit—is basically the difference between creamy yogurt perfection and a runny disappointment that’ll make you question your life choices. You’ll want to keep your yogurt maker humming away for about 8 to 12 hours, though thicker Greek yogurt sometimes needs the longer end of that spectrum since you’re not just making yogurt, you’re cultivating something gloriously dense and spoonable that’ll make store-bought versions look like sad, wimpy excuses for dairy.
Ideal Temperature Range
Getting your yogurt maker dialed into the right temperature is honestly where the magic happens—it’s like finding the sweet spot on a guitar string, except you’re creating creamy, delicious Greek yogurt instead of a sick solo.
You’ll want to aim for these sweet spots:
- 110-115°F (43-46°C) – The goldilocks zone for bacterial heat tolerance and consistent results
- Maintain steady temperature – Fluctuations mess with incubation precision and your final product
- Check your maker’s specs – Different models vary slightly, so follow manufacturer guidelines
- Use a thermometer – Don’t guess, seriously. Digital ones are cheap insurance against yogurt disasters
Here’s the thing: these bacteria are kinda picky. Too cold and they’ll just nap instead of working. Too hot and you’ll basically cook ’em. Getting incubation precision right means you’re rewarding those hardworking cultures with ideal conditions, which translates to thicker, tangier perfection in your bowl.
Optimal Incubation Duration
Once you’ve nailed that temperature sweet spot, timing becomes your next best friend—and honestly, it’s way more forgiving than you’d think. Most yogurt makers work best with incubation times between 8 to 12 hours. Here’s the thing: longer fermentations actually give you that thick, tangy Greek yogurt texture you’re craving. The bacteria need time to do their thing, converting lactose into lactic acid and creating that signature sourness.
Start checking around the 8-hour mark. Your yogurt should jiggle slightly when you move the maker, not slosh around like milk. Once it reaches that custard-like consistency, don’t skip rapid cooling. Transfer everything to the fridge immediately. This stops fermentation dead and locks in your perfect texture. Patience pays off here, seriously.

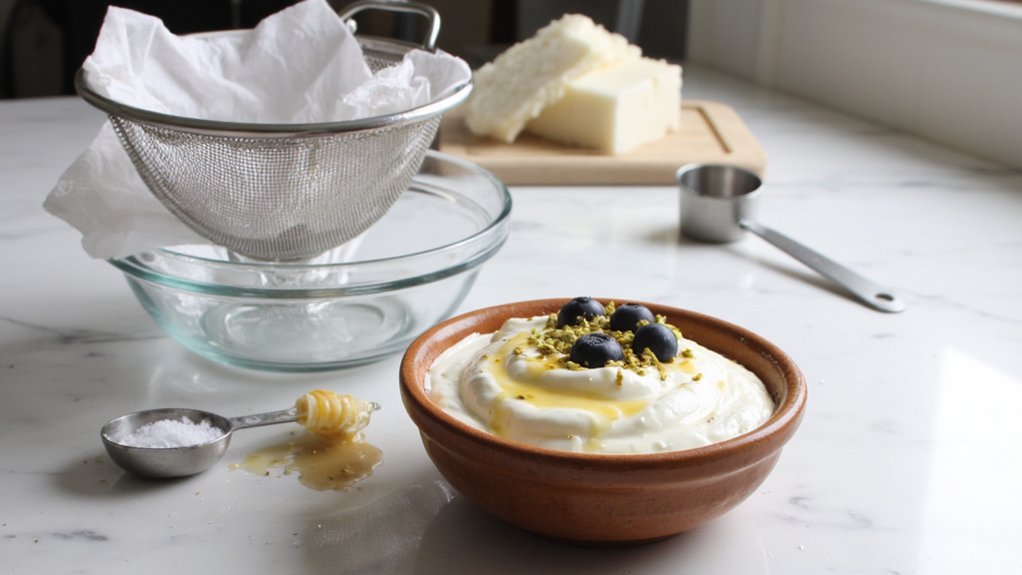
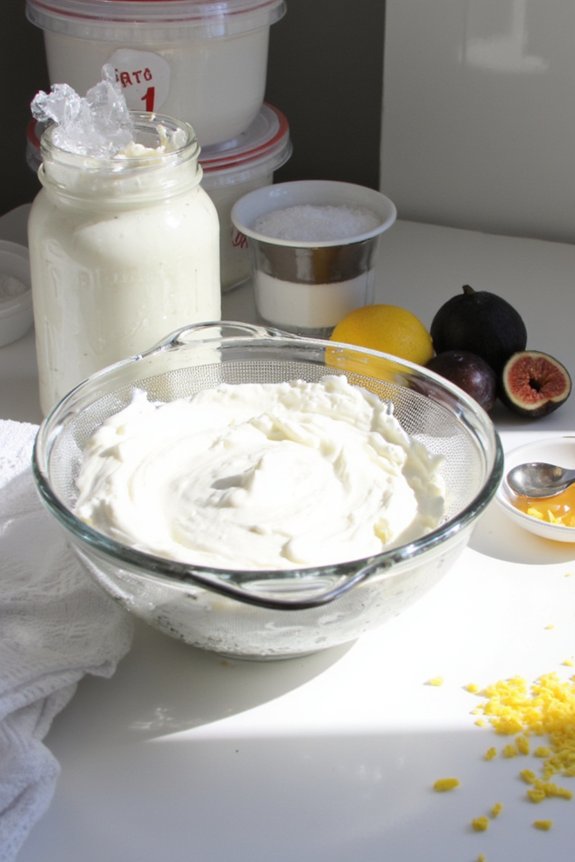
The Straining Process: Achieving the Perfect Thickness
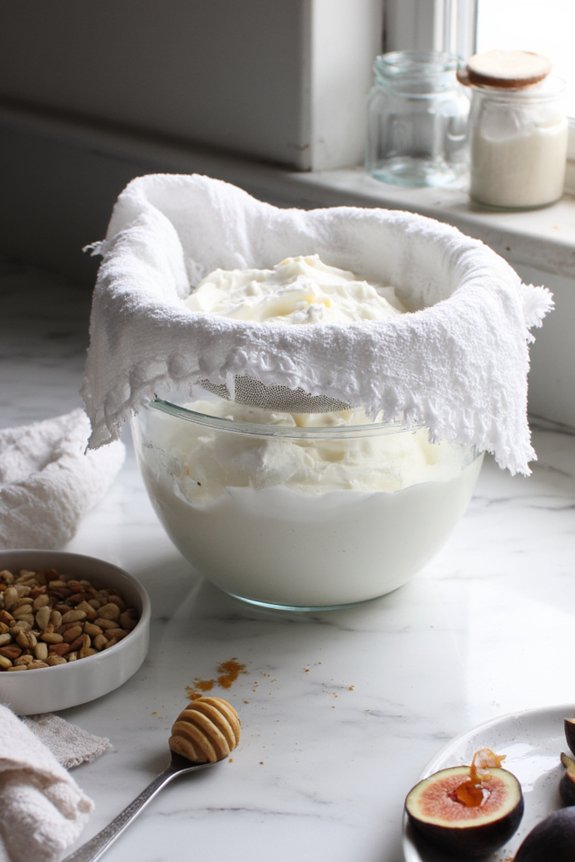
If you’ve ever wondered why some Greek yogurt’s so thick you could practically stand a spoon in it, while others feel more like regular yogurt’s thinner cousin, the answer lies in straining.
Here’s what you’re actually doing:
- Separating milk solids from whey drainage through cheesecloth
- Allowing gravity to do the heavy lifting for hours
- Building creamier, denser texture with each passing minute
- Creating that luxurious consistency everyone craves
The longer you strain, the thicker it gets. Simple as that. You’ll want to line a fine-mesh strainer with cheesecloth and pour your freshly incubated yogurt inside. Then patience becomes your best friend. Four to eight hours typically works wonders, though some yogurt enthusiasts go overnight for maximum thickness. The whey drips away, your milk solids concentrate, and magic happens.
Flavoring and Customizing Your Greek Yogurt
Now that you’ve got your thick, creamy Greek yogurt strained to perfection, it’s time to make it truly yours. The fun part begins! You can go wild with fruit infusions—think fresh berries, tropical mangos, or tangy citrus. Swirl ’em in right before serving for that perfect marbled effect. Feeling fancy? Experiment with herb blends like honey-lavender or mint-basil for something unexpected and deliciously sophisticated. Don’t forget about granola, nuts, and chocolate chips for texture contrast. You could also drizzle in some jam or homemade compote. The beauty of homemade Greek yogurt is total customization. No weird additives or artificial flavors hiding in there—just pure, delicious ingredients you actually recognize. Your taste buds’ll thank you for this creamy, personalized masterpiece.
Storage Tips and Shelf Life
Your homemade Greek yogurt won’t last quite as long as the store-bought stuff loaded with preservatives, but here’s the good news—it’ll still hang around for a solid 1-2 weeks in the fridge. That’s plenty of time to enjoy your creamy creation before it starts getting sketchy.
Keep these storage tips in mind:
- Store your yogurt in an airtight container to prevent it from absorbing weird fridge odors
- Place it on a middle shelf for ideal refrigerator organization and temperature consistency
- Watch for spoilage indicators like off smells, mold, or a watery seperation layer
- Label your container with the date you made it, because let’s face it, we all forget
Trust your senses. If somthing seems off, it probably is. Your taste buds’ll thank you for being cautious!
Troubleshooting Common Greek Yogurt Problems
Even when you’ve followed every step perfectly, sometimes your homemade Greek yogurt decides to throw you a curveball. Maybe it’s too runny. Maybe it’s got chunks. Don’t panic—you’ve got this!
If your yogurt’s not thick enough, texture adjustments are your friend. Try straining it longer through cheesecloth, or increase your incubation time by a few hours. Sometimes the yogurt maker’s temperature fluctuates, which messes with everything.
Got a weird taste or smell? That’s your bacterial balance throwing a fit. This usually means contamination happened somewhere. Check that you’re using fresh milk and sterilizing all your equipment properly. Seriously, don’t skip this step.
Lumpy yogurt? Your milk probably got too hot during heating. Let it cool to exactly 110 degrees before adding cultures. Precision matters here. You’re basically a yogurt scientist now!
Frequently Asked Questions
Can I Reuse Whey From Previous Batches to Make New Greek Yogurt?
You shouldn’t reuse whey from previous batches as your starter. Whey recycling won’t provide the active cultures you need. Instead of starter substitution, you’ll want fresh yogurt cultures to guarantee proper fermentation and consistent results.
What’s the Difference Between Greek Yogurt and Regular Yogurt Makers?
You’ll find Greek yogurt makers include built-in straining techniques, while regular makers don’t. Both use identical starter cultures, but Greek models remove whey automatically, creating that thick consistency you’re after.
How Do I Know if My Yogurt Maker Is Broken or Malfunctioning?
You’re expecting smooth, creamy yogurt, yet you’re getting liquid disappointment. Check your temperature sensor—it’s working if it maintains heat. Inspect your lid seal; if it’s cracked, you’ve found your culprit.
Can I Make Greek Yogurt Without a Yogurt Maker at Home?
Yes, you can. Use the stovetop method to heat milk, then strain it through cheesecloth. For oven incubation, wrap your container in towels and place it in a warm oven overnight to develop thick Greek yogurt successfully.
Is It Safe to Consume Greek Yogurt Past Its Expiration Date?
You shouldn’t consume Greek yogurt past its expiration date. Bacterial viability decreases over time, and you’ll notice sensory changes like off-flavors or separation. When you spot these signs, it’s best to discard it.
Conclusion
You’ve now cracked the code to homemade Greek yogurt that’s honestly worth its weight in gold. Your yogurt maker’s been working hard, and you’re reaping the creamy rewards. Straining that whey away transforms ordinary yogurt into thick, luscious perfection. Sure, you’ll hit a few bumps along the way, but patience pays off big time. Now you’re ready to customize, store, and absolutely devour your creation. Welcome to the Greek yogurt club!


