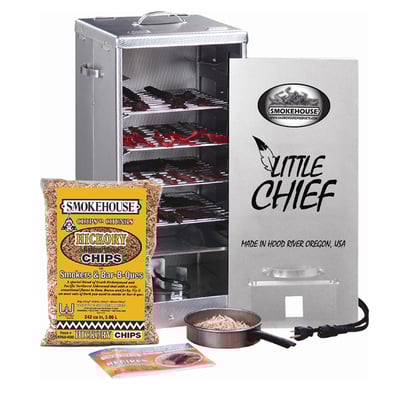
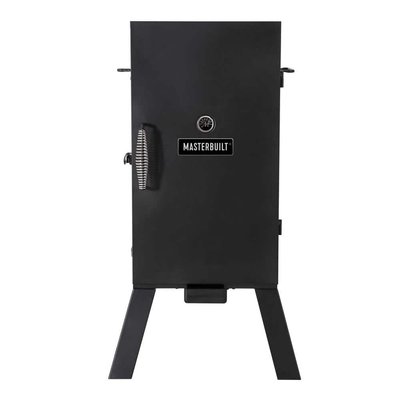
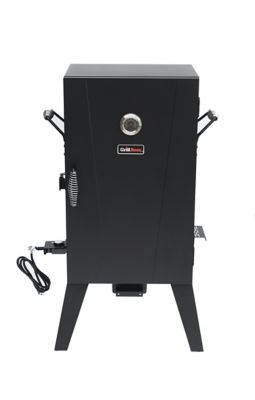
So you’ve got your electric smoker set up and you’re wondering what to throw on the grates first. Good question. There’s a bunch of meats that’ll teach you the fundamentals without making you pull your hair out, from classic brisket to some surprisingly good seafood options. But here’s the thing—not all cuts are created equal, and knowing which ones to start with can make a real difference in your results. Let’s break down the ten meats that’ll actually level up your smoking game.
Key Takeaways
- Beef brisket and short ribs are ideal electric smoker candidates, requiring low-and-slow cooking at 225–275°F for 4–16 hours.
- Pork shoulder and ribs deliver tender, flavorful results when smoked at ~225°F for 3–8 hours in electric smokers.
- Whole chicken and turkey breast are beginner-friendly poultry options, needing 15–20 minutes per pound at 225–240°F with brining.
- Salmon hot-smoked at 225–250°F for 30–60 minutes yields moist, flaky results when brined and skin-side down on grates.
- Duck and turkey legs, smoked at 275°F for 3–4 hours, develop rich, smoky flavor with tender, juicy meat texture.

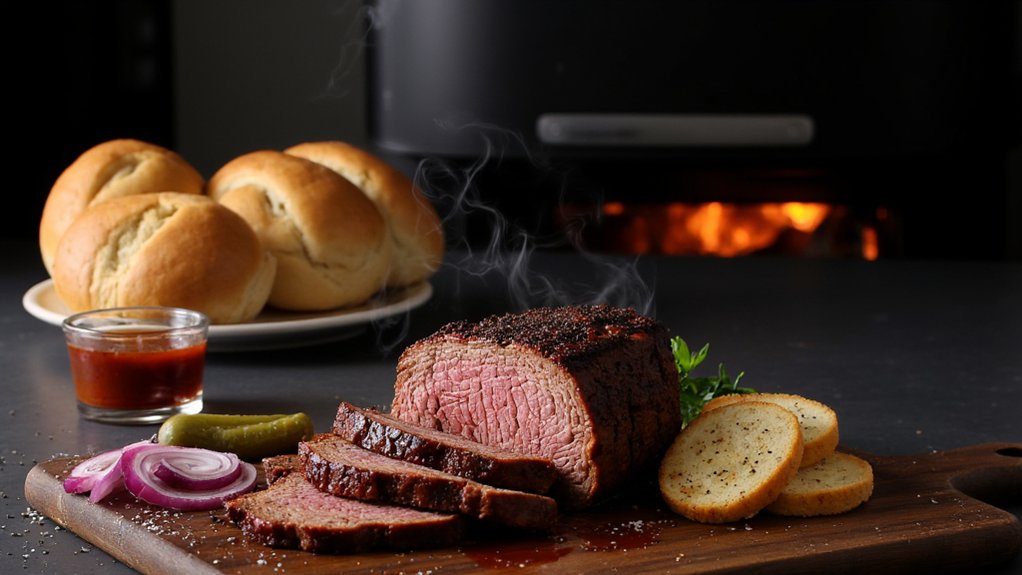
Brisket: The Classic Centerpiece
When you’re ready to smoke your first brisket, you’re basically stepping into the big leagues of electric smoking. This cut’s the real deal—a massive hunk of beef that’ll test your patience and reward you big time. You’ll want to pay attention to the fat cap, that gorgeous layer of fat on top that keeps everything juicy and tender as it smokes. Most pitmasters recommend the point cut if you’re just starting out, since it’s more forgiving than the flat. Trim some of that fat cap, but not all of it. Season it generously the night before, then smoke it low and slow at around 225 degrees. You’re looking at roughly 12 to 16 hours depending on size. Trust the process, stay patient, and you’ll pull off something incredible. For best results, make sure your smoker can consistently hit at least 250°F, as stable temperatures help ensure even cooking and tender results.
Ribs: Baby Back, Spare, and St. Louis Styles
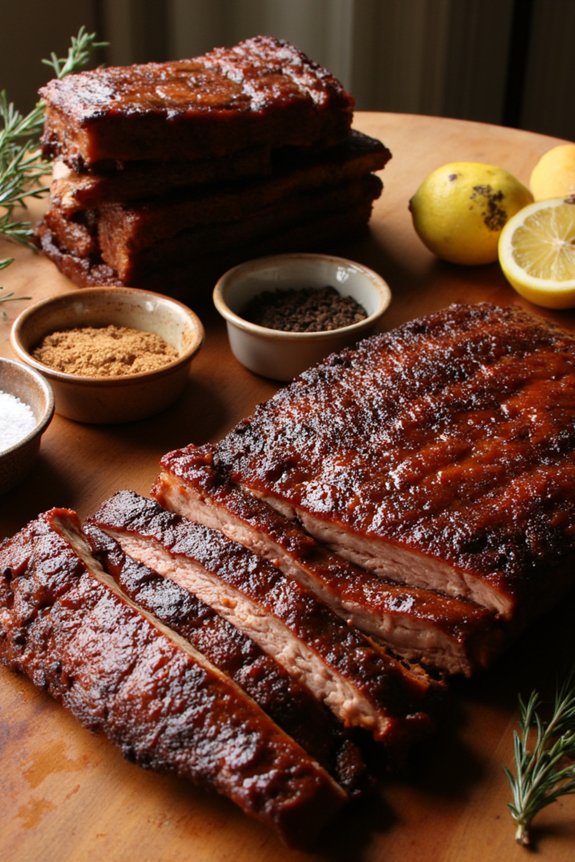
If you’re looking to step up from brisket, ribs are where you’ll really start having fun. You’ve got three main styles to choose from, and each one’s got its own charm. Baby back ribs are smaller and more tender, cook faster, and honestly? They’re pretty forgiving. Spare ribs are meatier with more fat, so they’re perfect for dry rubs that really stick around. St. Louis style falls right in the middle—trimmed spare ribs that give you the best of both worlds. The key to all of ’em is going low and slow in your electric smoker. You’re looking at three to four hours depending on thickness. Get those dry rubs on there, let the smoke work its magic, and you’ll understand why ribs are seriously addictive. If you plan on grinding your own rubs or sausage blends, make sure to choose a meat grinder with copper-wound motors for durability and consistent performance.
Pulled Pork: Shoulder and Butt Cuts
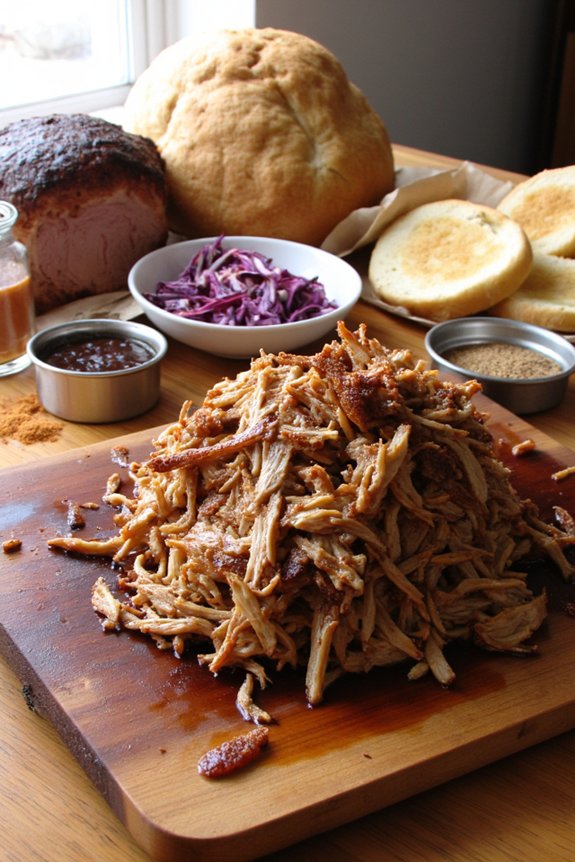
Pull pork’s where you really get to see what patience pays off. You’re looking at shoulder and butt cuts, which are basically the same thing with slightly different names depending on where you shop. A bone in picnic shoulder works great too if you want that extra flavor. These cuts need low and slow smoking, usually around six to eight hours at 225 degrees. The magic happens when that fat renders down and the meat gets so tender it literally falls apart. Try smoking a Miami pulled pork style with some Caribbean spices for something different. Once it’s done, you’ll shred it easily with two forks. That smoky, juicy result? Totally worth the wait. For best results, consider the weight capacity guidance of your smoker or rotisserie to ensure your cut fits and cooks evenly.
Whole Chicken: A Beginner-Friendly Option
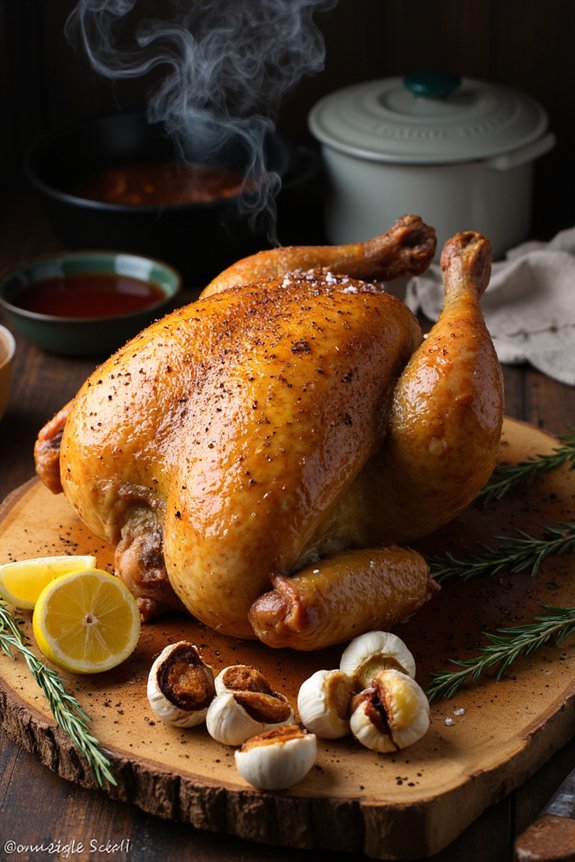
Whole chicken is probably the easiest meat you can throw in an electric smoker, especially if you’re just starting out. You’ll love how forgiving this poultry is. The bird stays incredibly moist throughout the smoking process, and you can’t really mess it up too badly.
Before smoking, consider different brine variations to amp up flavor. A simple saltwater brine works great, or you can get creative with apple juice and spices. If you’re feeling fancy, try a rotisserie adaptation by trussing your chicken and positioning it on a rotisserie rack inside your smoker for even cooking.
Aim for around 225 degrees Fahrenheit, and you’re looking at roughly 15 to 20 minutes per pound. The results? Crispy skin outside, tender meat inside. Honestly, it’s hard to disappoint yourself here. For best results, make sure your smoker has even heat distribution to help the chicken cook uniformly and avoid undercooked spots.
Turkey Breast: Lean Protein Done Right
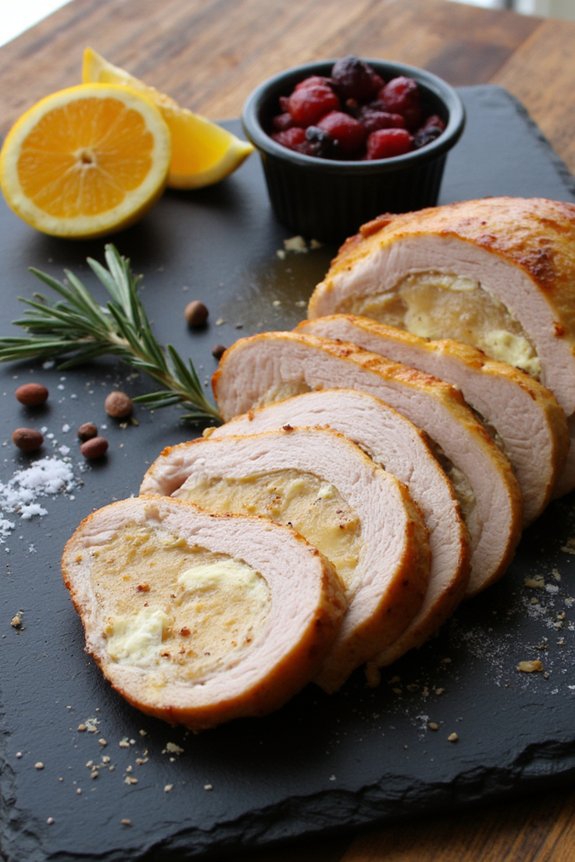
Turkey breast might seem intimidating at first, but you’ve got this—it’s actually one of the easiest proteins to nail in your electric smoker. Getting it right means understanding how to prep your bird, nail those temps and timing so it stays juicy instead of turning into a hockey puck, and layer on flavors that’ll make your guests wonder if you’ve secretly been a pitmaster all along. We’re gonna walk through all three so you can smoke turkey breast like you’ve done it a hundred times. For best results, make sure your electric smoker is equipped with safety features and design that prevent accidents and help you monitor cooking progress with confidence.
Preparing Turkey Breast Properly
Smoking a lean turkey breast requires a bit more finesse than throwing a fatty brisket on the grill, but you’ve got this. Start with solid brine techniques to keep your meat moist and flavorful throughout the smoking process. A good 8 to 12-hour soak in saltwater works wonders for preventing that dry, disappointing outcome.
| Preparation Step | What to Do |
|---|---|
| Brining Time | 8-12 hours minimum |
| Slice Thickness | Quarter-inch to half-inch cuts |
| Temperature Target | 165°F internal temp |
| Resting Period | 10 minutes post-smoke |
| Wood Choice | Apple or cherry chips |
Pat your turkey dry before it hits the smoker. Keep slice thickness consistent so everything cooks evenly and you’re not dealing with some pieces being overdone while others lag behind. This attention to detail separates mediocre smoked turkey from the kind that’ll have folks asking for your recipe.
Temperature and Timing Guide
Since you’re working with lean meat that dries out faster than you can say “oops,” nailing the temperature and timing is absolutely essential. Start with pellet calibration to make certain your smoker stays steady at 225-240°F throughout the cook. Proper probe placement matters too—stick it in the thickest part without touching bone. You’re aiming for an internal temp of 165°F, which typically takes about 15-20 minutes per pound. Watch for the stall around 150°F where the meat seems stuck. Don’t panic; just push through. Account for carryover cooking, where your turkey keeps climbing 5-10 degrees after you pull it off. That’s the sweet spot for juicy, tender results that’ll impress everyone at your table.
Seasoning for Maximum Flavor
When you’re working with lean turkey breast, seasoning is your secret weapon against dry, bland results. You’ll want to go bold with your flavors since turkey’s pretty mild on its own. A citrus rub works wonders here, cutting through the meat’s richness and keeping everything moist. Think lemon, orange, and a touch of garlic mixed with brown sugar and paprika. Don’t sleep on a salt crust either—it’s basically a paste of salt, herbs, and a little oil that creates an incredible crust while protecting the meat underneath. The key is applying your seasoning generously about two hours before smoking, letting those flavors really sink in. Your turkey breast’ll thank you with incredible taste instead of disappointment.

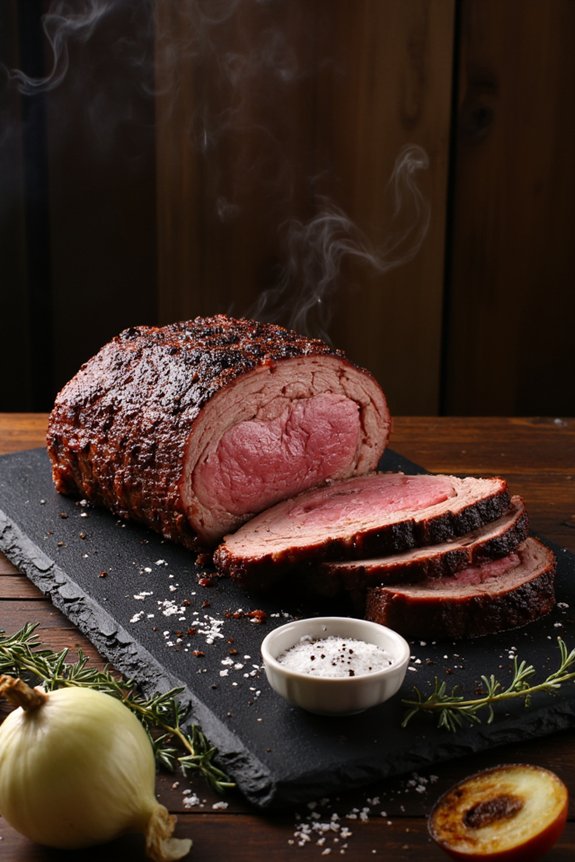
Beef Short Ribs: Meaty and Satisfying
Picture those massive, meaty beef short ribs—they’re basically the heavyweight champions of the smoker world. You’ll want to coat them generously with a coffee rub crust that brings out deep, smoky flavors while creating an incredible bark. The meat underneath stays tender and juicy, practically falling off the bone.
If you’re feeling adventurous, try finishing them with a Korean style glaze during the last thirty minutes. The sweet and savory combo? Chef’s kiss. These ribs demand low and slow smoking, usually around 275 degrees for four to six hours depending on size.
Trust me, once you nail beef short ribs, you’ll be smoking them constantly. They’re impressive enough for company yet simple enough for a casual weekend. Your guests won’t stop talking about them.
Salmon: Adding Seafood to Your Smoker
If you’ve been smoking meats all this time, you might be wondering if seafood belongs anywhere near your electric smoker, and honestly, salmon’s totally worth the experiment. You’ll want to start with fresh fillets that still have that ocean smell, not the fishy funk, and we’re gonna cover the prep work that’ll make ’em shine, plus the exact temps and times that’ll give you that perfectly flaky, smoky result without turning your fish into jerky.
Preparing Fresh Salmon Fillets
Most folks don’t realize that salmon’s actually a fantastic choice for your electric smoker, and you’ll be surprised how forgiving it is compared to other seafood. Start with quality fillets that still have the skin on—that’s your secret weapon for keeping the meat moist and flavorful throughout the smoking process.
Before you smoke, try a flavorful brining technique. Mix salt, sugar, and your favorite seasonings in water, then submerge those fillets for about four to eight hours. This step’s gonna lock in moisture and create an amazing flavor foundation that really shines once the smoke hits it.
Pat everything dry after brining, arrange your fillets skin-side down on your grates, and you’re ready to go low and slow.
Smoking Times and Temperature
When you’re ready to fire up that smoker, keeping things low and slow is gonna be your best friend with salmon. You’ll want to set your electric smoker between 225 and 250 degrees Fahrenheit. Low temp profiles help preserve that delicate fish texture without drying it out, which is kinda the whole point.
Plan on smoking your fillets for about 30 to 40 minutes, depending on thickness. Thicker cuts might need closer to an hour. Cold smoking safety matters too, so if you’re doing cold smoking, keep temperatures below 90 degrees to avoid any food safety issues.
Check for doneness when the flesh flakes easily with a fork. That’s your signal that you’ve nailed it perfectly.
Duck: A Gamey Delicacy Worth Trying
Duck’s got a reputation that precedes it—rich, flavorful, and yeah, pretty gamey if you’re not expecting it. But that’s exactly why you should smoke one in your electric smoker. The beauty of duck is all that fat rendering down slowly, creating this incredibly tender, juicy meat that falls off the bone. You’re looking at around 275°F for about three to four hours, depending on your bird’s size. The smoke really mellows out that gamey edge, making it way more approachable. Think of it like duck confit, but with that smoky depth. Your guests’ll be impressed, honestly. It’s not as common as brisket or ribs, which makes it feel special. Give it a shot—you’ll get why people rave about smoked duck.
Lamb Leg: Mediterranean-Inspired Smoking
If duck’s got you thinking about other underrated meats worth smoking, lamb leg deserves a spot on your list. You’ll want to start with Mediterranean rubs featuring oregano, garlic, and rosemary that’ll make your smoker smell absolutely incredible. These flavors pair beautifully with lamb’s natural richness. For Greek style glazing, brush on a honey-lemon mixture during the last hour of smoking. It creates this gorgeous caramelized exterior that’s seriously addictive. Smoke your lamb leg at around 225°F until it hits an internal temp of 160°F for medium doneness. The meat comes out tender, smoky, and bursting with those sunny Mediterranean vibes. Trust us, once you try smoked lamb leg, you’ll be wondering why you didn’t start sooner.
Turkey Legs: The Festival Favorite at Home
You’ve probably seen those massive turkey legs at the county fair, right? Well, you can totally recreate that magic in your electric smoker at home. These bad boys are surprisingly easy to smoke and absolutely delicious. You’re looking at about three to four hours at around 275 degrees Fahrenheit for perfectly tender, juicy results. The meat gets this incredible smoky flavor that’ll have everyone asking for your secret. Pair them with festival sides like cornbread, coleslaw, or baked beans for that authentic fair experience. Honestly, smoking turkey legs beats waiting in line at roadside vendors any day. Your guests will think you’re some kind of pitmaster when you’re really just letting your smoker do the heavy lifting.
Frequently Asked Questions
What Temperature and Duration Are Ideal for Smoking Different Types of Meat?
You’ll want to smoke beef brisket at 225°F for 12-16 hours using the low and slow method. For pork ribs, try 250°F for 5-6 hours. Chicken needs 350°F for 1.5-2 hours with a reverse sear finish.
How Do I Select the Best Wood Chips for Smoking Various Meats?
You’ll want to match wood chips to your meat’s intensity. Try fruit woods like apple or cherry for poultry and fish. For beef, you’re better off using oak or hickory. Flavored blends work great for experimenting with different tastes.
Should I Brine or Marinate Meat Before Smoking in an Electric Smoker?
You should definitely brine or marinate before smoking. Wet brining adds moisture and flavor, while acidic marinades tenderize meat. Both methods enhance your electric smoker results markedly and improve overall taste.
How Can I Tell When Smoked Meat Is Fully Cooked and Safe to Eat?
You’ll know your smoked meat’s done when you use a meat thermometer to check the internal temperature against safe guidelines. Check the internal color—it should look opaque, not pink. Always allow proper resting time before serving.
What’s the Difference Between Hot Smoking and Cold Smoking Techniques?
Hot smoking cooks your meat at high temperatures while cold smoking preserves it at lower temps without cooking. You’ll get fully cooked results with hot smoking, whereas cold smoking requires you to cure meat beforehand for safety.
Conclusion
You’ve got plenty of fantastic options to master with your electric smoker. Start with brisket and ribs to nail the basics, then branch out into chicken, pork, and seafood as you get comfortable. Each meat teaches you something different about temperature control and timing. Before you know it, you’ll be smoking like a pro and impressing everyone at your next cookout.


