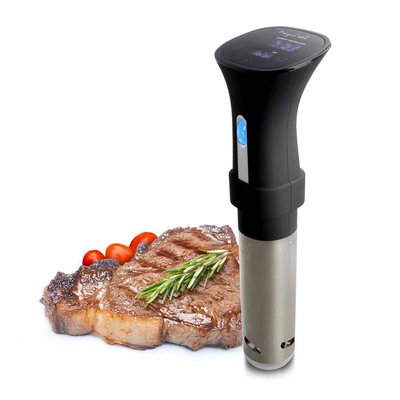
If you’ve got a sous vide stick and want rock-solid results, this chart is your new best buddy. You set the exact temp for doneness, then use time to let the heat quietly do its thing, center to edge. Thin steaks fly, thick roasts and bone-in cuts need a longer soak. Fish stays silky, tough cuts turn tender, and you’ll finish with a quick sear. Curious how long that chicken breast really takes? Let’s get precise…
Key Takeaways
- Time plus temperature determine doneness, texture, and safety; set the target temp, then hold long enough for center equilibrium and pasteurization.
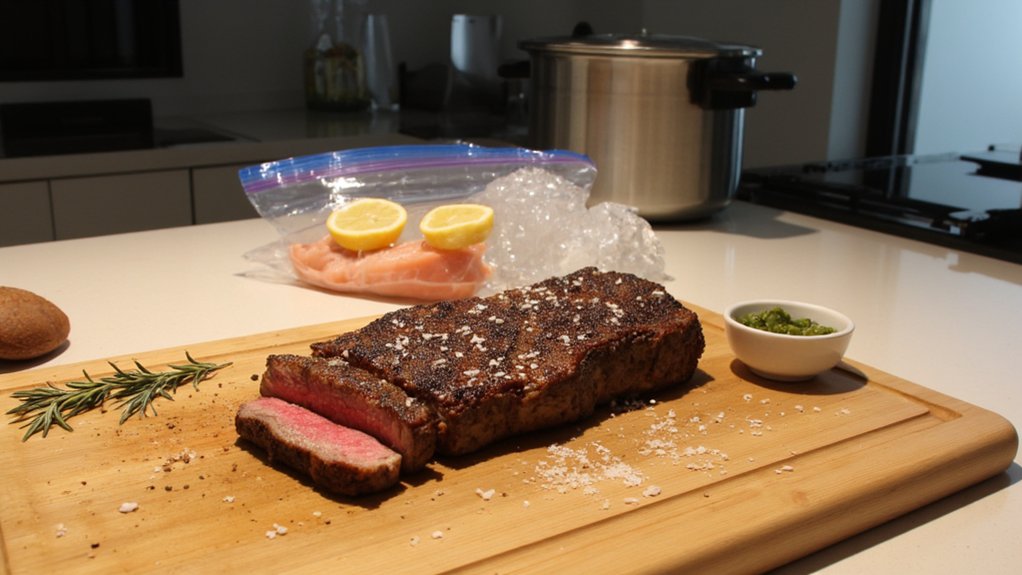
- Beef/lamb: rare 125–129°F, medium‑rare 130–134°F, medium 135–144°F; 1–2″ steaks need ~1–4 hours by thickness.
- Pork: 130–140°F with proper holds for safety; tenderloin 129–134°F, chops 136–140°F; shoulder 165–175°F for shreddable.
- Poultry: breasts 140–150°F for silky to classic; thighs/drumsticks 160–165°F for tender, 170–172°F for pull‑apart.
- Fish/seafood: salmon 113–120°F buttery; cod/halibut 126–130°F flaky; shrimp/scallops quick; always finish with a hot pan sear for texture.

Essential Time-Temperature Basics for Precision Cooking
Start by thinking of time and temperature as the steering wheel and gas pedal of sous vide cooking, because they decide everything from doneness to texture to food safety. You set the temp, the bath holds it, and your food heads straight to predictable results. That’s the magic.
Temperature sets the finish line. Time gets you there, evenly, through thermal diffusion. Thicker stuff takes longer to warm to the center, so you give it enough minutes to coast to equilibrium. You’re not racing the clock, you’re guiding it with precision timing.
Hold times matter, too. Once your food hits target temp, a little extra time can tenderize or pasteurize without overcooking. Stirring water helps, but don’t overthink it. Seal well, clip steady, relax. The circulator’s doing the heavy lifting. Kinda nice, right?
If you want to nail every cook, pay attention to temperature precision and range because even slight fluctuations can change your results.
Beef and Lamb: Doneness Ranges and Thickness Guidelines
While beef and lamb wear different coats, they play by the same sous vide rules: pick a temp for doneness, then match the cook time to thickness. You’ll dial rare around 125–129°F, medium-rare 130–134°F, medium 135–144°F, and medium-well 145–155°F. Lamb likes the same ballpark. Thicker cuts need longer to hit target and pasteurize, so plan about 1–2 hours for 1-inch steaks, 2–3 hours for 1.5 inches, and 3–4 for 2 inches. Simple.
Consider marbling impact. Fatty ribeye or lamb shoulder stays juicy and forgiving at higher temps, while lean tenderloin shines lower. Season lightly, bag flat, and keep water flowing around the pouch.
If you’re after a restaurant-style crust, finishing your sous vide steak in a cast iron skillet lets you harness excellent heat retention for that perfect sear.
When you’re done, quick chill a minute, pat dry, then hard sear. Resting times are short, like 2–3 minutes. Eat. Smile.
Pork: Juicy Chops, Tender Loins, and Fall-Apart Shoulders
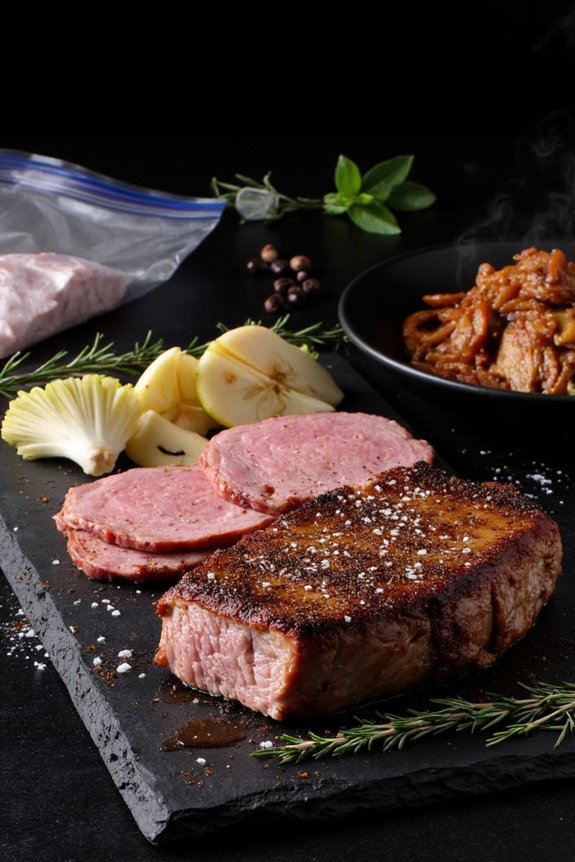
You’ll want to keep pork safe and juicy, so you’ll use pasteurization ranges that land you tender meat without overcooking, like 135–145°F for chops and loins, held long enough to be fully safe. For texture, think goals by cut: chops stay pink and springy, tenderloin turns silky and sliceable, and shoulders go low-and-slow till they shred like a dream. Compared to roasting, you’ll save active time because the bath does the work while you relax, and yeah, your oven gets a little break too. For a different approach to gentle, even cooking, you could also explore electric steamers with multiple tiers, which let you cook various dishes at once without flavor mixing.

Safe Pasteurization Ranges
Because sous vide lets you dial in doneness with silly precision, it’s worth knowing the safe pasteurization ranges for pork so you get juicy chops, tender loins, and pulled-pork-worthy shoulders without guessing. You’re aiming to reduce pathogens to safe levels using time plus temperature, not just heat. That’s where microbial modeling and a tight cold chain matter, since pasteurization assumes the meat started properly chilled.
For most pork, 130–140°F works when you hold it long enough to pasteurize. Think 130°F for several hours, 135°F for a couple, or 140°F for roughly an hour after the center hits target. Thicker cuts need more time to reach core temp. Bag properly, remove air, and keep your bath honest with a calibrated circulator. Finish with a hot, quick sear. Boom, safe and tasty.
When choosing equipment for sous vide or pressure cooking, it’s important to consider capacity and serving size to match your appliance to your household’s needs and ensure safe, even cooking.
Texture Targets by Cut
Hitting safe pasteurization times is the foundation, but the fun part is choosing textures on purpose. You’ll get there by thinking about muscle mapping and how each cut behaves. Pork chops and tenderloins are lean, so you’re chasing juicy and sliceable. Shoulders are a whole other mood, built for slow Collagen breakdown that turns tough into spoon-tender. Aim your temps to match the cut, not your mood swings.
- Tenderloin: 129–134°F for silky, blush slices; quick sear, done.
- Chops: 136–140°F for juicy, springy bites; bone-in holds moisture better.
- Shoulder: 165–175°F for shreddable, sticky strands; plan longer baths.
- Ribs or country-style: 155–165°F for tug-off-the-bone, saucy finish.
Taste as you learn. Take notes. Little tweaks stack up, and suddenly you’ve nailed it. When you’re mapping out your cook, remember that heat retention capability—just like in the best camping coffee makers—can help maintain ideal temperature through long sous vide baths.
Time Savings vs. Roasting
Even if sous vide feels “slow,” it can actually save you time compared to roasting, because it’s hands-off and forgiving while you get everything else done. You set the temp, drop in pork chops or a tenderloin, and walk away. No babysitting the oven. That’s real time saving when you’re juggling sides or emails.
Roasting races from perfect to overcooked fast. Sous vide doesn’t. Your window stays wide, so dinner timing gets flexible, which is gold for meal planning. Cook a pork shoulder overnight, chill, then reheat and sear when you’re ready. Easy.
Energy efficiency helps too. The circulator sips power, and your kitchen stays cooler, which your AC will secretly applaud. Finish with a quick sear for crust, serve, and boom, juicy pork without the stress. Hands off, flavor on.
Poultry: Safe and Succulent Chicken and Turkey
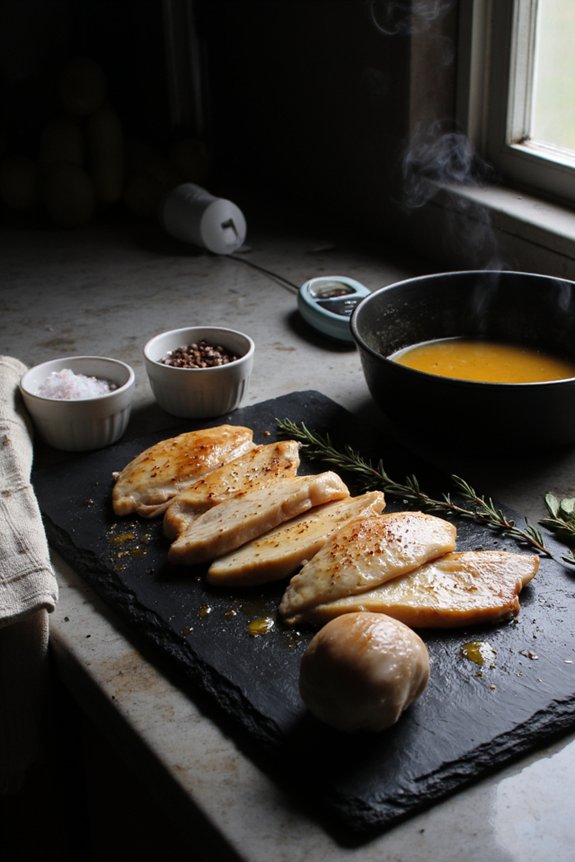
You want chicken and turkey that’s safe to eat and still juicy, so you’ll look at pasteurization time ranges that match the thickness and temp you pick. Aim lower temps like 140–150°F for silky, sliceable meat, or go up to 160–165°F if you like it firmer and classic, and let the bath hold long enough to fully pasteurize. It’s a choose-your-texture adventure, with time doing the quiet safety work in the background—no dry bird, no worries.
Pasteurization Time Ranges
While sous vide makes poultry juicy and tender, the real magic is in hitting pasteurization time ranges that keep it safe without turning it chalky. You’re aiming for enough pathogen reduction to meet regulatory standards, without cooking longer than needed. Time counts as much as temp here, since gentle heat held long enough wipes out the bad guys. Not scary, just science you can use.
- Pick a target temp, then hold long enough for full kill-step confidence.
- Thicker pieces need more time; thinner cutlets finish faster, easy win.
- Bone-in or bag crowding slows heat transfer, so add a few extra minutes.
- Start with fridge-cold poultry; if frozen, add 45–60 minutes to be safe.
You’ll track core thickness, bag spacing, and water circulation, then relax. Dinner’s basically on autopilot.

Texture Targets by Temp
Consistency is king with poultry, and sous vide lets you lock in the exact bite you want. Think of it like mouthfeel mapping for chicken and turkey. At 140°F, you’ll get tender, juicy meat with a gentle bounce, great for breasts. Bump to 145°F for a slightly firmer chew that still drips with juice. Prefer classic, slice-clean chicken? Go 150°F, where fibers set just enough for that familiar texture.
Thighs and drumsticks tell a different story because collagen behavior matters. Hold them at 160–165°F and the connective tissue melts, turning tough bits silky and spoon-tender. Want shreddy tacos? Push to 170–172°F for pull-apart goodness. Always finish skin in a hot pan for crisp. It’s the victory lap. Don’t skip it.
Fish and Seafood: Delicate Textures Without Overcooking
Fish can be drama queens, turning from silky to stringy in a hot minute, which is why sous vide is such a lifesaver here. You set a temp, it sticks the landing, and your fillets come out tender, flaky, and juicy. Aim low and gentle, and you’ll keep those delicate proteins from seizing up. Add aromatics, keep seasoning light, and let time do the heavy lifting.
- Salmon: 113–120°F for buttery flakes, finish with lemon oil or a kelp infusion.
- Cod or halibut: 126–130°F for clean flakes, great for tacos or chowder.
- Shrimp and scallops: quick cooks, try shellfish brining for snap and sweetness.
- Trout: 115–118°F yields silky ceviche vibes or chill for smoked trout feels.
Bag flat, squeeze air, and chill fast if you’re batch-cooking. No drama.
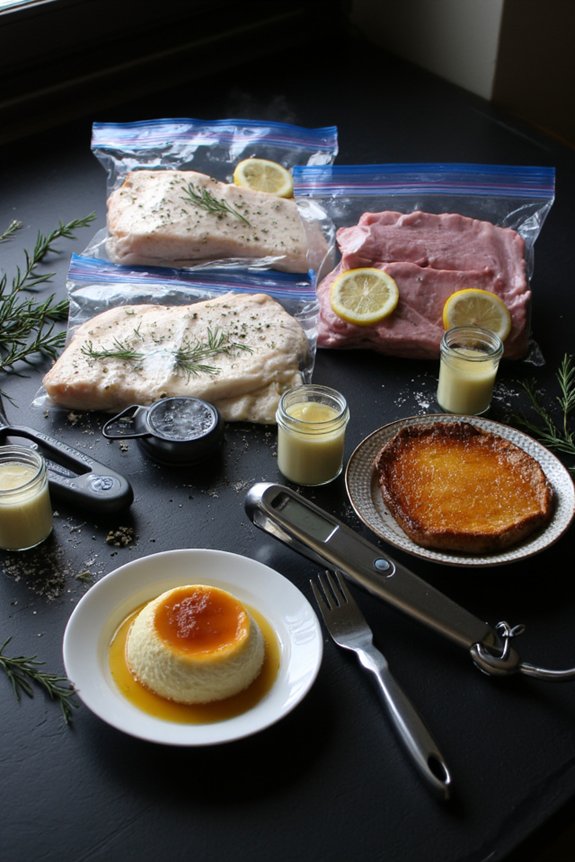
Eggs and Dairy: Custardy Yolks, Creamy Yolks, and Silky Custards
Sometimes the simplest stuff is the trickiest, and eggs prove it every time. With sous vide, you dial in textures like a pro. For custardy yolks, set your bath lower, hold gently, then crack into toast or ramen and smile. Want creamy yolks you can spread? Nudge the temp up a bit, chill briefly, then peel carefully. Whites tighten as temps rise, so aim for balance, not rubber.
Silky custards are where sous vide feels like cheating. Blend eggs, dairy, sugar, and a pinch of salt, pour into jars, and cook steady so there’s no curdling. Add a tiny bit of gelatin for custard stabilization if you’re serving warm. Finish with a quick chill, a spoon of jam, maybe a dusting of nutmeg. Treat yourself.
Vegetables and Aromatics: Crunch, Tender, and Infusion Times
Eggs are all about finesse, but veggies play by different rules—you’re juggling crunch, tenderness, and how much flavor they soak up. You’ll dial temps to hit textures on the nose, then tweak time for Herb infusion. Think of it like a volume knob, not an on-off switch. Short cooks keep snap, longer cooks mellow things out, and aromatics ride along like friendly hitchhikers.
- Thin greens: 183°F for 10–15 minutes keeps color bright and bite gentle.
- Root textures: carrots, beets, potatoes love 185°F for 60–120 minutes, firm to silky.
- Alliums: garlic, onions at 185°F for 45–90 minutes, sweet and jammy.
- Quick infusions: herbs, citrus, or chile at 140–150°F for 20–45 minutes.
Bag with oil, butter, or broth. Salt lightly. Taste, then adjust. You’re the boss.
Frequently Asked Questions
How Do I Prevent Plastic Taste or Off-Odors in Sous Vide Bags?
Use high-quality food grade plastics (nylon, PE), avoid cheap zip bags, and don’t exceed rated temperatures. Pre-chill pungent foods, double-bag aromatics, and employ aroma absorbing techniques: activated charcoal nearby, lemon peel, or baking soda in the water bath.
Can I Reuse Vacuum Bags or Should I Always Use New Ones?
You shouldn’t reuse vacuum bags for raw proteins; reuse risks include contamination, seal failure, and off-odors. For eco benefits, reuse only for dry, ready-to-eat items, or switch to silicone reusable bags and washable jars when appropriate.
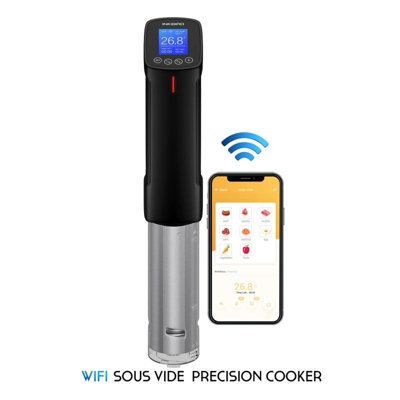
What Are Safe Power and Outlet Requirements for Immersion Circulators?
Use a grounded GFCI outlet, 120V/15A minimum in the U.S. Check Electrical safety labels; most units draw 800–1200W. Guarantee Circuit capacity headroom—avoid sharing high-load appliances. Use a dedicated circuit if tripping occurs. Inspect cords; avoid extension cords.
How Do I Manage Cooking Multiple Items at Different Temperatures?
You manage it by batch cooking: group items by similar doneness and cook sequentially. Use temp zoning with multiple baths or insulated containers. Start highest temp, chill finished bags, then rewarm at lower temps to serve together.
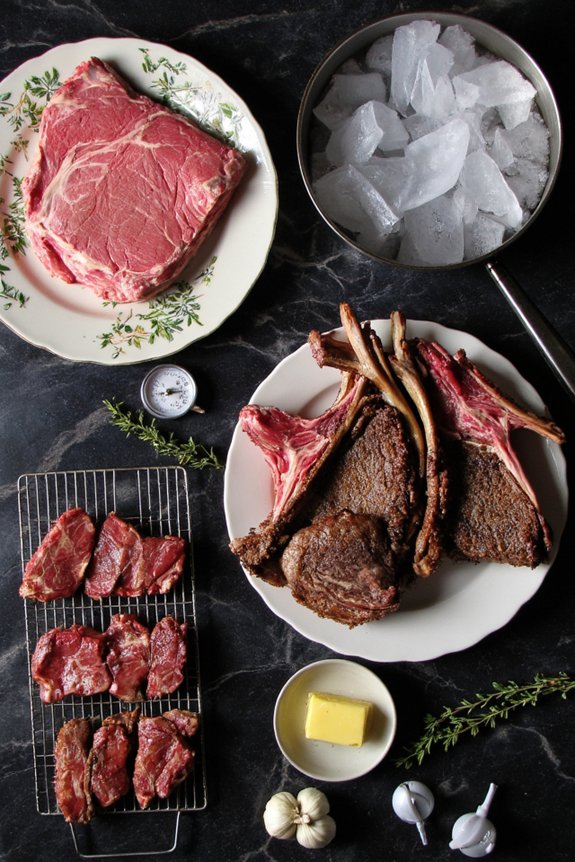
What’s the Best Way to Rapidly Chill and Store Sous Vide Foods?
Use an ice bath for rapid chilling: bagged food to 70°F in 2 minutes per centimeter thickness, then to below 40°F. If available, a blast chiller’s faster. Store sealed in a commercial fridge; label dates; reheat safely.
Conclusion
You’ve got the chart, now you’ve got the power. Set your temp for doneness, use time for texture, and let circulation do the heavy lifting. Thin cuts fly, thick ones chill out longer, and tough cuts melt when you give them low-and-slow love. Seal well, keep the water moving, then finish hot for that crispy, happy crust. You’ll cook safer, tastier, and way more consistent. See? Science, but delicious. Now go make dinner. Your future self says thanks.


