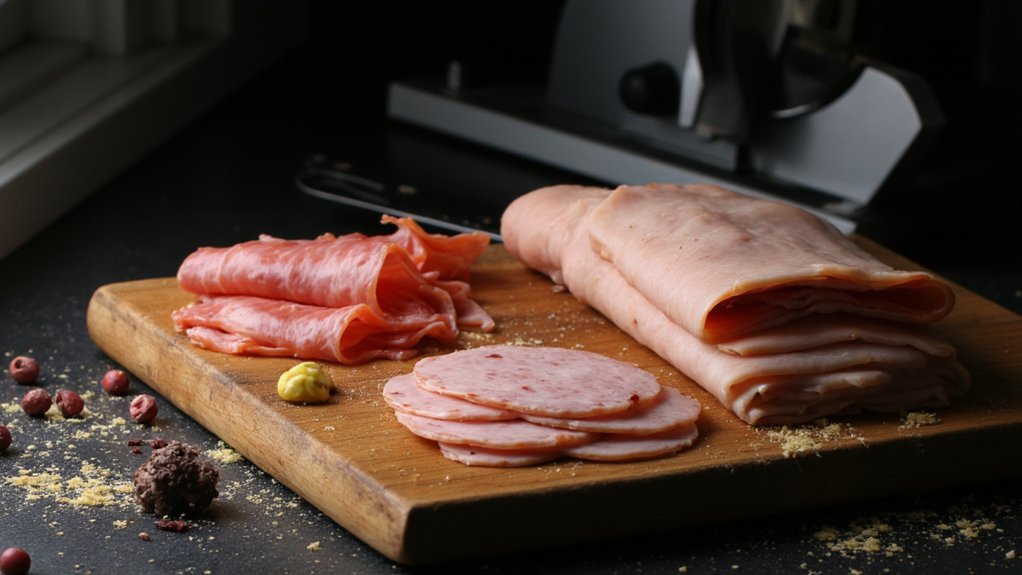
You’ve probably thought that dial on your food slicer’s actually telling you something meaningful. Spoiler alert: it’s basically a suggestion, a wild guess dressed up in numbers. Blade wear, temperature shifts, moisture in your tomatoes, and a dozen other sneaky factors are all conspiring to sabotage your slice consistency. What’s the real secret behind those paper-thin, restaurant-worthy results everyone seems to get but you can’t quite nail? The answer might surprise you.
Key Takeaways
- Thickness dial numbers differ drastically between brands, making settings non-transferable across different slicer models.
- Blade wear and microscopic corrosion gradually shift actual slice thickness independent of dial position.
- Ambient temperature causes thermal expansion in components, altering effective thickness settings without any dial adjustment.
- Feed pressure and hand technique dramatically change slice uniformity more than dial settings alone.
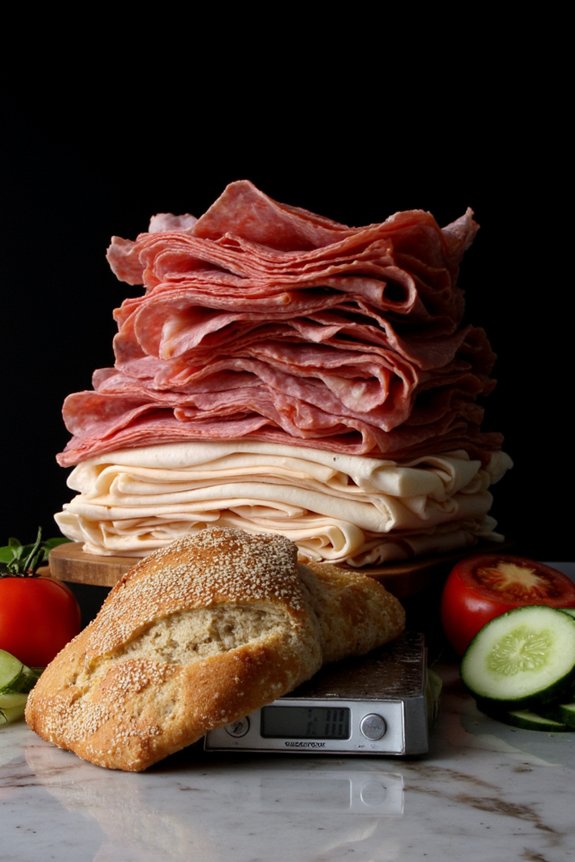
- Food moisture content and density require recalibrating thickness settings for consistent results between ingredients.


Why Brand Calibration Standards Don’t Match Up
If you’ve ever wondered why your fancy deli slicer cuts differently than your neighbor’s supposedly identical model, you’re not alone—and honestly, you’re onto something real. The culprit? Brand variances that’ll make your head spin. See, manufacturers don’t actually follow universal calibration confusion standards. Each company sets their own thickness benchmarks, which means a “medium” setting on Brand A might be paper-thin on Brand B. It’s like they’re all speaking different languages. You’ll adjust that dial expecting consistency, but nope. One slicer gives you thick-cut salami while another shaves it paper-thin. Nobody really talks about this frustrating reality. You’re basically playing a guessing game every time you switch models or borrow equipment from someone else. Some brands even offer stepless thickness adjustment that lets you fine-tune the slice, but this only highlights how wildly the numbers and results can vary from slicer to slicer.
How Blade Wear Silently Compromises Your Thickness
Beyond those pesky brand inconsistencies, there’s another sneaky villain lurking in your kitchen drawer—blade wear. You might not realize it, but your slicer’s blade dulls gradually with every slice. Microscopic blade corrosion happens silently, especially if you’re slicing acidic foods or leaving moisture on the blade. Here’s the thing: as that edge deteriorates, your cutting alignment shifts. Suddenly your “2mm” setting produces uneven, ragged slices that frustrate you to no end. You’ll notice the blade pulls food sideways instead of gliding through cleanly. Pretty annoying, right? The worst part? You’ll probably blame yourself or think your slicer’s broken. Nope. It’s just tired. Regular honing and occasional blade replacement keeps everything running smoothly. Your tomatos—and sanity—will thank you. Just like with motor build quality in meat grinders, the durability of your slicer’s blade directly affects consistent performance over time.
The Hidden Impact of Feed Pressure on Slice Consistency
You’re probably thinking that dial numbers are all that matter, but here’s the thing: the pressure you apply while pushing food through the blade is like the unsung hero nobody talks about. When you’re inconsistant with your force, the blade makes contact at different angles and depths, which means one slice comes out paper-thin while the next one’s practically a steak, and that’s where your uniformity goes to die, my friend. Many slicers use stainless steel blades that stay sharp for consistent results, but even the best blade can’t compensate for uneven feed pressure.
Pressure Affects Blade Contact
When you’re sliding that blade through a tomato, the amount of pressure you’re applying isn’t just about getting the job done—it’s absolutely essential to how thin and even your slice actually turns out. Your hand posture matters way more than you’d think. When you’re pressing down too hard, you’re basically wrestling the food into submission, which causes uneven contact between the blade and whatever you’re cutting. That feed variation? Yeah, that’s your enemy here. It creates inconsistent thickness, making some slices paper-thin while others look like you used a sledgehammer. Dial back the pressure. Let your slicer do the actual work. When you maintain steady, gentle contact with proper technique, your blade glides smoothly and produces beautifully uniform slices every single time. It’s honestly game-changing once you get the hang of it. Just like with even heat distribution in electric griddles, keeping your pressure steady helps ensure consistent results every time.
Consistent Force Ensures Quality
Imagine your food slicer as a temperamental artist—it needs a steady hand and consistent pressure to create its masterpiece. You’re not just pushing food through; you’re orchestrating precision. When you apply even force throughout each slice, magic happens. Your tomatoes don’t get squished. Your cheese doesn’t crumble. Everything emerges perfectly uniform.
Here’s the thing: inconsistent pressure creates chaos. One moment you’re bearing down hard, the next you’re backing off. That’s when thickness goes wonky and your slices look like they survived a minor disaster.
| Pressure Type | Result |
|---|---|
| Consistent | Perfect uniformity |
| Uneven | Jagged, inconsistent cuts |
| Too light | Incomplete slices |
| Too heavy | Crushed produce |
You’ve gotta maintain that steady, even force from start to finish. It’s honestly the secret weapon nobody talks about—but you’re discovering it now.
If you’re using a slicer with removable, non-stick parts, cleanup becomes much easier and helps maintain overall slicing precision over time.
Improper Pressure Ruins Uniformity
Applying the wrong amount of pressure to your food is like trying to play a violin with a sledgehammer—theoretically possible, but the results’ll make you wince. When you apply uneven pressure while feeding meat or cheese through your slicer, you’re basically sabotaging your own dinner. Too much force? Your slices come out mangled and inconsistent. Too little? They’ll be thick in some spots, paper-thin in others—a real mess.
Here’s the thing about handle torque: it’s everything. You’ve gotta maintain steady, even pressure throughout the entire stroke. Think of it like a handshake, not a death grip. Your wrist shouldn’t be wrestling the handle like it owes you money. Keep your touch gentle and consistent, and you’ll nail that uniform thickness every single time.
Temperature’s Role in Thickness Accuracy
As temperatures fluctuate in your kitchen, they’re quietly messing with your food slicer’s performance in ways you might not even realize. Here’s the thing: metal expands when it gets warm. That ambient temperature shift from your AC kicking on? It’s causing thermal expansion in your blade and housing. Suddenly your precise settings aren’t so precise anymore.
Cold kitchens tighten everything up, making your slices thinner than intended. Warm ones? They loosen things just enough to throw off your thickness. It’s like your slicer’s got a bad case of mood swings. You’ll wanna let your equipment acclimate for a few minutes before slicing, especially if you’ve just grabbed it from a diferent room. Trust us, your uniformity will thank you.
Moisture Content and Density: The Variables Nobody Mentions
While you’re busy babying your slicer through temperature swings, there’s another sneaky culprit working behind the scenes to sabotage your slicing game: what’s actually on your cutting board.
Food isn’t one-dimensional stuff. Every ingredient you slice carries moisture and density that’ll throw off your settings faster than you can say “uniform thickness.” Water activity and bulk density? They’re the hidden bosses nobody warns you about.
| Food Type | Water Activity | Bulk Density | Thickness Impact |
|---|---|---|---|
| Fresh Tomato | High | Low | Mushy results |
| Aged Cheddar | Low | High | Perfect slices |
| Deli Turkey | Medium | Medium | Consistent cuts |
| Butternut Squash | Medium-High | Medium | Variable thickness |
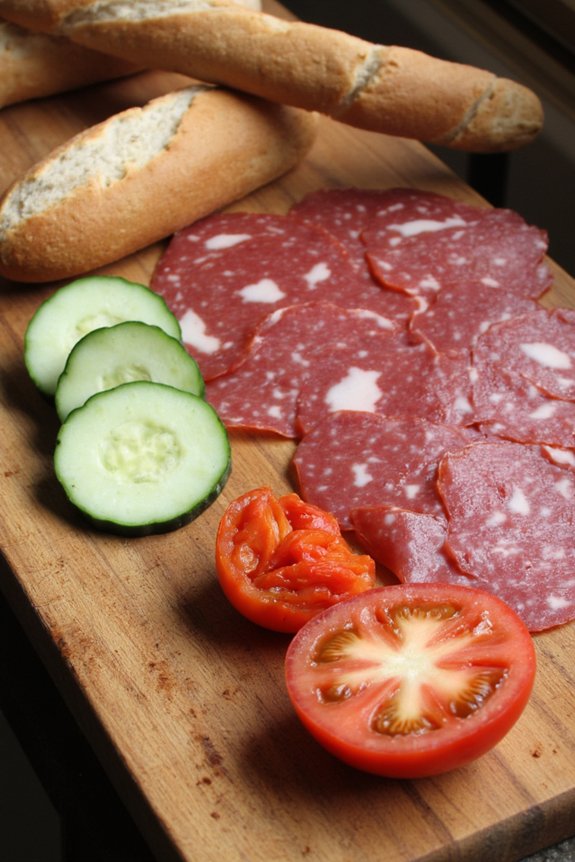
That juicy tomato won’t slice like salami. Denser foods grip differently. You’ll nail your settings on one ingredient, then switch items and suddenly everything’s wonky. Understanding this stuff? Game changer.
Blade Angle and Its Effect on Your Final Results
You’d be amazed how much that blade angle actually matters, honestly. It’s the difference between getting those perfectly consistant slices and ending up with a mangled mess that looks like your food went through a windstorm, because even a few degrees off can throw your whole game and turn what should be a precision cut into something that’ll make you question your slicing skills altogether.
Angle’s Impact on Consistency
The blade angle on your food slicer is like the secret sauce nobody talks about, yet it’s absolutely game-changing when it comes to getting consistent results. You see, when that blade’s bevel consistency is off, you’re basically fighting an uphill battle. The edge geometry matters way more than most folks realize.
Here’s the thing: a shallow angle gives you thinner, more delicate slices. Perfect for cheese. A steeper angle? That’s your muscle for dense stuff like salami. But here’s where it gets intresting—if your angle’s inconsistent, your slices’ll bounce all over the place thickness-wise. One moment you’ve got paper-thin delicacy, the next you’re basically hacking away like you’re mad at the tomato. Dial in that angle, and suddenly everything transforms into beautifully uniform perfection.
Blade Positioning for Precision
Now that you’ve got your blade angle dialed in, it’s time to talk about where that blade actually sits when you’re slicing. Blade alignment is where the magic really happens, honestly. You want your blade positioned so it’s perfectly perpendicular to your food, not tilted like it’s had one too many coffees.
Here’s the thing about gap calibration: even the tiniest misalignment throws off your whole operation. We’re talking fractions of millimeters that’ll make your slices look wonky. Check your blade positioning by running your hand gently across the edge, making sure everything feels smooth and centered. It’s like tuning a guitar, except way less melodic and way more delicious. Get this right, and you’ll nail those paper-thin slices every single time.
Getting Restaurant-Quality Slices: Practical Techniques That Work
Getting those paper-thin slices that make your deli sandwiches actually worth eating? You’re gonna need to nail your portion control and presentation technique. Here’s the deal:
- Start with a firm grip on your food, keeping steady pressure throughout the slice
- Use consistent downward strokes rather than sawing motions for cleaner edges
- Practice your thickness setting on cheaper ingredients before tackling premium meats
The secret isn’t really a secret—it’s repetition. You’ll develop a feel for how much pressure produces those gorgeous, uniform slices. Restaurant quality isn’t some mystical thing. It’s about respecting your machine, understanding how thickness settings actually work, and giving yourself permission to mess up a few times. Your sandwiches’ll thank you later.
Frequently Asked Questions
How Often Should I Recalibrate My Food Slicer for Accurate Thickness Settings?
You should recalibrate your food slicer monthly as part of your calibration schedule. However, you’ll want to increase frequency based on environmental monitoring—temperature and humidity changes require more frequent checks to maintain accuracy.
Why Does My Slicer Produce Different Thicknesses With Identical Dial Settings Daily?
Your blade wobbles, your settings slip, your precision falls. Daily temperature expansion shifts your machine’s calibration. You’re fighting physics itself—heat warps metal, loosens tolerances, and ruins your consistency without recalibration.
Can I Manually Adjust Blade Angle to Improve Slice Consistency Myself?
You shouldn’t attempt manual blade angle adjustments yourself. Improper blade alignment and edge profiling require professional calibration. You’ll likely damage your slicer or create safety hazards. Contact the manufacturer or a certified technician instead.
What’s the Cheapest Way to Maintain Slicer Accuracy Without Professional Servicing?
You’ll save money by doing regular cleaning and investing in a calibration jig. You can maintain accuracy yourself by routinely checking blade alignment and wiping debris. These simple steps’ll keep your slicer performing consistently without expensive professional servicing.
Does Slicer Thickness Setting Accuracy Vary Between Different Food Types Tested?
Yes, you’ll find thickness accuracy shifts across foods—your slicer’s blade wear and product density directly influence consistency. Softer items compress differently than dense ones, causing your dial settings to yield varying actual thicknesses.
Conclusion
You’ve been blaming the dial this whole time, haven’t you? Here’s the thing: that number’s basically a suggestion. Your slicer’s got its own personality shaped by blade wear, temperature, and how you’re feeding the food through. Master your technique, keep that blade sharp, and you’ll finally get those restaurant-quality slices you’ve been chasing. It’s not magic. It’s just knowing your machine.


