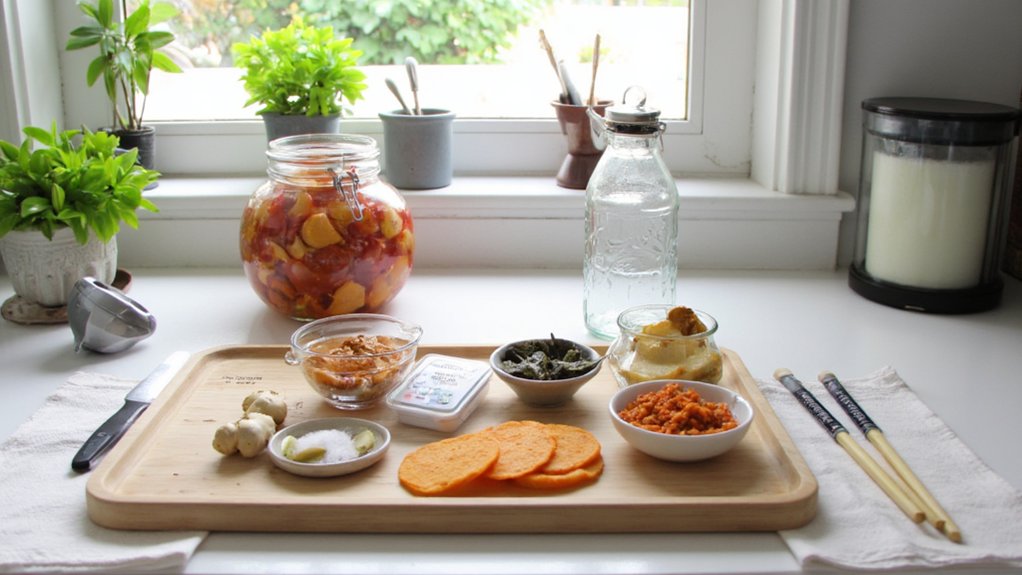
So you’ve caught the fermentation bug and now you’ve got jars everywhere, right? Before your kitchen turns into a science experiment gone wrong, you’ll need a solid game plan. Getting organized isn’t just about looking neat—it’s about keeping your batches on track and your sanity intact. Let’s talk about setting up a station that actually works and how to manage multiple ferments without losing track of what’s what.
Key Takeaways
- Use color-coded jar lids and waterproof labels with dates to quickly identify ferment types and track progress across your station.
- Implement staggered batch scheduling with small batches starting every few days to prevent managing all ferments simultaneously and balance workload.
- Store finished ferments separately from active ferments on clearly designated shelves to prevent interference and maintain organized workflow.
- Set reminders for tasting, stirring, and bottling tasks spread throughout the week to maintain ferment health and consistent production flow.
- Maintain a batch logging spreadsheet or notebook tracking start dates, expected completion times, and fermentation notes for each batch.
Assess Your Space and Choose the Right Location
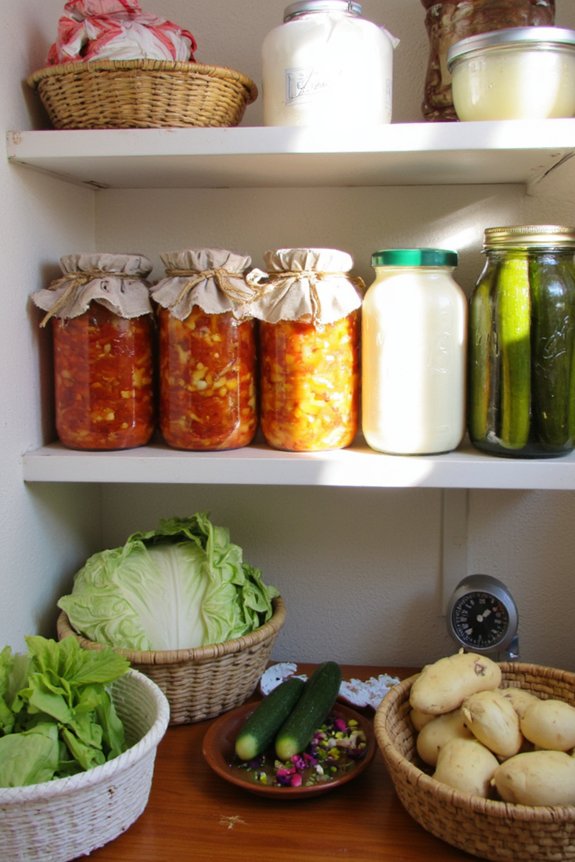
Your fermentation setup is basically a real estate venture—location matters way more than you’d think. You’ll want to find a spot that stays consistently cool, ideally between 55 and 75 degrees Fahrenheit, since temperature swings mess with your ferments big time. Check for natural light conditions too. While you don’t want direct sunlight blasting your jars constantly, you do need enough visibility to monitor what’s happening inside. Avoid dark corners where you can’t see anything. Electrical access is another key consideration if you’re planning temperature control equipment down the road. A kitchen corner near a window works great, or that spare cabinet under the sink. Just make sure it’s easily accessible so you’ll actually check on your ferments regularly instead of forgetting about them. If your setup is near an outlet, you can also incorporate automatic shut-off features with electric kettles or other small appliances to streamline your workflow and enhance safety.
Invest in Proper Storage Containers and Shelving
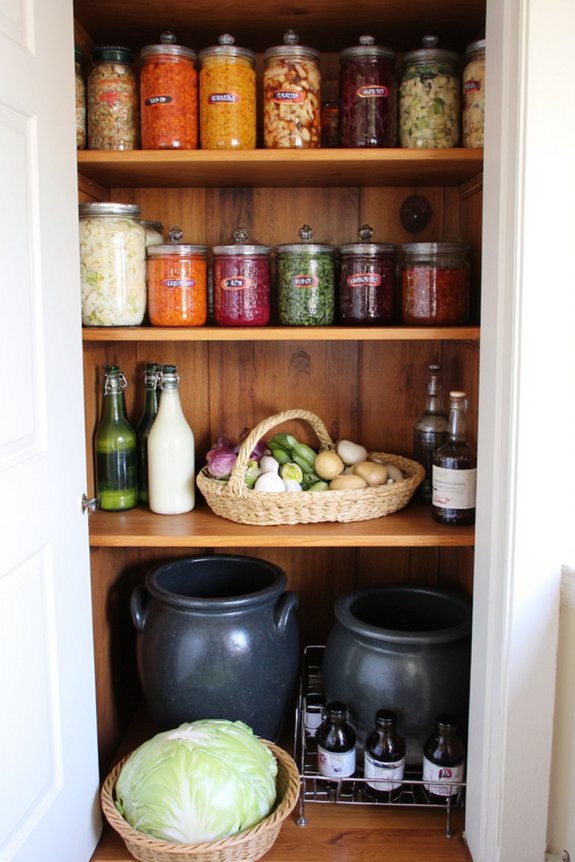
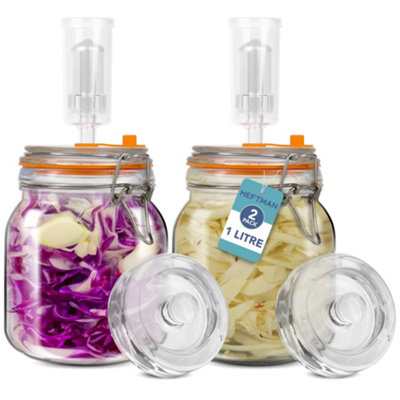
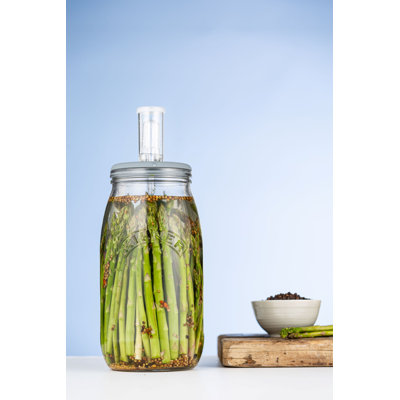
You’ll want to grab some quality glass jars in various sizes because they’re durable, see-through, and won’t mess with your ferments like plastic sometimes does. Think about getting some sturdy shelving units that’ll handle the weight without buckling under all those jars, and organize ’em by fermentation stage or type so you can actually find what you’re looking for when you need it. When setting up your shelving units, remember that stackable trays maximize capacity while keeping your footprint minimal and manageable, making it easier to fit more jars without taking up too much counter space.
Glass Jar Selection Guide
Glass jars are honestly the MVP of fermentation storage, and picking the right ones makes a world of difference. You’ll want to focus on a few key features when selecting your vessels. Here’s what matters:
- Wide mouth openings for easy packing and removal of your ferments
- Amber glass that protects contents from light damage and degradation
- Thick, durable glass that withstands pressure and temperature changes
- Airtight lids that seal properly without cracking
Wide mouth jars are game-changers because you can actually reach inside without wrestling with a narrow opening. Amber glass does serious work protecting your ferments from UV rays that’ll mess with flavor and nutrients. Look for jars with good weight to them, skip the flimsy stuff. Quality containers might cost a bit more upfront, but they’ll last you years and keep your ferments in peak condition. Just as with cast iron skillets, choosing durable construction ensures your jars will withstand years of use and maintain reliability in your fermentation station.


Shelving Organization Systems
Proper shelving and storage setup is where the magic really happens, because even the best jars won’t do you much good if they’re scattered all over the place like some kind of fermentation explosion. You’ll want to invest in vertical racks that maximize your space without eating up your whole kitchen. Stackable bins work great too for organizing ingredients and supplies nearby.
| Shelf Level | Best For | Why It Works |
|---|---|---|
| Top | Light items | Easy access |
| Upper-middle | Finished batches | Quick rotation |
| Middle | Active ferments | Eye level monitoring |
| Lower-middle | Heavy jars | Safety first |
| Bottom | Bulk storage | Stability |
Think vertical, stay organized, and you’ll never waste time hunting for that jar of kimchi again. For long-lasting shelves and containers, consider materials with resistance to rust and sticking to make maintenance and cleaning much easier.
Create a Labeling and Tracking System
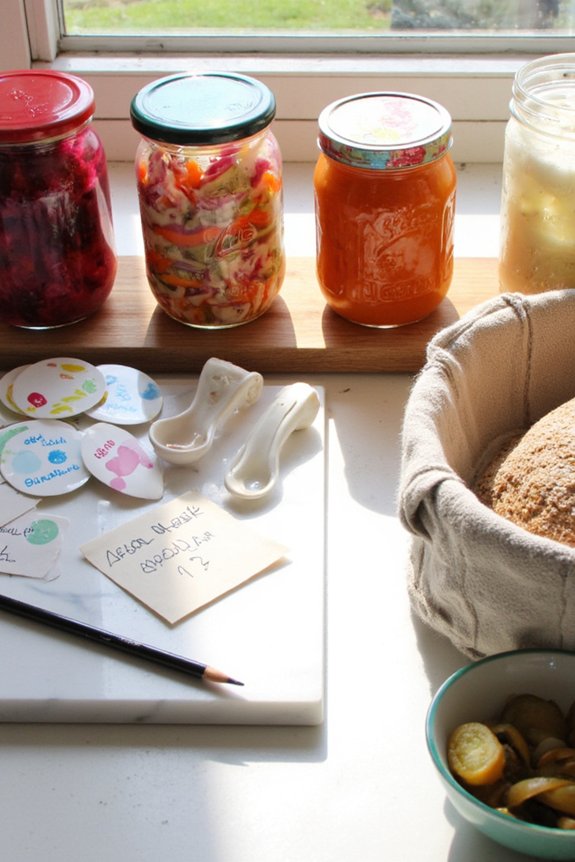
Keeping track of what’s fermenting where can quickly turn into a guessing game if you don’t set up a system, and trust me, nobody wants to open a jar six months later wondering whether it’s sauerkraut or a science experiment. You’ll want to implement a straightforward tracking method that actually works. Here’s what’ll help you stay organized:
- Use color coding on your jar lids to quickly identify ferment types at a glance
- Create a batch logging spreadsheet or notebook with start dates and expected completion times
- Attach waterproof labels with contents and fermentation dates directly on each jar
- Take photos of your shelf setup for quick reference when you’re away from your station
This system keeps everything transparent and prevents mysterious jars from accumulating dust on your shelves. Consider including fermentation time flexibility in your tracking, as different ferments require varying times and precise monitoring helps ensure consistent, high-quality results.
Maintain Optimal Temperature and Humidity Conditions
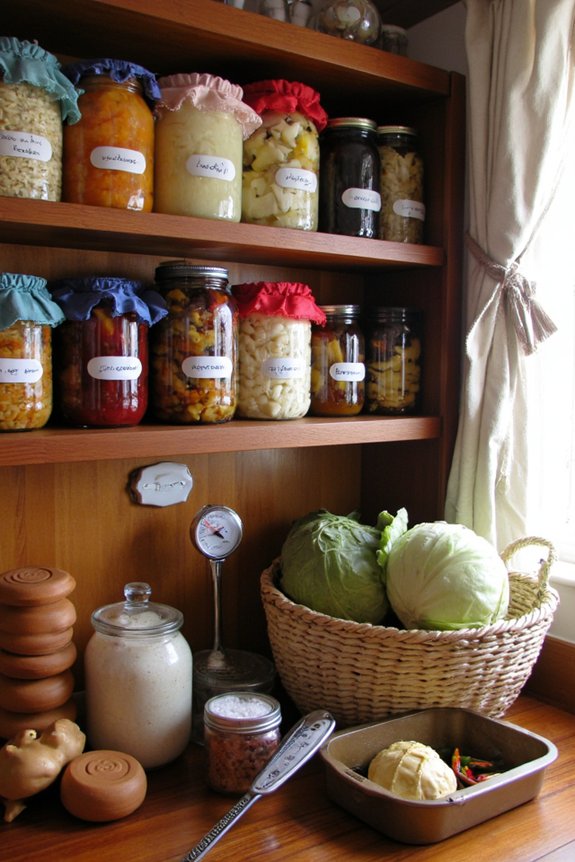
You’ll quickly realize that temperature and humidity are basically the dynamic duo of successful fermentation, so nailing down your temperature control methods is pretty much non-negotiable if you don’t want your cultures throwing a fit. Whether you’re using a simple cooler with ice packs, investing in a temperature-controlled chamber, or just finding that sweet spot in your basement, consistency is what your fermenting friends really crave. Then there’s humidity regulation techniques, which honestly shouldn’t stress you out too much since most ferments are forgiving, but keeping things from drying out or getting moldy requires just a bit of attention to your environment’s moisture levels.
Temperature Control Methods
Most fermentation projects’ll benefit tremendously from stable temperature conditions, and honestly, it’s one of the biggest factors separating mediocre batches from genuinely impressive ones. You’ve got several practical options for keeping things steady:
- Ambient thermostats that monitor your space and alert you to fluctuations
- Water baths for precise temperature control of individual ferments
- Heating mats designed specifically for fermentation vessels
- Insulated boxes with temperature strips for budget-friendly regulation
The trick is finding what works with your setup and budget. Water baths are fantastic if you’re serious about consistency, though they take up space. Ambient thermostats give you peace of mind without much fuss. Don’t stress too much though—most ferments are actually pretty forgiving. Just avoid wild temperature swings, and you’ll be golden.
Humidity Regulation Techniques
While temperature gets all the spotlight, humidity’s equally important for keeping your ferments happy and healthy. You’ll want to aim for humidity levels between 50 and 70 percent, depending on what you’re fermenting. Install ambient sensors throughout your station so you’re not just guessing. These little monitors give you real data about what’s actually happening in your space.
Moisture barriers like plastic sheeting or specialized covers help you control evaporation rates around individual ferments. They’re super useful when you’ve got multiple batches going at different stages. Some folks use humidifiers or dehumidifiers to fine-tune their environment, but honestly, good ventilation and smart placement often do the trick. Pay attention to your ferments’ behavior—they’ll tell you if humidity’s off.
Establish a Rotation Schedule and Timeline
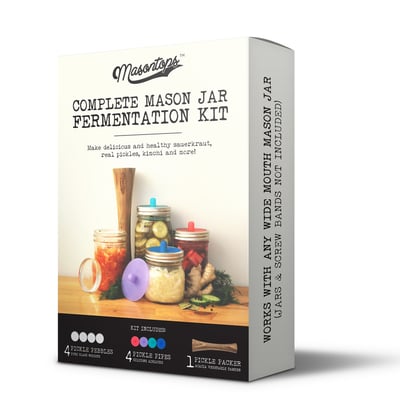
Getting organized with multiple ferments means you’ll need a system that actually works, not just something that sounds good in theory. Batch scheduling with staggered startdates keeps you from drowning in fermentation chaos.
Here’s how to make it happen:
- Map out your batch scheduling calendar, marking when each ferment starts and finishes
- Use staggered startdates so you’re not managing everything at once, spreading tasks throughout the week
- Set reminders for tasting, stirring, and bottling days to stay on track
- Track your ferments in a simple notebook or app, noting what’s brewing and when it’s ready
You’ll want to rotate jars strategically across your station. This prevents bottlenecks and keeps your workflow smooth. Small batches starting every few days? Way better than panic mode later.
Prevent Cross-Contamination and Ensure Food Safety
Once you’ve got your fermentation schedule locked in, keeping things clean becomes your secret weapon against unwanted guests—bacteria, mold, and other nasty freeloaders that’ll ruin your hard work. You’ll want to sanitize surfaces where you’re prepping ingredients and handling your ferments. Use dedicated utensils for each ferment too. This means separate spoons, jars, and cutting boards so flavors don’t cross-contaminate and bad bacteria don’t hitchhike between batches.
Wash your hands before handling anything, and keep your station organized by ferment type. Store finished ferments away from active ones. Label everything with dates because honestly, nobody remembers what they started three weeks ago. These simple steps keep your fermentation game strong and your gut happy.
Frequently Asked Questions
How Long Does It Typically Take for Different Ferments to Complete Their Fermentation Process?
You’ll find fermentation timelines vary considerably. Vegetables typically need 3-7 days, while kombucha takes 7-30 days. Ingredient influences matter greatly—temperature, salt content, and starter cultures all affect how long your ferments’ll need.
What Equipment or Tools Are Essential for Monitoring Fermentation Progress?
You’ll need temperature probes to track heat levels and airlocks for monitoring gas release during fermentation. These tools let you observe your ferments’ progress without constantly opening containers, ensuring you’ve got ideal conditions throughout the process.
Can Different Types of Ferments Be Stored in Close Proximity Safely?
You can store different ferments closely together, but you’ll want to manage cross contamination risks and aroma transfer effects. Keep strong-smelling ferments separated and use sealed containers to prevent flavors from mingling unwantedly.
What Should I Do if Fermentation Seems to Have Stopped Prematurely?
You should check your airlock troubleshooting first—ensure it’s sealed properly and bubbling. Monitor temperature swings around your fermentation station, as fluctuations can stall activity. Adjust warmth gradually if needed to restart fermentation.
How Do I Know When a Ferment Has Gone Bad or Become Unsafe?
You’ll know your ferment’s gone bad when you spot visible mold on the surface or detect off odors—sour, rotten smells indicate spoilage. Trust your senses; if something seems wrong, it’s safer to discard it.
Conclusion
You’ve got this. With a dedicated station, smart labeling, and a solid rotation schedule, you’ll manage multiple ferments like a pro. Your batches stay organized, your kitchen stays clean, and you’re not wondering which jar’s been sitting there for three months. Plus, you’ll actually remember to taste your creations before they turn into science experiments. That’s the dream, right?