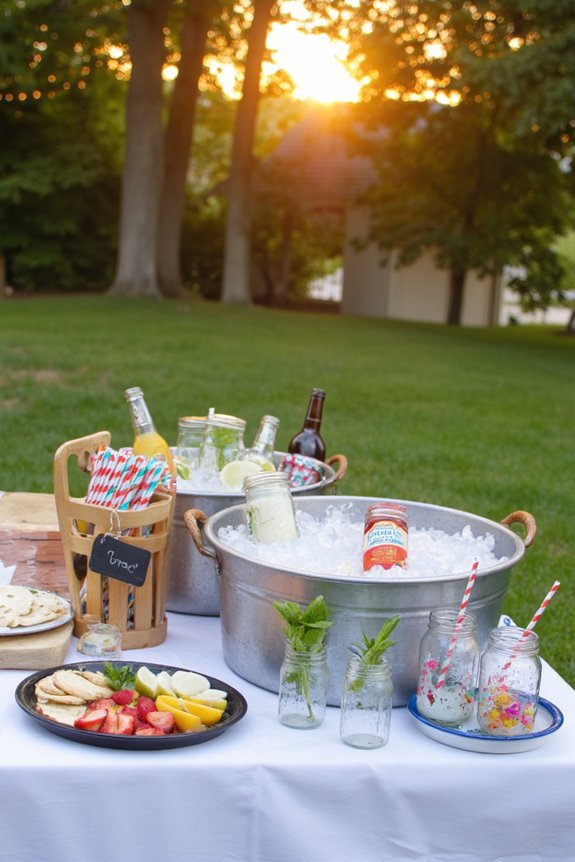
your cooler’s either a lifesaver or a hot mess. You’ve got guests arriving, drinks warming up faster than you’d like, and nobody wants lukewarm lemonade. The difference between a perfectly chilled beverage situation and total chaos comes down to a few smart moves you can make right now. We’re talking strategic ice layering, clever dividers, and backup cooler tactics that’ll keep everything cold and organized throughout your event.
Key Takeaways
- Layer ice, beverages, and ice alternately with loose packing to create 360-degree cooling and air circulation around drinks.
- Freeze water in flat, stackable gallon bags to arrange like building blocks around beverages for maximum cooling power.
- Pre-chill cooler 4–6 hours before the event and use frozen bottles or ice packs to boost initial temperature.
- Use color-coded waterproof labels to organize beverage types, reduce guest digging, and simplify restocking throughout the party.
- Position heaviest items on bottom and designate a dedicated water section for easy hydration access without cooler disruption.
Layer Your Ice Strategically for Maximum Cooling Power
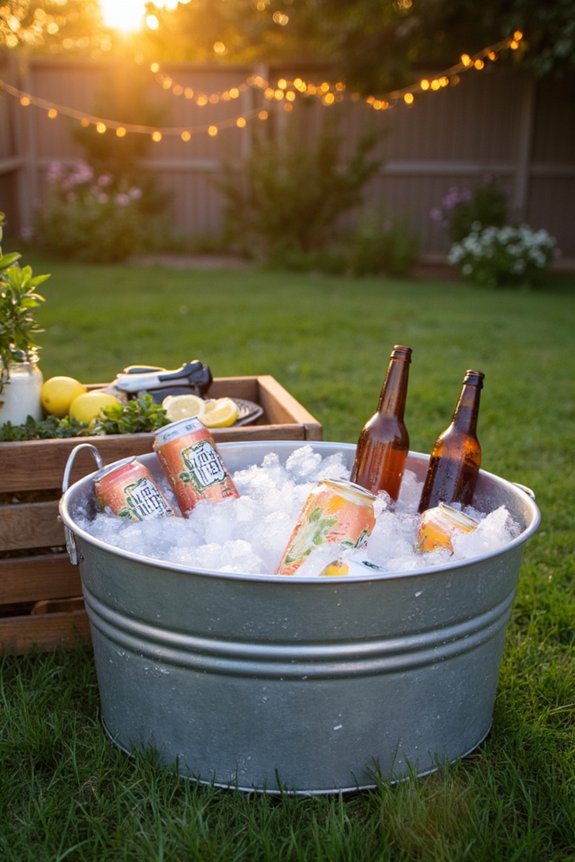
When you’re prepping your cooler for a day outdoors, here’s the thing—how you stack your ice actually makes a huge difference in how long everything stays cold. Don’t just dump it all in randomly. Instead, try an alternating blockwork pattern with your ice and beverages. Start with a solid layer of ice on the bottom, then add your drinks, then more ice. This creates thermal barriers that keep cold air circulating evenly around everything.
The key is spacing things out thoughtfully. You want ice touching your beverages from multiple angles, not just piled on top. Think of it like building a fort—strategic placement beats haphazard stacking every time. Pro tip: freeze water bottles beforehand and use them as extra cooling agents. They’ll keep things chilled longer while doubling as invigorating drinks later. For even better results, use thicker foam liners in your cooler, as they help extend chilled conditions and keep your drinks colder for longer.
Use Dividers to Separate Different Types of Beverages
Now that you’ve got your ice layering down to a science, here’s something that’ll level up your cooler game even more: keeping different beverages separated.
Think about it. Nobody wants their fancy craft beer mixing with sugary sodas, right? Partition panels are your secret weapon here. They’re cheap, easy to install, and they’ll transform your cooler into organized drink categories that actually make sense.
Here’s why you’ll love using dividers:
- Quick access to what you want without digging through everything
- Keeps flavors from transferring between different beverage types
- Makes it easier for guests to find their preferred drink
- Prevents warm drinks from sitting next to cold ones
You can grab plastic dividers from any hardware store, or honestly, even cardboard works in a pinch. Your cooler’s about to become the most organized station at your party. If you want to keep ice lasting longer and drinks colder, consider using compact countertop ice makers to produce a steady supply for refilling throughout your event.
Employ the Freezer Bag Method for Extra Cold Storage
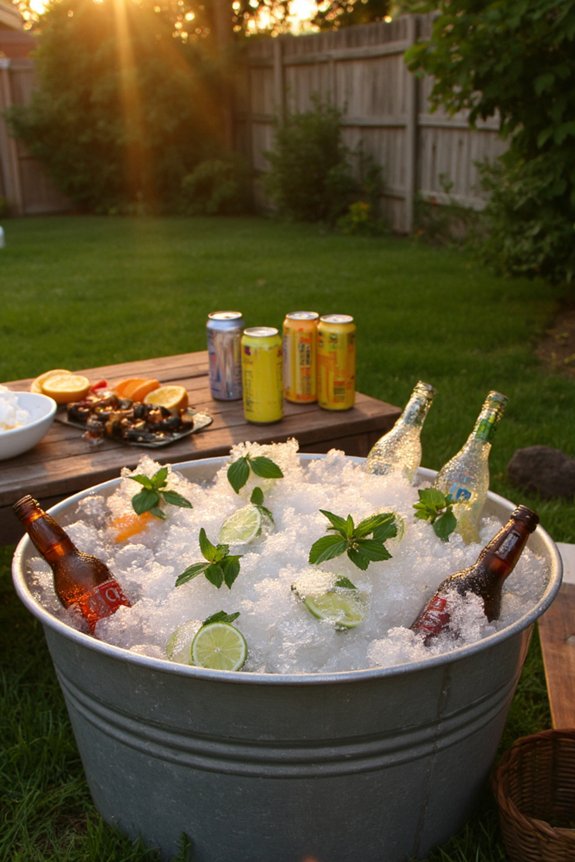
For seriously cold beverages, you’ll want to layer ice strategically around your freezer bags so they stay frozen longer and keep everything icy cold. Seal and stack your bags efficiently, arranging them like building blocks throughout your cooler so they maximize space while doubling as extra ice packs. Rotate those frozen packs regularly during your outdoor event, swapping out the thawing ones from the bottom with fresh frozen bags from the top to maintain that deep chill you’re after. Consider using reusable, food-grade bags for your freezer packs to reduce waste and ensure durability throughout the party.

Layering Ice Strategically
If you’ve ever wondered why your drinks turn lukewarm after just an hour in the sun, here’s the secret: strategic ice layering is your new best friend.
Here’s how to master ice placement and create those precious cold pockets:
- Start with a base layer of ice on the cooler bottom
- Place drinks on top, leaving small gaps between bottles
- Fill those gaps with more ice, packing it loosely
- Cap it off with a final ice layer on top
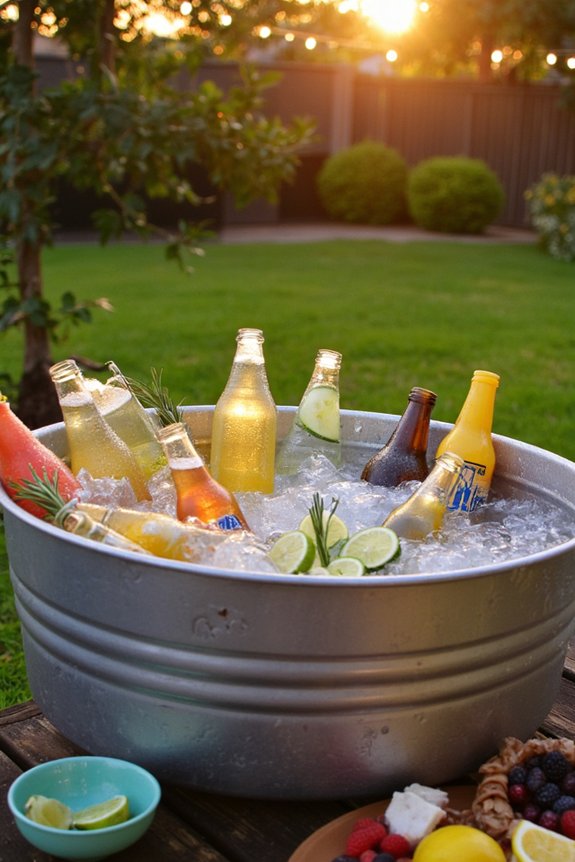
The trick is creating air spaces that trap cold air around your beverages. You’re basically building an insulation fortress. When ice melts unevenly, it drains away fast, but layered ice? It melts slower and keeps everything frigid longer. Think of it like a beverage sandwich, where ice is the protective bread surrounding your drinks. Your guests’ll notice the difference immediately. For even more efficient cooling, try adopting 360-degree air circulation—a principle used in top convection ovens—to ensure every drink stays equally cold throughout your party.
Seal and Stack Bags
While layering ice gets you most of the way there, you can supercharge your cooler’s cooling power by freezing water in plastic bags and stacking them strategically throughout. Here’s where the zip lock technique really shines. Fill gallon-sized bags with water, leaving a little room for expansion, then seal ’em up tight. You’ll want to use bag folding tricks to maximize your space, laying them flat in the freezer so they freeze into neat, stackable rectangles.
Once frozen, arrange these icy blocks around your beverages like edible wallpaper. They’ll keep drinks cold way longer than regular ice and won’t dilute everything into watery disappointment. Plus, you’re basically creating an insulated fortress for your drinks. Stack strategically, leave some gaps for airflow, and you’ve got yourself a pretty impressive cooler setup that’ll keep the party going strong.
For even easier cleanup after the festivities, consider the benefits of removable, dishwasher-safe parts found in many top-rated indoor appliances—this same principle applies to using bags in your cooler, since you can simply toss them or rinse and reuse.
Rotate Frozen Packs Regularly
The secret to keeping your cooler consistently cold throughout the day isn’t just about what you throw in there—it’s about actively managing your frozen packs like you’re rotating stock at a convenience store. You’ve gotta stay on top of your pack scheduling so nothing goes warm on you halfway through the party.
Here’s your game plan:
- Swap out thawing packs every two hours for fresh frozen ones
- Store backup packs in your freezer before guests arrive
- Layer packs strategically around beverages, not just on top
- Monitor temperature by touching pack firmness regularly
Think of ice replacement as preventative maintenance. Your cooler’s basically a mini fridge that needs constant attention. Rotate those packs religiously, and you’ll keep drinks frosty from kickoff to cleanup.
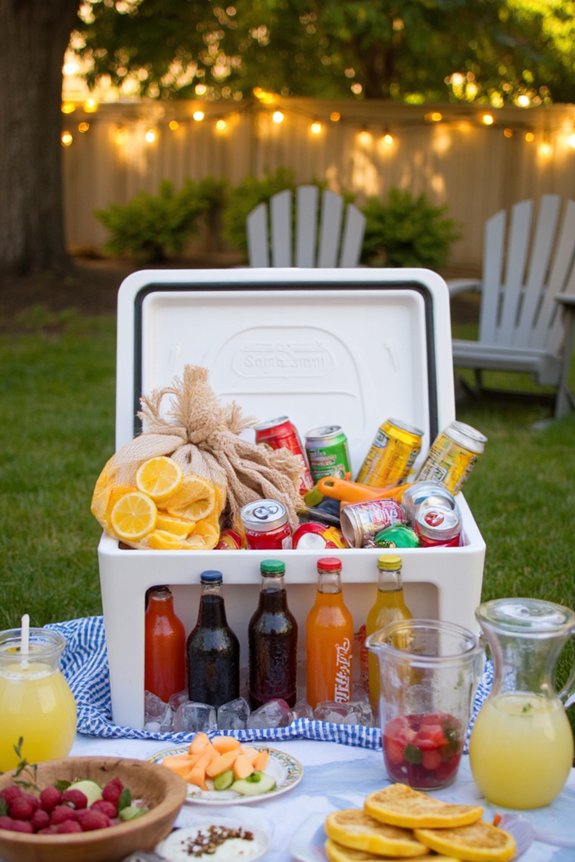
Label Everything for Quick Guest Access
When you’re hosting a crew of thirsty guests, you’ll want to make it dead simple for them to find what they’re looking for, and that’s where labeling becomes your best friend. Consider using color-coded drink categories—say, blue labels for cold beverages, red for alcoholic drinks, and green for non-alcoholic options—paired with clear waterproof label methods like laminated tags or permanent markers on weatherproof stickers that’ll actually stick around instead of peeling off in the humidity. Your guests won’t have to hunt through a mystery cooler, and you’ll avoid the awkward moment where someone’s digging around asking “so what’s in here anyway?”
Color-Coded Drink Categories
If you’ve ever watched guests stand frozen in front of your cooler like it’s a puzzle box, you’ll get why color-coding is a total game-changer.
Grab some vibrant labels and assign each color to a drink category. Your guests’ll know exactly what they’re grabbing without playing the guessing game. Here’s how to organize by preference:
- Red labels for alcoholic beverages
- Blue labels for non-alcoholic drinks
- Yellow labels for juices and smoothies
- Green labels for water and electrolyte drinks
This system respects guest preferences and keeps everyone happy. You won’t have people asking “where’s the beer?” every five minutes. Plus, it makes cleanup way easier since you’ll know which beverages go where. Your cooler transforms from confusing mess into organized oasis, and honestly, that’s pretty satisfying.
Clear Waterproof Label Methods
Now that you’ve got your color system down, it’s time to make sure those labels actually stick around long enough to do their job. Waterproof tags are your best friend here. You’ll want to grab some clear vinyl labels that can handle moisture and won’t peel off after the first splash.
Use a permanent marker to write drink names, allergen info, or even fun descriptions on your waterproof tags. Stick them directly on bottles and cans for instant visibility. Your guests won’t have to guess what’s what anymore.
Consider laminating paper labels if you’re extra committed to durability. The combo of waterproof material and clear vinyl creates a protective shield that laughs in the face of condensation and humidity. Your organization system stays intact from the first guest to the last.
Position Heavy Items on the Bottom to Prevent Crushing
As gravity’s got your back, here’s the golden rule of cooler packing: your heaviest items belong on the bottom. Weight distribution matters more than you’d think when you’re trying to keep everything intact during a party.
Here’s what you should prioritize for bottom loading:
- Water bottles and two-liter sodas (they’re dense and stable)
- Beer cases or multipacks (solid, compact weight)
- Wine bottles or glass containers (protect them from crushing)
- Heavy condiment bottles and ice packs (anchor your load)
Think of it like building a pyramid. You’re stacking lighter stuff on top of heavier stuff, which prevents those delicate beverages from getting squished. Your cans stay intact, your bottles survive the journey, and you’ll actually enjoy your party instead of dealing with leaks and waste.
Create a Designated Water Station Within Your Cooler
You’ve got your cooler packed strategically, and now it’s time to think about organization beyond just weight distribution. Creating a dedicated hydration station inside your cooler makes it super easy for guests to grab water without digging through everything. Designate one corner or section specifically for water bottles and keep them upright if possible. This way, people won’t accidentally crush your snacks hunting for H2O. Establish a simple refill protocol by keeping a water jug nearby so folks can refresh their bottles throughout the party. It’s honestly genius because your hydration station keeps things tidy, prevents warm drinks from getting lost in the shuffle, and makes sure everyone stays refreshed. Plus, guests actually appreciate having water readily available without asking you a million times.
Utilize Vertical Space With Stackable Containers
When you’re packing your cooler, you’ve probably noticed that horizontal real estate fills up fast, so why not think vertical instead? Stackable containers are your best friend here, letting you wedge everything from snack boxes to drink organizers on top of each other without turning your cooler into a tetris nightmare. Pick containers that fit your cooler’s dimensions snugly and aren’t too flimsy, since you’ll want them staying put when you’re hauling the thing around and people are grabbing drinks from the top.
Stackable Container Selection
Stackable containers are basically the MVP of cooler organization, and here’s why: they’ll transform that chaotic jumble of ice packs and beverage bottles into something that actually makes sense. You’re looking at a game-changer for your outdoor setup.
When selecting your containers, consider these essentials:
- Insulated bins that keep everything cold longer and stack without toppling over
- Modular trays designed specifically for different bottle sizes and shapes
- Clear plastic options so you can see what’s inside without digging around
- Lightweight materials that won’t break your back when moving them around
The beauty here? You’ll maximize every inch of your cooler’s interior while keeping drinks organized by type. Plus, you’re not fumbling through melted ice trying to find a cold soda. It’s honestly one of those small investments that makes a huge difference when you’re hosting.
Maximizing Cooler Height
Now that you’ve got your containers sorted, it’s time to think vertically. Stack those containers strategically to make the most of your cooler’s space. You’ll be surprised how much more you can fit when you’re stacking smart.
Look for containers with tall insulation properties that won’t collapse under pressure. This keeps your drinks cold without sacrificing valuable real estate. Pro tip: choose containers with zipper access on multiple sides so you’re not constantly rearranging everything just to grab a soda.
Don’t stack randomly though. Put heavier items on the bottom and lighter stuff on top. It’s basic physics, really. This approach maximizes your cooler height while keeping everything accessible and organized. Your guests will appreciate quick, easy drink access, and you’ll love the extra space you’ve freed up for ice, snacks, or whatever else you need.
Pre-Chill Your Cooler Before the Party Begins
Before you even think about filling your cooler with ice and drinks, you’ve gotta get that thing cold first. Seriously, this step makes a huge difference in keeping everything chilled throughout your party.
Here’s what you need to do:
- Pop your cooler in the freezer or a cool spot for several hours before guests arrive
- Use proper insulation techniques like adding a layer of ice on the bottom before your drinks
- Consider chill durations, aiming for at least four to six hours of pre-cooling time
- Throw in some frozen water bottles or ice packs to boost the overall temperature drop
A pre-chilled cooler’s way more effective than throwing warm beverages into room-temperature storage. Your drinks’ll stay colder longer, and you won’t waste ice trying to catch up. It’s honestly the simplest hack that delivers real results.
Implement a First-In, First-Out Rotation System
Once you’ve got your cooler properly chilled, keeping track of what’s inside becomes your next challenge. You’ll want to do a first inventory of everything that goes in, then stick to a rotation tracking system that actually works.
Here’s the deal: older drinks go in front, new ones go in back. Simple as that.
| Position | What Goes There | Why It Matters |
|---|---|---|
| Front | Older beverages | Grab these first |
| Middle | Medium-age drinks | Secondary access |
| Back | Fresh additions | Save for later |
This method guarantees nothing gets forgotten and pushed to the back, turning into mystery drinks nobody wants. Your guests stay happy with cold, fresh beverages, and you’re not playing fridge detective later wondering what that forgotten can’s from.
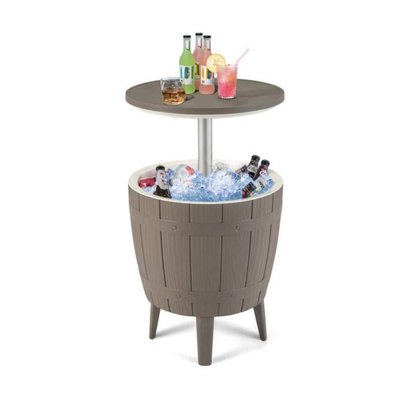
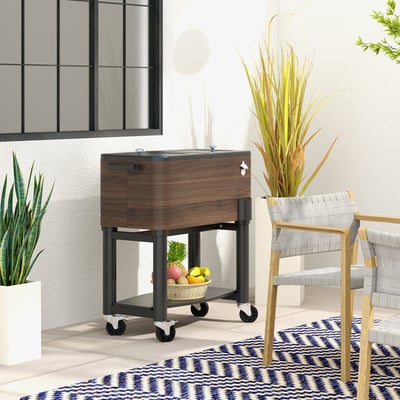
Keep Backup Beverages in a Secondary Cooler
Your primary cooler’s gonna fill up fast, especially when you’ve got a crowd rolling through. That’s why keeping an extra stash in a secondary cooler is a total game-changer for any outdoor gathering.
Here’s what you need to know:
- Stock it with popular beverages your guests actually want
- Keep it positioned away from the main cooler to reduce foot traffic
- Use it as an emergency keg backup if drinks run low
- Refill from your secondary cooler before the primary one empties
You’ll avoid that awkward moment when someone asks for a drink and you’ve got nothing left. Plus, spreading beverages across two coolers means less digging around trying to find something cold. Your guests stay happy, and you’re basically a party legend for staying prepared. It’s honestly one of those simple moves that makes everything run smoother.
Frequently Asked Questions
How Long Can Beverages Safely Stay in a Cooler Before They Become Unsafe to Drink?
You’ve got about 4-6 hours before bacterial growth becomes a concern. Keep your cooler at 40°F or below to extend shelf life. Check ice levels regularly and don’t mix warm beverages with cold ones.
What’s the Best Type of Cooler to Use for Outdoor Parties With Many Guests?
You’ll want rotomolded coolers for superior insulation and durability with large guest counts. They’re built tough and maintain ice longer. Alternatively, soft-sided coolers offer portability and easier storage when you’re not entertaining.
How Much Ice Do I Need for a Cooler Holding Fifty Beverages?
You’ll need about 20-30 pounds of ice for fifty beverages. Your ice volume directly affects cooling duration, so consider adding extra ice if you’re hosting a longer event or hot weather party.
Can I Mix Alcoholic and Non-Alcoholic Beverages in the Same Cooler Safely?
Yes, you can mix alcoholic and non-alcoholic beverages safely in the same cooler. However, you’ll want to implement alcohol segregation using a labeling system to prevent confusion and help guests quickly identify what they’re grabbing.
What Temperature Should My Cooler Maintain to Keep Drinks Properly Chilled?
You’ll want your cooler maintaining 38–40°F target temperature for peak drink chilling. Use ice packs or crushed ice for rapid chilling, and keep your cooler in shade to maintain consistent coldness throughout your party.
Conclusion
So there you have it—you’re basically a cooler master now. Your guests won’t be hunting for warm drinks or playing Jenga with crushed beverages anymore. With these hacks in your back pocket, you’ll keep everything ice cold and perfectly organized. It’s less stress for you and more time enjoying the party. That’s a win in anyone’s book, right?