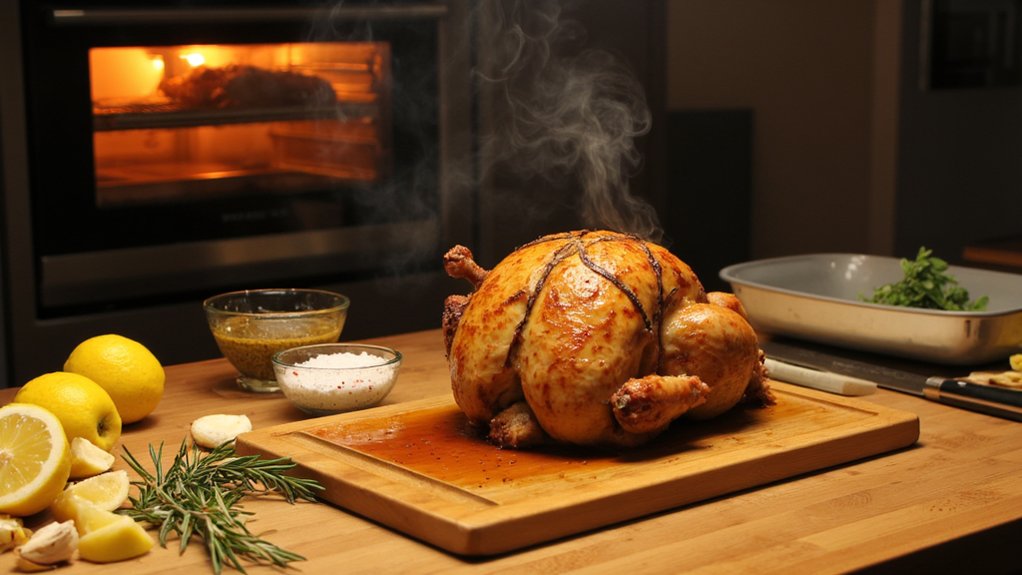
most home cooks don’t realize their rotisserie oven’s thermometer might be off by fifteen degrees or more. You’re probably losing flavor before you even start seasoning. But here’s the good news—with a few simple prep moves and the right technique, you’ll nail that golden, juicy bird that’ll make your kitchen smell absolutely incredible. Let’s walk through exactly how to make it happen.
Key Takeaways
- Select a 3–5 pound free-range chicken with firm, unblemished skin for even cooking and crispy results.
- Clean the oven chamber and test the rotisserie motor and temperature sensors before cooking begins.
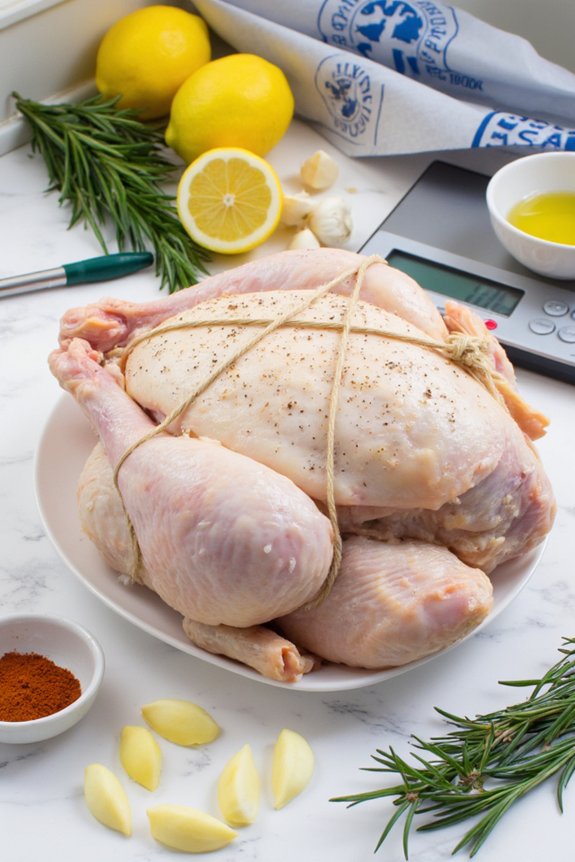
- Truss the bird with kitchen twine, tuck wings underneath, and insert the spit through the center for balanced rotation.
- Follow a staged temperature plan: 300°F for 10 minutes, ramp to 375°F for 15 minutes, then cook at 425°F for 50–60 minutes.
- Remove the chicken at 160–162°F internal thigh temperature, rest for 5–10 minutes, then carve for maximum juiciness and presentation.

Selecting the Right Chicken
When you’re standing in front of the meat counter trying to figure out which bird’s gonna be your rotisserie star, here’s the thing—size matters, but it’s not everything. You’ll want a chicken between three and five pounds. That’s the sweet spot for even cooking and crispy skin. Look for free range sourcing options whenever possible; those birds tend to have better flavor and texture. Check for organic labeling too—it’s worth the extra cash. The skin should look firm and unblemished, not bruised or slimy. Feel the bird if you can. It shouldn’t feel watery or overly soft. A fresher chicken will cook faster and taste leagues better than something that’s been sitting around for weeks. Trust your instincts here. For best results, make sure your chicken fits within the weight capacity range of your rotisserie oven to ensure even roasting and avoid overfilling.
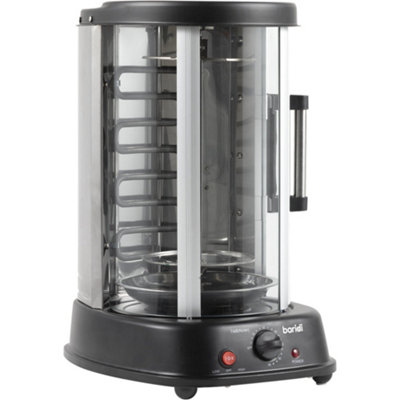
Preparing Your Rotisserie Oven
Before you get that bird spinning, you’ve gotta get your rotisserie oven ready for action. Start by giving the cooking chamber a good cleaning—nobody wants last week’s grease flavoring tonight’s dinner—then dial in your temperature settings and run a quick functionality test to make sure everything’s working smooth as butter, because there’s nothing worse than discovering your equipment’s on the fritz when you’ve already got your chicken locked and loaded. For best results, aim for a rotisserie oven that can consistently hit at least 250°F, as this ensures reliable roasting performance and juicy, evenly cooked chicken every time.
Cleaning the Cooking Chamber
A clean cooking chamber is honestly the secret sauce to rotisserie success, and you’ll want to tackle this step while your oven’s still cool. Start with grease removal—grab a damp cloth and wipe down those interior walls where all the delicious drippings have accumulated. You’re basically giving your oven a spa day. Don’t forget the bottom; that’s where the gunk loves to hide. For odor neutralization, sprinkle some baking soda around and let it sit for a few minutes. It’ll absorb those stubborn smells like a champ. Then vacuum it up or wipe it clean. A fresh-smelling chamber means your next chicken roasts without yesterday’s flavors lingering around. Your future self’ll thank you for this preventative maintenance, trust me. For best results and to prevent any unwanted chemical leaching, make sure you’re using cleaning tools and products that are food-safe and approved for high-temperature appliances.

Adjusting Temperature Settings
Once you’ve got that chamber sparkling, it’s time to dial in your temperature like you’re tuning a guitar before the big show. Your rotisserie needs precision, and that’s where temperature ramping comes in. You’ll want to start lower and gradually increase heat to cook evenly without charring the skin. Before you begin, check your probe calibration to make sure accurate readings, because nobody wants a raw chicken surprise.
Many top oven-safe cookware options are specifically designed to handle high and fluctuating temperatures, making them perfect companions for rotisserie cooking.
| Temperature Stage | Setting | Time |
|---|---|---|
| Initial Heat | 300°F | 10 mins |
| Ramp Up | 375°F | 15 mins |
| Cooking Temp | 425°F | 50-60 mins |
Think of it like warming up before exercising. You wouldn’t sprint immediately, right? Same principle applies here. Get familiar with your oven’s quirks. Most models have hot spots. Find yours, adjust accordingly, and you’re golden.
Testing Equipment Functionality
Now that you’ve got your temperature dialed in, it’s time to make sure all your equipment’s actually gonna work when you need it. Nobody wants a surprise breakdown mid-roast. Here’s your equipment diagnostics checklist:
- Test the rotisserie motor by running it for a few minutes without any chicken, listening for strange noises or wobbling that shouldn’t be there.
- Check your sensor calibration by comparing the oven’s thermometer reading against a reliable meat thermometer to guarantee accuracy.
- Inspect the spit and basket for rust, damage, or loose parts that could ruin your dinner plans.
Flip those switches. Listen carefully. Watch everything spin smoothly. A little preventative checking now saves you from disaster later, trust me. For even more reliable results, make sure your oven has built-in temperature sensors to help maintain consistent heat throughout the cooking process.
Seasoning and Flavoring Your Bird
The magic really happens when you season that bird. You’ve got options, and they’re all delicious. Try citrus brining your chicken the night before—it’ll keep the meat incredibly juicy and tender. For something quicker, go with herb crusting, rubbing dried herbs directly onto the skin for a crispy, flavorful exterior.
| Seasoning Method | Prep Time | Flavor Profile |
|---|---|---|
| Citrus Brine | 12 hours | Bright, juicy |
| Herb Crust | 15 minutes | Earthy, crispy |
| Garlic Butter | 10 minutes | Rich, savory |
| Spice Rub | 5 minutes | Bold, warming |
| Mediterranean Mix | 20 minutes | Fresh, vibrant |
Don’t be shy with salt and pepper—they’re your foundation. Add rosemary, thyme, or oregano for depth. Your rotisserie’s gonna work magic on whatever you choose, turning simple seasonings into something absolutely spectacular.
Trussing and Skewering Techniques
Now comes the fun part where you’ll actually get your bird ready for its spinning debut, and we’re talking about trussing and skewering techniques that’ll keep everything in place while it rotates. You’ll need to master proper trussing methods, nail down exactly where those skewers go, and make sure you’re securing those wings and legs so tight they won’t budge an inch during the whole cooking process. Think of it like preparing your chicken for the most exhilarating carnival ride of its afterlife—one wrong move and you’ve got a poultry disaster on your hands.
Proper Trussing Methods
Before you slide that bird onto the spit, you’ll want to truss it properly—and yeah, it’s way easier than it sounds. Trussing keeps your chicken compact and guarantees even cooking on the rotisserie.
Here’s what you need to know:
- Use the elastic twine technique by wrapping kitchen twine around the legs and wings, pulling everything snug against the body for that perfect shape.
- Try the butterfly method if you’re feeling adventurous—it spreads the chicken flat and exposes more surface area for beautiful browning.
- Tuck those wing tips under the breast to prevent them from flopping around and burning.
Secure everything firmly but not so tight you’re choking your chicken. You want it held together, not squeezed to death. Your rotisserie’ll thank you with perfectly cooked, golden-brown results.

Skewer Placement Guide
Once you’ve got your chicken trussed up nice and tight, it’s time to thread that bad boy onto the spit—and this is where precision really matters. You’ll want to make certain proper skewer spacing so the bird rotates evenly without wobbling like a drunk uncle at a wedding. Insert the spit through the center of the chicken, running it from tail to breast. Here’s the trick: aim for counterbalance placement by positioning the chicken so its weight distributes equally on both sides. If one side’s heavier, your rotisserie’ll work overtime and your chicken’ll cook unevenly. Check that the spit’s secure, nothing’s loose, and everything feels balanced. When you spin it manualy, it should rotate smoothly without any resistance. That’s your green light to crank up the heat.
Securing Wings and Legs
Trussing your chicken is basically the culinary equivalent of giving it a really tight hug before the big event—you’re bundling those wings and legs snug against the body so they cook evenly and don’t flap around like they’re trying to escape. Here’s how to do it right:
- Tuck those wings underneath the bird’s body for wing protection and a compact shape.
- Tie the legs together with kitchen twine, creating a neat package that rotates smoothly.
- Use safety tips like double-knotting everything so nothing comes loose during spinning.
Secure trussing means your chicken won’t shift around on the skewer, which prevents uneven cooking and keeps parts from charring. Plus, you’ll look like a pro. Your rotisserie chickens will turn out golden, juicy, and perfectly cooked every time.
Monitoring Cook Time and Temperature
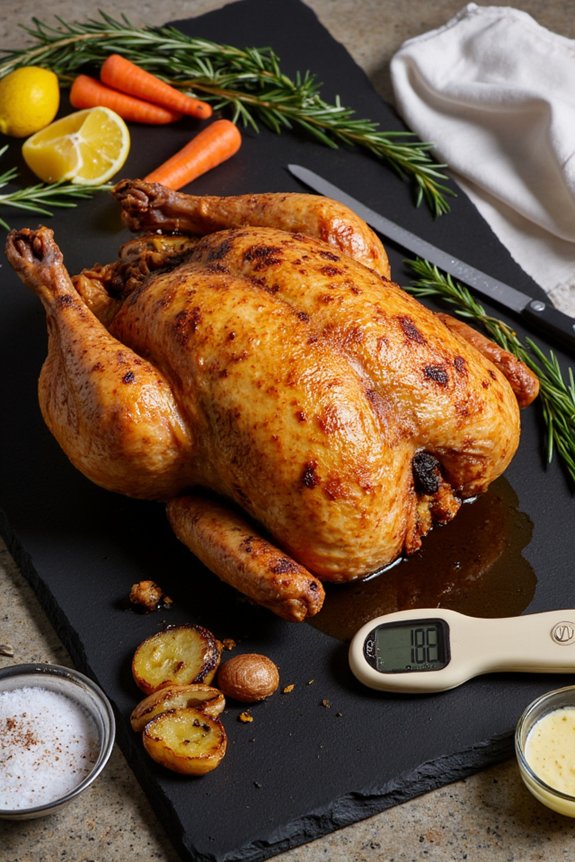
Keep your eyes on the prize—literally. You’ll want to use internal thermometers to track your chicken’s progress without opening that oven door every five minutes. Insert one into the thickest part of the thigh, avoiding bone. You’re aiming for 165°F, which is the magic number for food safety.
Here’s the thing though: don’t yank your bird out the instant it hits that temperature. Carryover cooking means the internal temp’ll keep climbing even after you remove it from heat. Pull it out around 160-162°F and let it rest for those vital five to ten minutes.
This resting period? It’s not just sitting around doing nothing. Those juices redistribute throughout the meat, making every bite incredibly tender and flavorful. That’s the real prize.
Carving and Serving Your Rotisserie Chicken
Let that beautiful bird cool for just a minute or two before you dig in—your fingers’ll thank you. These resting techniques are essential for keeping all those delicious juices locked inside where they belong.
Here’s how to carve like a pro:
- Start by removing the legs and thighs, twisting them away from the body with confidence
- Slice the breasts clean off the ribcage in one smooth motion for impressive presentation tips
- Separate wings last, then shred any remaining meat for maximum yield
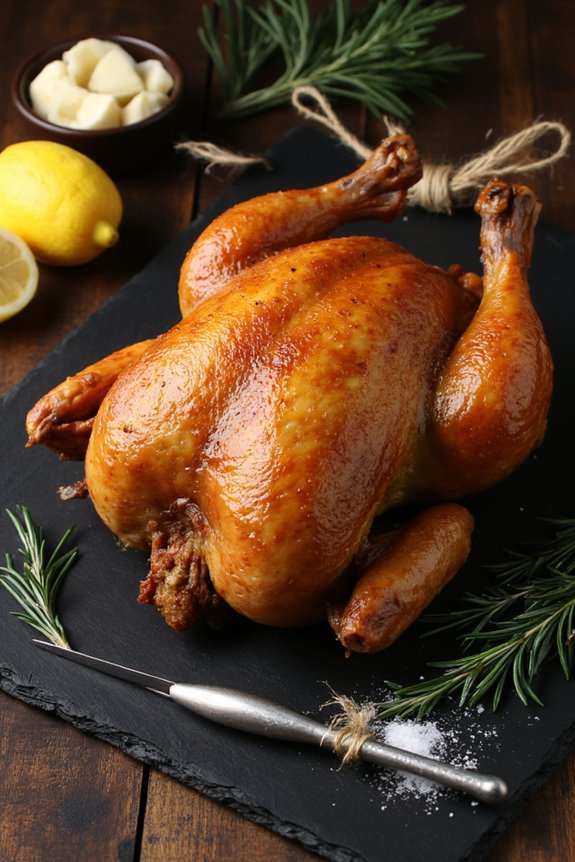
Your rotisserie chicken deserves a moment in the spotlight. Arrange those golden pieces on a nice platter—it’ll look way more appetizing than a random pile. Add some fresh herbs or lemon wedges for color. Your guests won’t just taste perfection, they’ll see it too. That’s restaurant-quality right there, achieved in your own kitchen. Pretty cool, right?
Frequently Asked Questions
Can I Reuse the Drippings From My Rotisserie Chicken for Gravy?
Yes, you can reuse your rotisserie chicken drippings for gravy. For proper drippings storage, refrigerate them in an airtight container. They’ll enhance flavor markedly when you deglaze your pan and thicken with cornstarch or flour.
How Do I Prevent the Skin From Burning While Keeping Meat Juicy?
You’ve got to walk a tightrope between heat and time. Apply a protective coating of butter and herbs, use indirect heat by positioning your chicken away from the flame’s direct path, and you’ll achieve golden, juicy perfection.
What Should I Do if My Chicken Starts Smoking During Cooking?
If your chicken’s smoking, you’ll want to add ventilation immediately by opening windows or turning on your exhaust fan. Then reduce heat gradually to prevent charring while ensuring your meat cooks through properly.
Can I Cook Multiple Chickens Simultaneously in My Rotisserie Oven?
Yes, you can—if you’re feeling adventurous! Master stacking techniques and temperature zoning to cook multiple chickens simultaneously. You’ll need proper spacing, careful rotation monitoring, and adjusting heat distribution so they’ll cook evenly without competing for that prized crispy skin.
How Long Can I Safely Store Leftover Rotisserie Chicken in the Refrigerator?
You can safely store your leftover rotisserie chicken in the refrigerator for three to four days. Make sure you’re using cold packaging and proper storage duration by placing it in airtight containers immediately after cooling.
Conclusion
You’ve just created a million times better chicken than any takeout joint could dream of. Your rotisserie oven’s now a golden-brown machine of deliciousness. That resting period? Totally worth the wait. Slice into that juicy bird, and you’ll taste why you bothered with all this. Share it with folks who appreciate real food, because they’ll remember this meal. You’re officially a rotisserie master.


