You’re miles from civilization, staring at your camping stove, craving that perfect cup of coffee. Thing is, brewing great coffee outdoors isn’t some mystical art—it’s about nailing a few fundamentals. Fresh beans, the right water temperature, proper technique. But here’s where it gets intresting: the real magic happens when you adapt to your surroundings, and that’s what separates mediocre camp coffee from something genuinely exceptional.
Key Takeaways
- Choose a portable brewer like a Moka pot or collapsible French press that balances weight, durability, and your caffeine needs.
- Heat water to 195–205°F and allow grounds to bloom before brewing for optimal flavor extraction anywhere.
- Pack a compact grinder, reusable filters, and a thermal carafe to maintain coffee quality and heat retention.
- Adjust brew time and water temperature based on altitude and weather conditions for consistent results.
- Check filter integrity and water temperature if experiencing gritty grounds, slow drip, or weak coffee issues.
Selecting the Right Camping Coffee Maker for Your Adventure
Since you’re probably already imagining yourself sipping a perfect cup of joe while the sun rises over the mountains, let’s talk about finding the camping coffee maker that won’t make you want to chuck it into the nearest lake.
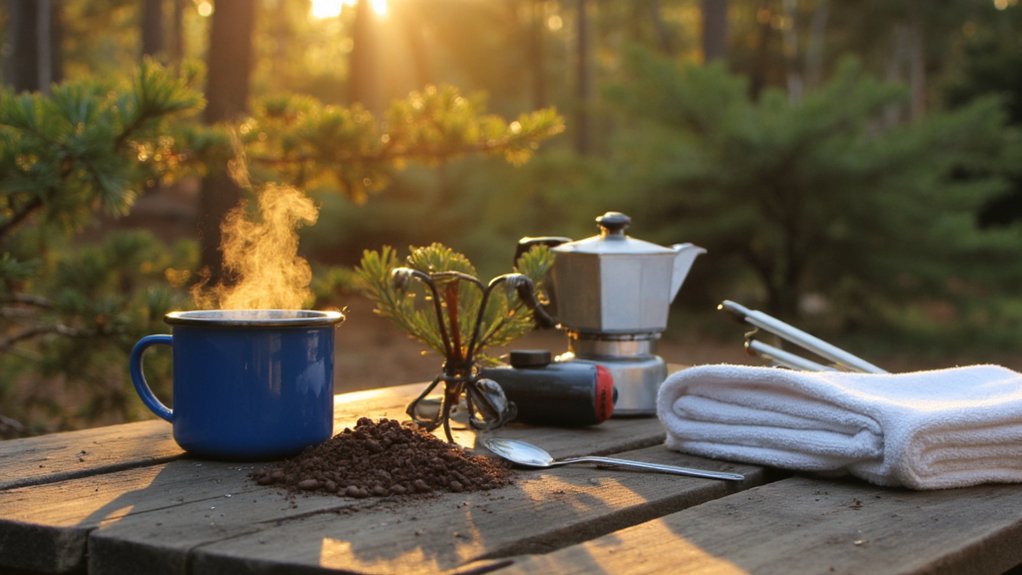
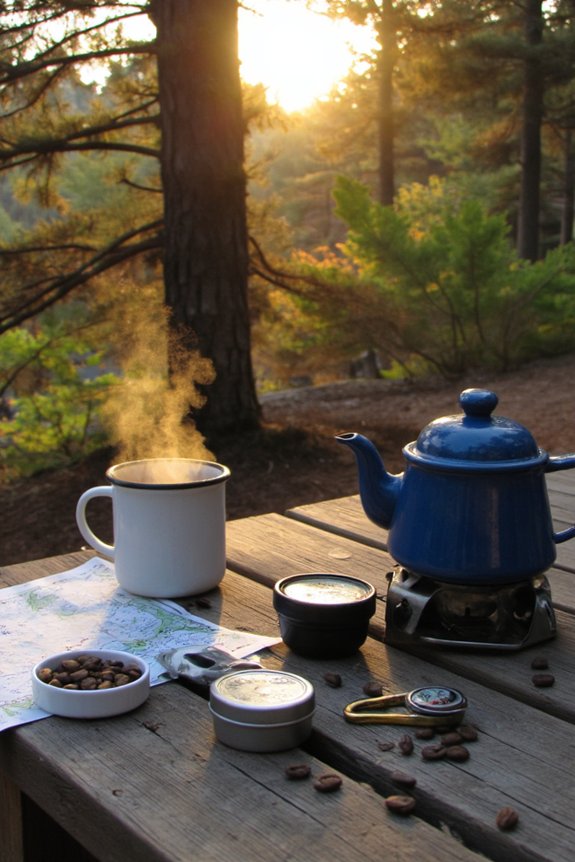
You’ve got options. A portable Moka pot brews strong coffee without electricity, fitting neatly in your backpack. It’s reliable and compact. Then there’s the collapsible French press, which folds flat for easy packing while delivering that rich, full-bodied flavor you crave. Consider weight, durability, and how much caffeine you actually need to function in the wilderness. Think about whether you’re car camping or backpacking. Your choice matters. Some folks swear by pour-overs, others prefer AeroPresses. Don’t overthink it though. The best camping coffee maker? The one you’ll actually use and maintain without frustration. For backcountry portability, lightweight options like collapsible pour-over drippers and compact percolators are ideal for keeping your pack light without sacrificing coffee quality.
Mastering Water Temperature and Brewing Techniques
Getting the water temperature right is where most campers totally botch their morning brew. You’ll want that water between 195 and 205 degrees Fahrenheit for ideal extraction. Too hot? You’re basically making burnt coffee soup. Too cold and you’re just steeping sadness in a cup.
Here’s the thing: temperature control separates the camping coffee champions from the rest of us. If you’ve got a thermometer, fantastic. Use it. No thermometer? Let boiling water cool for about 30 seconds before pouring. That’s your sweet spot.
Your brewing technique matters too. Don’t rush it. Give your grounds time to bloom and release their delicious potential. Patience pays off when you’re sipping that perfect cup under the stars, tasting victory.
For even better results, pay attention to brew strength control—adjusting how long your grounds steep or how much coffee you use can help you dial in your preferred flavor, just like the best machines do at home.
Adapting to Altitude and Weather Conditions
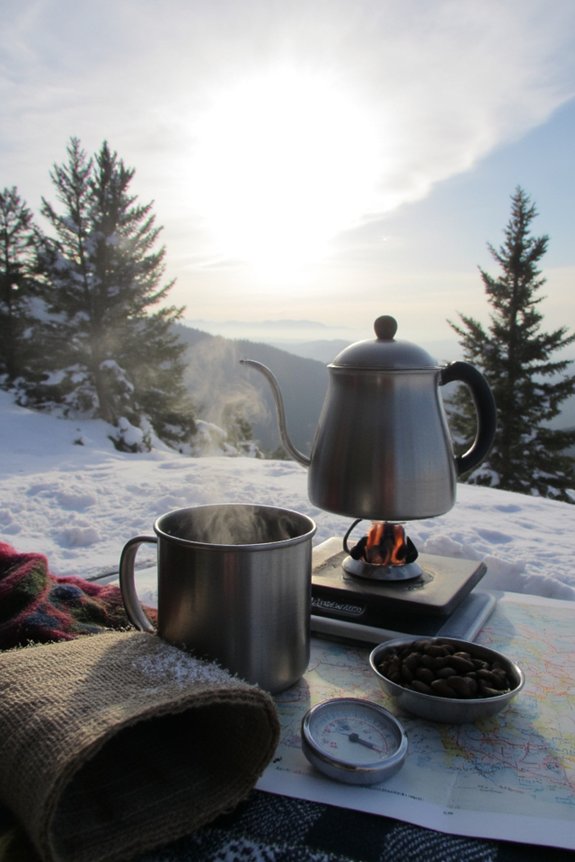
When you’re brewing coffee at 10,000 feet instead of sea level, Mother Nature’s about to mess with your carefully perfected technique. Water boils at a lower temperature up there, which means high altitude extraction requires some serious adjustments. You’ll need extra time and maybe even hotter water to pull those flavors out properly.
Cold weather adjustments are equally vital. Your grounds’ll brew slower when it’s freezing, and your coffee cools faster than a snowball in… well, anywhere cold. Keep your setup insulated, use a thermal carafe if you’ve got one, and consider preheating your cup with hot water. Double-check your brewing time and grind size. Mother Nature might be unpredictable, but you’re not—you’ve got this handled.
For best results in the wild, pay attention to temperature precision and range to ensure your brew stays consistent no matter the conditions.
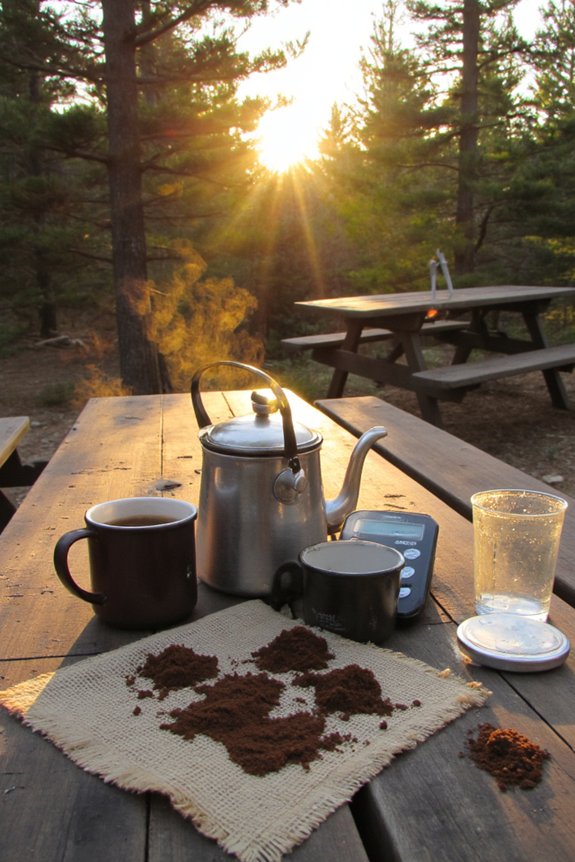
Essential Coffee Gear and Supplies to Pack
Now that you’ve mastered the altitude and weather game, it’s time to talk about what actually goes in your backpack. You’ll want a reliable compact grinder—trust me, pre-ground coffee tastes like regret after day two. Grab reusable filters because nobody wants to pack out trash or run out of paper ones at 8,000 feet. Throw in a sturdy thermos, some quality beans, and a lighter or matches. Don’t forget a small measuring scoop; eyeballing it only works until it dosn’t. A durable coffee mug rounds out your essentials. Pro tip: pack your grinder in a protective case so it dosn’t become a expensive pile of metal shards. These basics transform you from camping amateur to caffeine connoisseur. For the best results, consider choosing a grinder with adjustable grind settings so you can fine-tune your brew for everything from espresso to French press, no matter where your adventure takes you.
Troubleshooting Common Camping Coffee Problems
Even with all the right gear packed carefully in your backpack, things still go sideways out there. You’re brewing your morning cup and suddenly you’ve got gritty grounds floating everywhere, ruining your carefully crafted camping experience. That’s frustrating! The culprit’s usually a filter that’s torn or installed wrong. Check it twice, friend. Then there’s the slow drip situation. Your coffee maker’s moving at a snail’s pace when you’re desperate for caffeine. This happens because your water’s either too cool or your grounds are packed too tightly. Loosen that grip and use hotter water. Got weak coffee instead? You’re probably not steeping long enough. Give it patience, and you’ll get results. If you want to avoid issues with water temperature or boil time in the wild, consider using a portable electric kettle for more reliable results. These little fixes’ll keep your camping coffee game strong.
Frequently Asked Questions
How Long Does Camping Coffee Stay Fresh in a Thermos?
Your camping coffee stays fresh 4-6 hours in a thermos. You’ll want to check the seal integrity to prevent heat loss. Temperature impact matters too—insulation quality determines how long you’re enjoying that hot brew.
What’s the Best Coffee-To-Water Ratio for High-Altitude Brewing?
You’ll literally die without this ratio at elevation! Use an adjusted grind and apply altitude correction by increasing your coffee-to-water ratio to 1:15 instead of the standard 1:16, compensating for water’s lower boiling point up high.
Can I Use Instant Coffee in My Camping Coffee Maker?
Yes, you can use instant coffee in your camping coffee maker for instant convenience. However, you’ll miss the richer texture preference that freshly brewed grounds provide, so consider your brewing method and taste priorities.
How Do I Clean My Camping Coffee Maker Without Running Water?
You’ll scrub away yesterday’s grounds like shedding old skin through dry brushing, then boil sanitizer water to purify every crevice. This ritual transforms your maker into a vessel ready for tomorrow’s brew.
Which Coffee Beans Are Best for Camping Trips?
You’ll want single origin beans or medium roast blends for camping trips. They’re forgiving with camping equipment, travel well without losing flavor, and won’t over-extract with inconsistent water temperatures you’ll encounter outdoors.
Conclusion
You’ve got this. Whether you’re perched on a mountain at 10,000 feet or camped by a lake, you’re now equipped to brew coffee that doesn’t taste like regret. Picture yourself sipping a perfectly extracted cup while watching the sunrise over pine trees—that’s totally possible. Master these techniques, pack smart, and you’ll never settle for instant again. Your camping trips just got way better.


