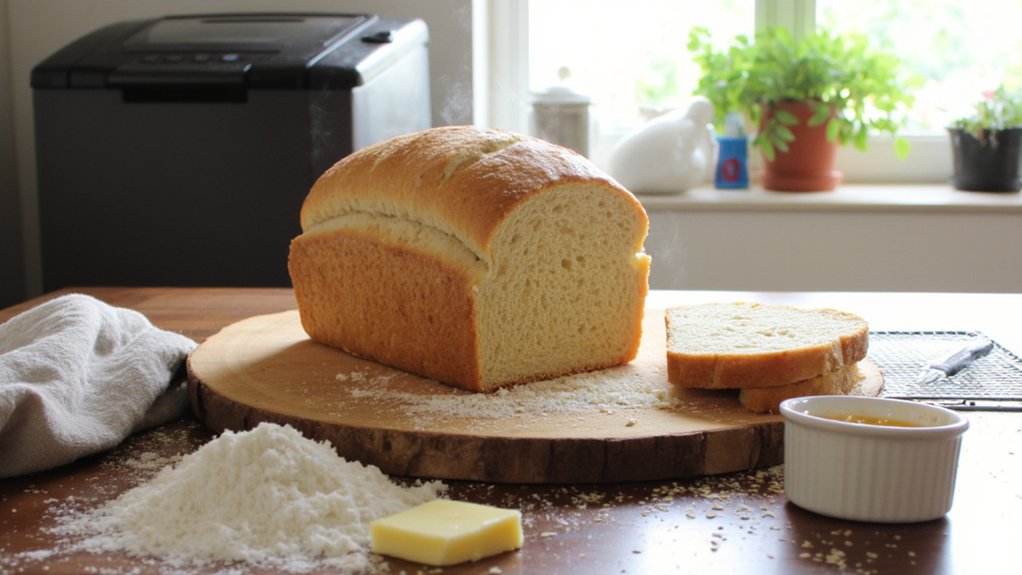
You’ve probably noticed that bakery bread tastes nothing like what your bread maker usually churns out. That crusty, complex flavor? The perfect crumb structure? It’s not magic—it’s actually science mixed with some smart tweaks. Your machine can absolutely deliver those results, but here’s the thing: most people don’t realize they’re making one critical mistake right from the start.
Key Takeaways
- Use bread flour with 12–14% protein and filtered water to develop strong gluten and improve dough quality.
- Balance hydration at 60–65% water-to-flour ratio and adjust gradually in tablespoon increments for optimal crumb structure.
- Select appropriate cycle (basic white, whole wheat, quick) and center the pan for even heat distribution.
- Monitor and document each loaf’s results—crust color, rise timing, moisture—to identify machine-specific patterns and refine settings.
- Apply steam injection or egg wash techniques and toggle crust settings to achieve bakery-quality color and texture.


Understanding the Science of Bread Making
When you’re standing in front of your bread maker, about to dump in flour and water, you might not realize you’re actually conducting a mini chemistry experiment. You’re not just mixing ingredients—you’re triggering a fascinating process that’ll transform simple stuff into something delicious.
Dough hydration is where the magic starts. The water you add activates gluten proteins, creating that stretchy network that traps gas bubbles. It’s pretty wild. Then there’s crumb chemistry—the way yeast ferments, producing carbon dioxide that makes your bread rise and creates those beautiful air pockets inside.
Temperature matters too. Heat speeds up fermentation, while cold slows it down. Your bread maker handles all this automatically, managing the precise conditions needed for bakery-quality results. You’re basically a bread scientist now. Cool, right?
If you want even better results, consider how motor power and programs in your bread maker influence mixing and kneading, ensuring your dough develops the ideal structure every time.
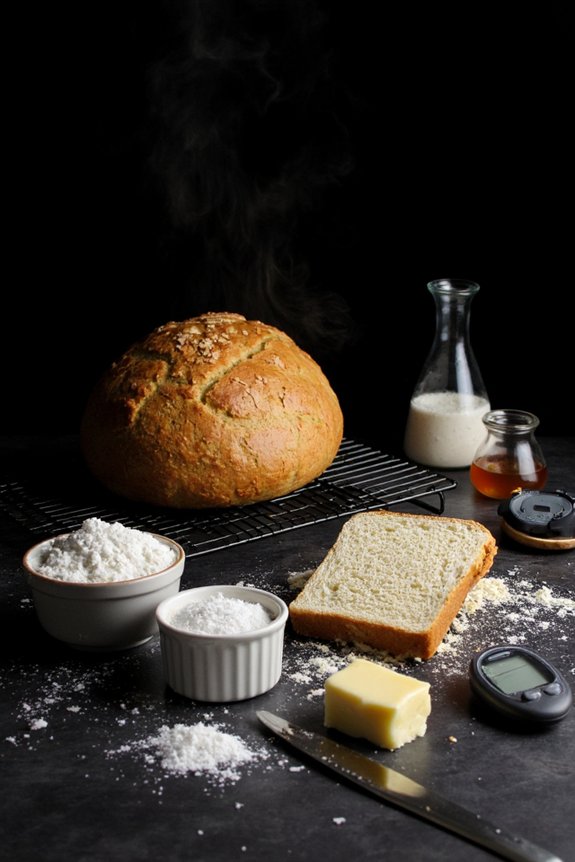
2. Selecting High-Quality Ingredients
Now that you’ve got the science down, it’s time to pick ingredients that’ll actually make your bread sing—and trust me, not all flour and yeast are created equal. You’ll want to hunt down bread flour with good protein content (around 12-14%), some quality active dry or instant yeast that hasn’t been sitting in your pantry since 2019, and filtered water (or at least let tap water sit overnight so the chlorine can bounce out). These three foundational players might seem boring, but they’re honestly the difference between a brick that could double as a doorstop and a loaf that’s got that perfect golden crust and fluffy crumb you’re actually after. Just like with selecting the best espresso machines, investing in high-quality core ingredients makes all the difference in your final result.
Flour Types and Quality
Most bread makers won’t turn out bakery-quality loaves if you’re using whatever flour’s on sale, and that’s the real truth. Your flour choice litterally makes or breaks your bread. You’ll want to invest in bread flour, which has higher protein content than all-purpose flour. That extra protein develops gluten, giving you that gorgeous chewy crumb you’re after. Consider exploring stone ground flours and ancient grains like spelt or einkorn. They’ve got character, depth, and nutrients that refined flours lack. Sure, they’re pricier. But here’s the thing: better flour means better flavor, better texture, and results that’ll actually impress people. Your bread maker deserves quality ingredients. So does your palate. For even more reliable results, opt for stainless steel bowls because they’re durable, easy to clean, and help maintain consistent dough temperature during mixing and rising.


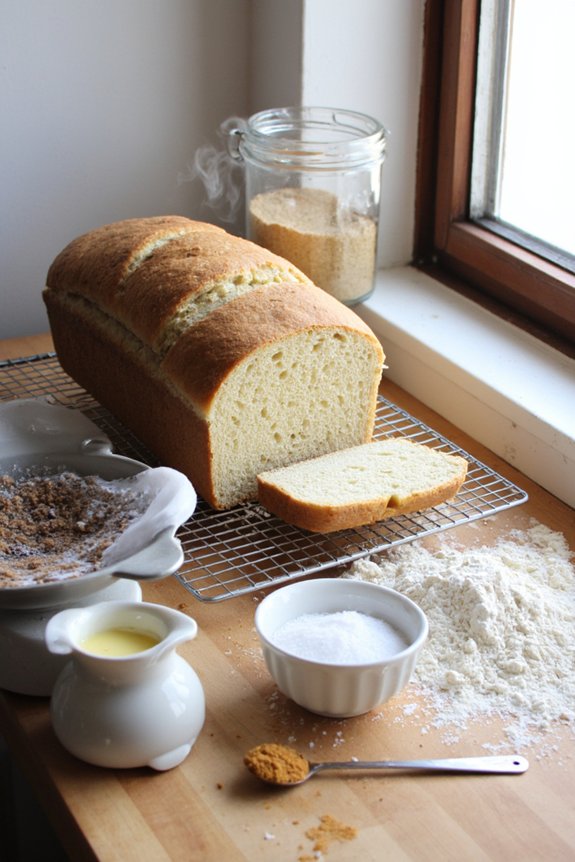
Water and Yeast Selection
Beyond flour’s star power, you’ve got two other MVPs that’ll make or break your bread maker results: water and yeast. Let’s talk water first. You’ll want to use filtered water instead of tap water, which can contain chlorine and minerals that mess with your dough’s development. Think of it as giving your bread a spa treatment—it deserves the good stuff.
Now, active dry yeast storage is critical. Keep your yeast in an airtight container in the fridge or freezer; it’s basically like putting your yeast into hibernation. Room temperature? Nope. That’s a fast track to dead yeast and dense, disappointing bread. Check expiration dates religiously—old yeast won’t rise properly, and nobody wants a brick on their dinner table. Quality ingredients equal quality results.
For the best bread maker performance, consider using filtered water like many premium electric kettles recommend to avoid mineral buildup and achieve more consistent results.
3. Mastering Your Bread Maker’s Settings
Once you’ve assembled your ingredients and loaded up your bread maker, it’s time to unseal the real magic—figuring out which settings’ll actually work for what you’re trying to bake. Your machine’s got options, and choosing the right ones makes all the difference.
Start with cycle calibration. Different bread types need different treatment:
- Basic white bread cycles work best for standard loaves and require standard timing
- Whole wheat settings need longer kneeding and rising periods to develope properly
- Quick bread modes cut your baking time in half when you’re impatient
Pan placement matters too. Center that loaf tin perfectly for even heat distribution. Check your manual—seriously, read it. Most machines have sweet spot settings that produce bakery-quality results consistently. Don’t overthink it. Play around, experiment, and you’ll discover your bread maker’s personality. For the best results, consider how capacity and serving size can affect your bread’s texture and rise, since overfilling or underfilling your pan can lead to uneven baking.
4. Adjusting Recipes for Optimal Results
Now that you’ve gotten comfy with your bread maker’s buttons and settings, it’s time to talk about the real magic: tweaking recipes so they actually work in your machine instead of just following some cookbook’s one-size-fits-all approach. You’ll discover that ingredient ratios matter way more than you’d think, how to convert your grandma’s famous bread recipe into bread maker–friendly instructions, and why testing and fine-tuning aren’t boring chores but rather your golden ticket to crusty, fluffy loaves that’ll make your kitchen smell like a French bakery. Ready to transform yourself from bread maker operator into a legit bread baker?
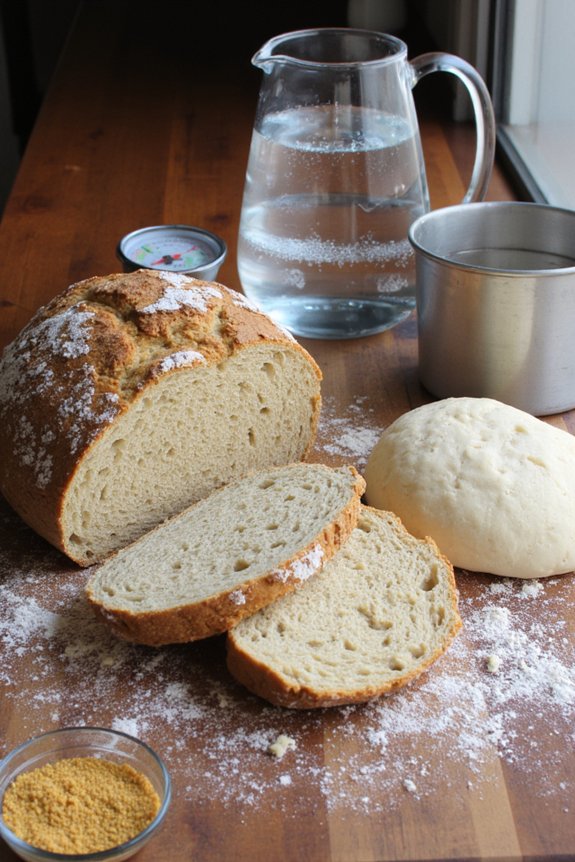
Understanding Ingredient Ratios
Getting your bread maker ratios just right is like learning the secret handshake to the bread-making club—everything clicks into place once you understand the fundamentals. You’ll want to master hydration balance, which is basically the water-to-flour ratio that makes your dough sing. Here’s what you need to nail:
- Hydration levels (typically 60-65% for standard loaves) determine your crumb structure and crust
- Gluten development through proper flour selection and mixing time creates that chewy, bakery-quality texture
- Salt and yeast proportions that won’t overpower or underwhelm your final product
Getting these ratios dialed in means you’re not just following instructions—you’re actually understanding what’s happening inside that machine. Pretty cool, right? Once you grasp this, you’ll troubleshoot problems like a pro and create consistently incredible bread that’ll make your kitchen smell absolutley amazing.
Converting Traditional Recipes
Take that dusty family recipe card or that bakery formula you’ve been eyeing, and you’re probably wondering if it’ll actually work in your bread maker—and here’s the good news: it absolutely can, you just need to know the conversion dance. First, scale your ingredients to match your machine’s capacity. Most bread makers want around 3 cups of flour as a sweet spot. Next, you’ll need to adjust temperature profiles since your oven’s heat differs dramatically from a machine’s internal environment. Don’t forget about proof timing either—your bread maker’s cycles are shorter, so traditional recipes need tweaking. Check your machine’s manual for its specific cycle times, then modify rise periods accordingly. It’s really just math and patience combined. Your grandmother’s receipe? It’s about to get a digital upgrade.


Testing and Fine-Tuning
Once you’ve converted your recipe, the real magic happens in the testing phase—because let’s face it, your first loaf probably won’t be perfect, and that’s totally okay. Your tasting trials are where the fun begins. Pay attention to what actually happens inside that machine.
Here’s what you’ll want to monitor:
- Moisture levels: Is your crust too thick or the crumb too dense? Adjust liquid gradually
- Timing adjustments: Does your dough rise too fast or stay stubbornly compact?
- Crust color: Tweak the crust setting if you’re getting burnt edges
Take notes like you’re a bread scientist. Really taste each loaf. Did it turn out fluffy? Gummy? The tiniest changes—a tablespoon less water, maybe—create huge differences. That’s where your bakery-quality bread lives, friend.
5. Techniques to Enhance Crust and Texture
While your bread maker does most of the heavy lifting, you’ve still got some tricks up your sleeve to transform that loaf from “meh” to magnificent. Try steam injection right when the baking cycle starts—it’ll give you that coveted bakery crust. Just carefully pour hot water into a pan on the bottom rack. You can also experiment with a dual bake approach, removing your loaf halfway through, brushing it with water or egg wash, then returning it to finish. This creates an gorgeously caramelized exterior. Don’t overlook your crust settings, either. Toggle between light, medium, and dark to discover your perfect golden-brown moment. Small adjustments yield remarkable results.
6. Troubleshooting Common Bread Maker Problems
Despite all your best efforts with steam and egg wash, sometimes your bread maker decides to throw you a curveball. Don’t panic, though—most issues are totally fixable.
Here’s what commonly goes wrong:
* Dough sticking to the paddle or sides, making removal a nightmare
- Pan alignment problems that cause uneven baking or strange loaf shapes
- Dense, gummy crumbs that feel more like cake than bread
Check your ingredient ratios first. Too much water? Your dough’s gonna stick like it’s glued. Too little? You’ll get a brick. Also verify that pan alignment is correct—sometimes the insert shifts during mixing, throwing everything off-balance.
Don’t forget about your machine’s age either. Older models heat unevenly. If nothing works, you’re probably just experementing with the wrong settings. Keep tweaking. You’ve got this.
7. Advanced Tips for Consistent Excellence
Now that you’ve mastered the basics and debugged your fair share of bread disasters, it’s time to level up your bread maker game. You’re ready for the fancy stuff. Try experimenting with sourdough adaptation by incorporating a starter into your regular cycles, though you’ll need to adjust liquid ratios slightly. Gluten free troubleshooting demands patience, honestly. You’ve gotta add a bit more water and maybe a binding agent like xanthan gum to replicate that traditional texture. Here’s the real secret though: keep meticulous notes about every single loaf. Temperature matters. Humidity matters. Ingredient freshness? Huge. Track everything religiously, and you’ll discover patterns unique to your machine’s personality. Soon you’ll be producing bakery-quality bread so consistantly impressive that your friends’ll wonder if you’ve secretly opened a shop. Pretty cool, right?
Frequently Asked Questions
Can I Use Bread Maker Dough for Shaping and Baking in a Conventional Oven?
Yes, you can! Remove your dough after the final rise, apply proper shaping techniques to build structure, then use oven spring methods like steam injection for that bakery-quality crust you’re after.
How Long Does Homemade Bread Stay Fresh Compared to Store-Bought Bakery Bread?
Your homemade bread typically stays fresh 2-3 days, while store-bought bakery bread lasts 4-5 days due to preservatives. You’ll notice your bread’s crumb texture stays softer initially, affecting its shelf life compared to commercial options.
What’s the Best Way to Store Bread Maker Bread to Maintain Freshness?
You’ll keep, you’ll store, you’ll preserve by using airtight containers at room temperature. Slice your bread before storing, wrap it tightly, and you’ll maintain freshness for days.
Can I Delay the Start Time on My Bread Maker for Fresh Morning Bread?
Yes, you can use your bread maker’s programmable delay feature for overnight proofing. You’ll set it up the night before, and your machine will start baking automatically, delivering fresh, warm bread for your morning breakfast.
Is It Worth Investing in an Expensive Bread Maker Versus Budget Models?
Studies show premium bread makers last 10+ years versus budget models’ 3-5 years. You’ll appreciate superior durability comparison, quieter noise levels, and consistent results justifying the investment’s long-term value.
Conclusion
You’ve got this. Baking bakery-quality bread? It’s like learning to drive—those first attempts might be bumpy, but soon you’re steering smoothly without thinking twice. Your bread maker isn’t some mysterious black box; it’s your partner. Keep those notes. Tweak your recipes. Pay attention. Before you know it, you’ll pull out loaves that’d make any bakery jealous, and honestly, that’s pretty darn satisfying.


