
You’ve just finished dehydrating a batch of jerky or fruit chips, and now you’re staring at trays crusty with dried residue. Yeah, cleaning them feels like it’ll eat up your whole evening, but here’s the thing—you can actually knock it out in under five minutes if you know the right approach. The trick isn’t complicated; it’s just about using the right sequence and tools, which we’ll walk through next.
Key Takeaways
- Gently tap trays over trash and use a soft brush to remove loose particles and dried debris quickly.
- Soak trays in warm soapy water for 15–20 minutes to soften stubborn residue before scrubbing.
- Use soft-bristle brushes or silicone scrubbers to avoid scratching mesh or nonstick surfaces during cleaning.
- Rinse thoroughly under warm running water, paying attention to grooves and crevices for complete cleanliness.
- Air dry or wipe with lint-free cloths immediately after rinsing to prevent water spots and buildup.
Gather Your Cleaning Supplies
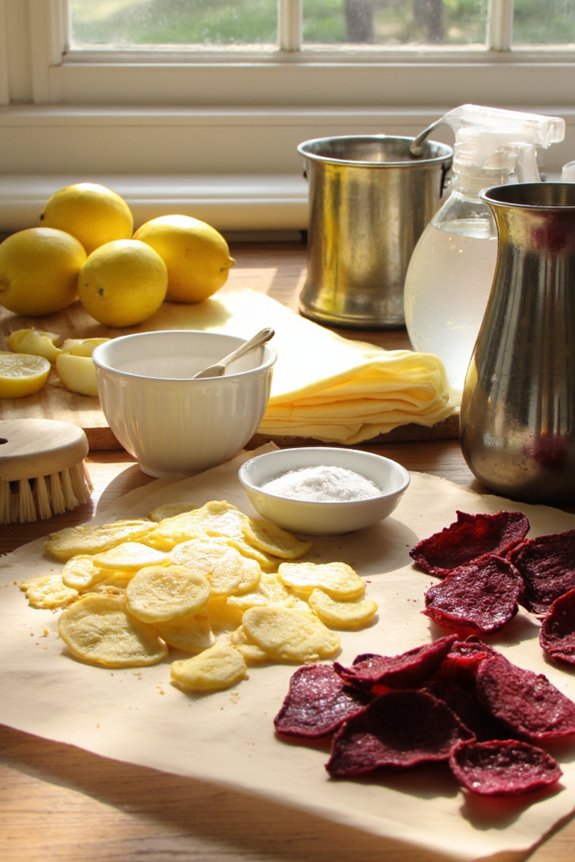
Before you tackle those grimy dehydrator trays, you’ll want to gather the right supplies. Start with warm water and a mild dish soap—nothing too fancy needed here. Grab a soft sponge or natural bristle brush, which won’t scratch your trays’ surfaces. You’ll also want some eco friendly gloves to protect your hands while you’re scrubbing away. A small bowl works great for mixing your cleaning solution. Have some clean towels ready for drying everything afterward. If you’re dealing with stubborn, stuck-on food bits, keep some white vinegar nearby as backup. It’s really that simple. Most of these items you probably already have lounging around your kitchen, so you won’t need to make any special shopping trips. Just gather what you’ve got and you’re ready to roll. For best results and to extend the life of your equipment, make sure your trays are dishwasher-safe before using any cleaning method, as high-quality materials like stainless steel ensure easier maintenance and durability.
Remove Dried Debris and Residue

Before you break out the heavy-duty cleaning supplies, you’ll want to tackle the easy stuff first—all those dried food bits that’re just sitting there on your trays. Grab a soft brush or even an old toothbrush and gently brush away the loose particles, working in small circular motions so you don’t scratch the surface. It’s honestly the quickest step in the whole process, and it’ll make the rest of your cleaning way easier once the big debris is gone. For even better results, consider using a brush that won’t damage nonstick coatings, as warranty and durability can be affected by harsh scrubbing.
Remove Dried Debris and Residue
After you’ve finished dehydrating, it’s time to clear away the crusty bits and sticky stuff that’ve built up on your trays. Start by giving each tray a gentle tap over the trash can—you’d be surprised how much debris just falls right off. For stubborn dried-on pieces, use a soft brush or old toothbrush to gently scrub the surface. Work in circular motions, being careful not to scratch the mesh. This initial cleaning helps with airflow testing later, ensuring your dehydrator runs efficiently next time. Once you’ve removed the visible gunk, wipe everything down with a slightly damp cloth for surface sanitization. Pay special attention to corners and edges where residue likes to hide. This simple step keeps your trays fresh and ready for your next dehydrating adventure. For best results and to prevent any lingering odors, make sure your trays are made from food-grade, BPA-free materials that can withstand repeated cleaning without degrading.
Brush Away Loose Particles
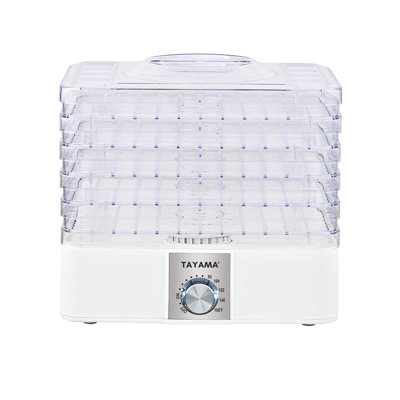
Grab yourself a soft brush—an old toothbrush works great if you don’t have anything fancier—and you’re ready to tackle those loose particles. Gently work the soft bristle across each tray’s surface, paying special attention to the corners and edges where debris likes to hide. You’ll be amazed how much stuff comes loose with just a little brushing action. Don’t press too hard though; you want to dislodge particles, not damage the tray. Once you’ve brushed everything away, wipe the trays down with a cloth dampened in food safe sanitizer. This quick step removes any remaining particles and gives your trays a fresh start. You’re already well on your way to having spotless dehydrator trays. For best results, make sure to hand-wash only trays that aren’t labeled dishwasher-safe, as this helps prevent damage and keeps your dehydrator in top condition.
Soak Your Trays for Fast Results
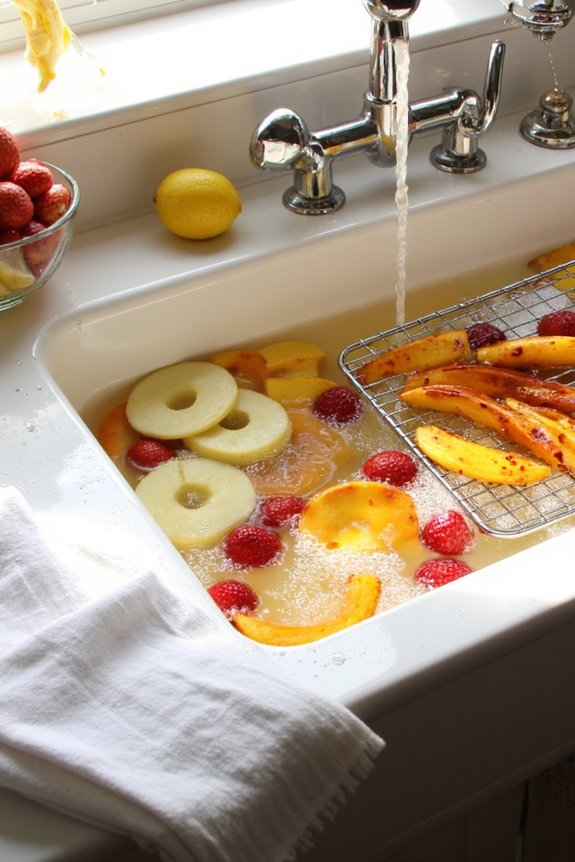
When stuck-on food feels like it’s become permanent decoration on your trays, soaking is basically your secret weapon. Fill your sink or a large container with warm water and add a bit of dish soap for a quick soak that’ll work wonders. If you’re dealing with really stubborn residue, try a vinegar bath instead—just mix equal parts white vinegar and water. Let those trays sit for about fifteen to twenty minutes while you relax. The warm liquid softens everything up, making dried bits way easier to wipe away. After soaking, you’ll find that crusty stuff practically slides off with minimal scrubbing. This method saves you serious elbow grease and gets your trays looking fresh again without all the frustration. For even easier cleanup, look for trays made of dishwasher-safe materials, which allow you to skip the hand scrubbing entirely and maintain long-term durability.
Scrub With the Right Tools
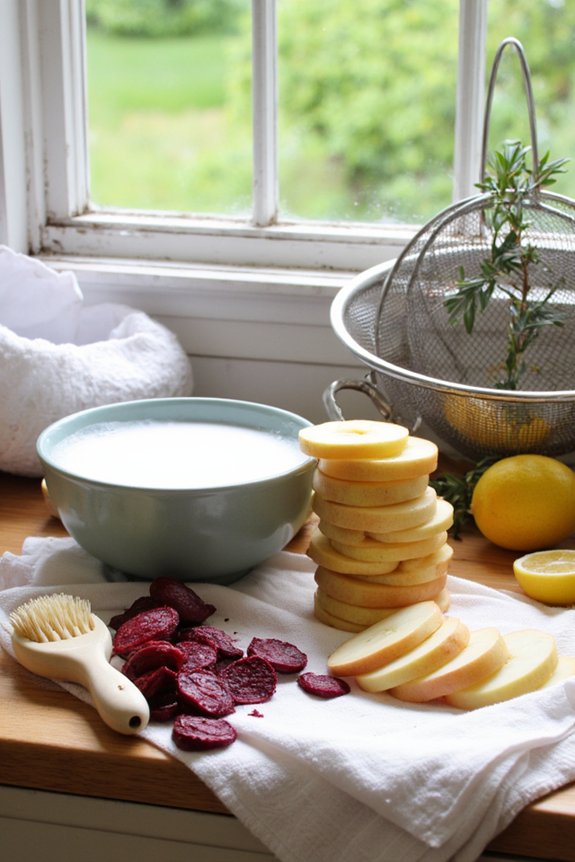
Choosing the right scrubbing tool makes all the difference between a quick cleanup and wrestling with your trays for twenty minutes. You’ll want to grab equipment that actually works without scratching your dehydrator trays, and trust me, not all tools are created equal.
Here’s what you should reach for:
- Soft bristles brushes, which won’t damage the mesh or non-stick surfaces
- A silicone scrubber that grips residue without leaving marks
- Soft sponges for gentle yet effective scrubbing action
- Microfiber cloths that work great for final polish
Skip the steel wool and harsh scouring pads, yeah? They’ll tear up your trays faster than you can say “dehydration.” A soft brush combined with your silicone scrubber handles stuck-on bits like a champ. The combo approach saves time while keeping everything intact for years of dehydrating ahead.
Rinse and Dry Thoroughly

After you’ve scrubbed away all that stuck-on gunk, the rinsing part’s where a lot of people actually mess up. You’ll want to rinse each tray under warm running water, making sure you get into all those little grooves and crevices. Don’t just do a quick splash either—take your time here.
Once they’re rinsed, grab a lint free cloth and wipe everything down. This step’s essential because any leftover moisture can cause problems later. You can also air dry your trays on a clean towel if you’ve got the time, which helps with moisture control overall. The goal’s to sanitize surface completely while eliminating excess water. Your trays’ll be ready to go once they’re totally dry and squeaky clean.
Maintain Your Trays Between Uses
Your trays’ll last way longer if you give ’em a little love between dehydrating sessions. Think of it like brushing your teeth, but for your equipment. Daily wiping keeps residue from building up and odor prevention becomes way easier when you’re staying on top of things.
- Wipe down trays with a soft, damp cloth right after they cool completely
- Store ’em in a clean, dry spot away from moisture and dust
- Check for stuck-on bits weekly and soak those problem areas gently
- Air them out occasionally to keep that fresh feel going
You’ll notice your trays stay cleaner longer when you’re consistent about this routine. It takes maybe two minutes, and honestly, your dehydrator will thank you by performing better and lasting years longer without any funky smells creeping in.

Frequently Asked Questions
Can I Put My Food Dehydrator Trays in the Dishwasher?
You can put most dehydrator trays in the dishwasher, but check your manufacturer’s guidelines first. For best dishwasher compatibility, place them on the top rack to prevent warping and guarantee proper rack placement away from heating elements.
What’s the Best Cleaning Solution for Stubborn, Baked-On Food Residue?
You’ll get the best results mixing baking soda and white vinegar into a paste. Apply it to your stubborn residue, let it sit for ten minutes, then scrub with a soft brush. You’re done!
How Often Should I Deep Clean Versus Quick Clean My Trays?
You’ll want to do a weekly quick clean after each use to prevent buildup. Then tackle a quarterly deep clean to handle stubborn residue and maintain your trays’ longevity.
Are Plastic Trays Safer to Use Than Mesh or Stainless Steel?
You’ll find that all three options are safe for food dehydration. Plastic trays offer convenience but lack the plastic durability of mesh or stainless steel. Material safety is comparable across all three, so choose based on your specific needs and preferences.
Can I Use Bleach or Harsh Chemicals on My Dehydrator Trays?
You shouldn’t use bleach or harsh chemicals on your dehydrator trays. They’ll cause surface corrosion and bleach risks damaging the material. Instead, you’ll want mild soap, warm water, and gentle scrubbing for safe cleaning.
Conclusion
You’ve got this down to a science now. Your trays’ll stay fresh and ready for the next batch of jerky, fruit chips, or whatever you’re dehydrating. The whole process is honestly pretty painless once you get your routine locked in. Stick with it, and you’ll never deal with stubborn, crusty buildup again. Clean trays mean better-tasting food and a dehydrator that lasts way longer.


