You’ve got a stovetop recipe that takes forever, but your pressure cooker could nail it in minutes—if you know the tricks. Converting recipes sounds intimidating, yet it’s honestly just three tweaks: timing, liquid, and layering. Once you master these moves, you’ll open a whole new world of faster meals without sacrificing flavor or texture, and we’re about to show you exactly how.
Key Takeaways
- Reduce cooking time to approximately one-third of the original stovetop recipe duration for accurate conversions.
- Decrease liquid by 25–30% from the original recipe while maintaining at least 1 cup for steam generation.
- Layer ingredients strategically: dense vegetables on bottom, proteins in middle, leafy greens on top for optimal cooking.
- Reduce ingredient quantities by 15–20% due to minimal evaporation in pressure cookers compared to traditional methods.
- Add seasonings at the end to preserve fresh, vibrant flavors that concentrate during pressure cooking.


Understand the Cooking Time Conversion
When you’re ready to transform your favorite stovetop recipes into pressure cooker masterpieces, understanding cooking time conversion is absolutely essential—because nobody wants to end up with mushy vegetables or a pot of disappointment. Here’s the thing: pressure cookers work faster. Way faster. Most recipes need about one-third of their original cooking time. That chicken that took an hour? Try twenty minutes instead. For starch timing, you’ll want to reduce conventional times even more dramatically—rice and potatoes cook in a flash. Meat tenderness actually improves with this method, giving you fork-tender results without the lengthy wait. The key is adjusting gradually at first. You’ll quickly develop an instinct for conversions. Before long, you’ll be whipping up meals with confidence and speed. When converting recipes, remember that maximum fill guidelines are critical—most electric pressure cookers should only be filled to two-thirds capacity to allow for safe pressure buildup and avoid overflow.
Adjust Your Liquid Ratios
Because pressure cookers trap steam and create a sealed environment, you’ll need way less liquid than your traditional stovetop recipe calls for. Here’s the thing: that steam retention is your secret weapon. You’re not losing moisture like you would on the stove, so don’t go dumping in the same amount of broth or water you normally would.
A good rule of thumb involves understanding sealing techniques and how they affect your cooking. Check out these guidelines:
- Reduce liquid by about 25 to 30 percent from original recipes
- Make sure you’ve got at least 1 cup of liquid for proper steam generation
- Remember that vegetables release their own moisture during cooking
Start conservative with your adjustments. You can always add more liquid next time, but you can’t really take it out once you’ve sealed that bad boy up!
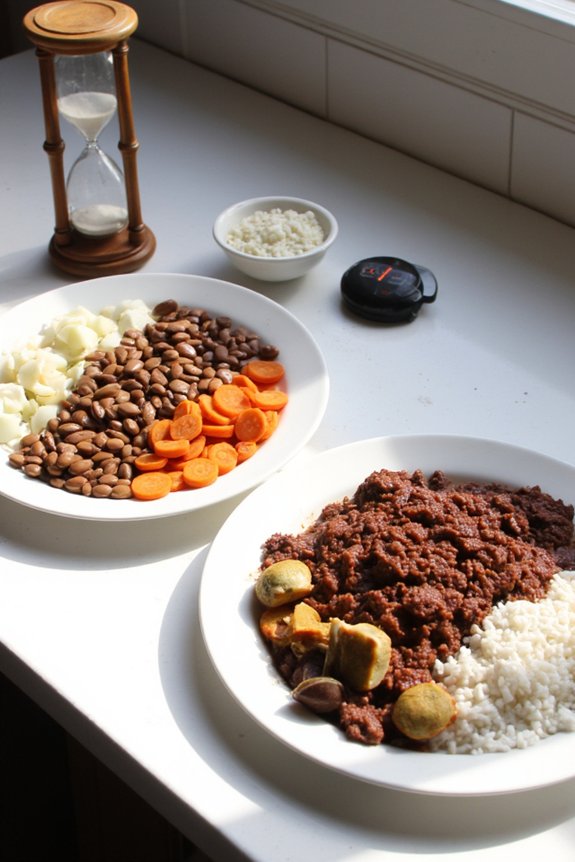
Modify Ingredient Quantities and Layering
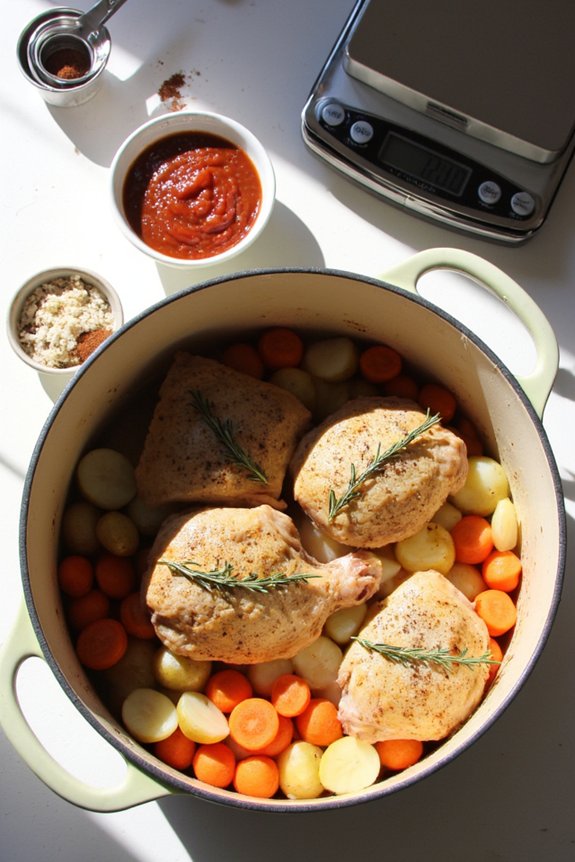
Now that you’ve nailed your liquid ratios, it’s time to think about how much stuff you’re actually throwing in there and where it goes. Your ingredient order and texture layering matter way more than you’d think. Dense veggies? Bottom. Delicate proteins? Middle or top. This prevents mushiness and makes sure everything cooks evenly.
| Ingredient Type | Placement | Why It Works |
|---|---|---|
| Root Vegetables | Bottom Layer | Cook slower, need more time |
| Proteins | Middle Layer | Prevents overcooking and drying out |
| Leafy Greens | Top Layer | Wilt quickly from steam |
| Seasonings | Last Minute | Flavor stays fresh and vibrant |
You’ll also need to reduce most ingredients by about 15-20% since there’s less evaporation. Less liquid means less dilution, so your flavors actually pack a punch. Pretty cool, right?
When adapting recipes, consider how multiple tiers enable cooking different dishes simultaneously without flavor mixing, allowing you to maximize both efficiency and taste in your pressure cooker.


Frequently Asked Questions
Can I Convert Slow Cooker Recipes Directly to Pressure Cooker Cooking Times?
You can’t convert slow cooker recipes directly. You’ll need to adjust timing ratios—typically use one-third the slow cooker time. Also, reduce your liquid requirements since pressure cookers don’t evaporate as much moisture during cooking.
What Safety Precautions Should I Take When Using a Pressure Cooker?
You’ll want to wear goggles and check valves regularly—pressure cooker accidents increase 23% when safety’s neglected. Always make sure your lid’s sealed properly, release steam gradually, and never fill beyond two-thirds capacity for peak protection.
How Do I Release Pressure Safely From My Pressure Cooker?
You can release pressure safely using two methods: natural venting, where you let pressure drop gradually on its own, or quick release, where you carefully turn the valve to open the steam vent manually.
Which Foods Are Unsafe or Not Recommended for Pressure Cooking?
You’ll want to avoid raw eggs, crunchy breadmeal salads, and delicate greens—they won’t withstand pressure cooking. Thickening agents can scorch, so add them after cooking. These foods won’t work well pressurized.


Do Different Pressure Cooker Brands Require Different Conversion Adjustments?
You’ll find most brands follow similar conversion principles, but you should check brand specific tips for timing adjustments. Proper gasket maintenance guarantees consistent pressure levels across different cooker models.
Conclusion
You’ve just unlatched the pressure cooker’s superpower. These three steps? They’re your golden ticket to flavor-packed meals in a fraction of the time. Your weeknight dinners are about to transform from marathon cooking sessions into quick, delicious victories. You’re basically a culinary wizard now, bending time and coaxing out taste like nobody’s business. Welcome to the fast lane, my friend.


