You’ve probably got meat grinder plates scattered everywhere, right? Some coarse, some fine, all jumbled together in a drawer like forgotten kitchen chaos. Here’s the thing: organizing them doesn’t have to be complicated. With the right system—sorting by grind size, labeling everything, and protecting against rust—you’ll actually know where each piece is when you need it. But before we plunge into the specifics, there’s one critical assessment you’ve gotta make first.
Key Takeaways
- Separate and arrange plates by grinding size—coarse, medium, and fine—for streamlined workflow and quick access.
- Use compartmentalized storage containers with protective dividers to prevent damage and keep accessories organized and secure.
- Label attachments clearly with grind size using color tags, numeric codes, or permanent markers for instant identification.
- Store plates in cool, dry locations away from moisture; apply food-grade mineral oil seasonally to prevent rust.
- Create a laminated checklist and photograph your organized set for quick reference during meal preparation.
Assess Your Current Collection

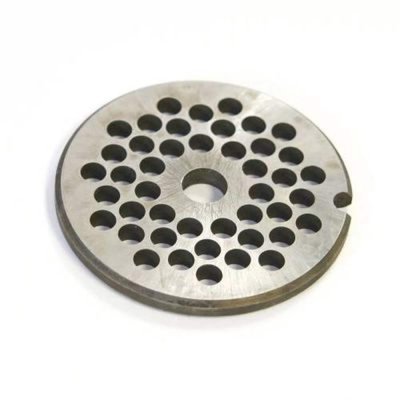
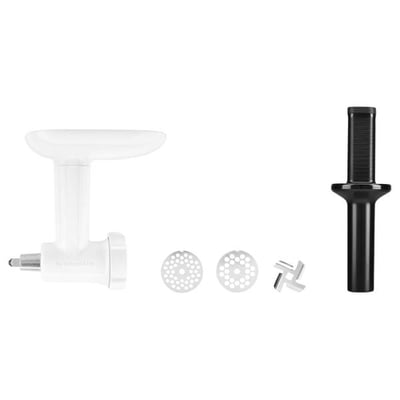
Before you can organize your meat grinder attachments, you’ve gotta know what you’re actually working with. Start by pulling everything out of your drawer or cabinet—yes, all of it. Lay those plates and dies out where you can see them properly. Do an honest inventory audit of what you own. You might be shocked by how many duplicate sizes you’ve collected over the years, or maybe you’ll discover attachments you forgot existed.
Next up: usage tracking. Which plates do you actually grab? Which ones collect dust? Mark your favorites with a permanent marker or mental note. Some attachments earn their space. Others? They’re just taking up real estate. This simple assessment prevents you from organizing things you don’t even need. It’s the perfect first step toward a grinder setup that actually works for your cooking style. For extra efficiency, take note of grinding capacity and speed as you sort, since matching attachments to your grinder’s actual output can streamline your workflow and prevent unnecessary clutter.
Invest in the Right Storage Containers
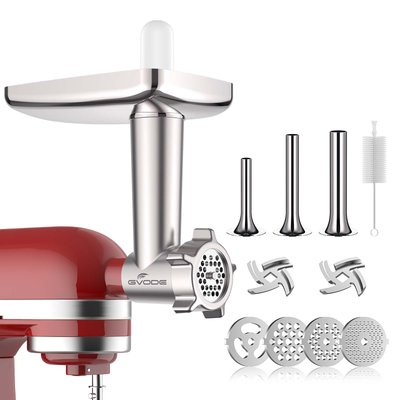
Now that you’ve got a handle on what you’re working with, it’s time to find containers that’ll actually keep your grinder attachments safe and organized. You’ll want compartmentalized solutions, like drawer dividers or tackle boxes with adjustable sections, because honestly, nothing’s worse than your blades rolling around like loose change in a junk drawer. Look for sturdy, durable materials like heavy-duty plastic or metal that can handle the weight of your collection and protect those sharp edges from getting dinged up or damaging other stuff nearby. For extra peace of mind, consider storage containers that offer protective compartments similar to vacuum sealer accessory organizers, making it easier to separate sharp blades from softer attachments and ensuring everything stays in top condition.
Compartmentalized Storage Solutions
The right storage containers are game-changers when it comes to keeping your meat grinder attachments organized and actually findable. You’ll want modular trays that let you customize each section for different blade sizes and grinding plates. Stackable bins? They’re your best friend, especially if you’re working with limited cabinet space.
| Storage Type | Space Saved | Peace of Mind |
|---|---|---|
| Modular Trays | 40% | High |
| Stackable Bins | 55% | Very High |
| Loose in Drawers | 0% | Zero |
Think of it like this: you’re creating little homes for each attachment. Each piece gets its own spot, so you’ll never waste ten minutes hunting for that medium grinding plate again. Your future self will be seriously grateful when you reach for exactly what you need, right when you need it.
Investing in compartmentalized storage for your kitchen tools is just as important as choosing a kitchen scale with the right capacity and precision for your cooking needs.
Material Durability and Protection
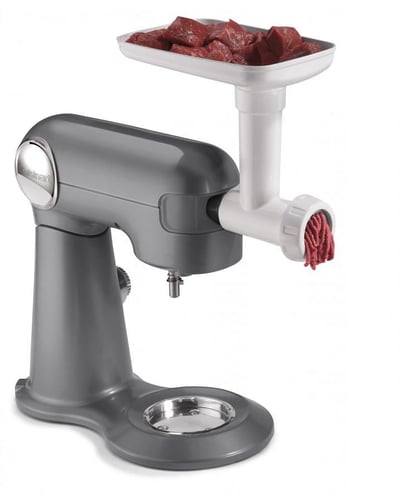
While your meat grinder attachments are sharp enough to slice through a ribeye, they’re also surprisingly vulnerable to rust, corrosion, and just plain neglect. You’ll want containers with alloy coatings that shield your blades from moisture and air exposure. Think of it like giving your grinder parts a suit of armor. Look for storage solutions featuring impact resistance, so your attachments won’t get dinged up if you’re a little clumsy loading or unloading them. Silicone-lined compartments work great for keeping everything snug and secure. Honestly, investing in quality storage containers now saves you from replacing expensive attachments later. Your future self will thank you when those plates stay pristine and ready for action. For even better longevity, consider storage ideas used for removable stainless steel blades on electric deli slicers, as they are designed for both protection and easy cleaning.
Create a Labeling System

Once you’ve got all your meat grinder attachments rounded up, you’ll want to slap some labels on ’em so you’re not standing there five minutes later wondering which one does what. Color tags work great if you’re a visual person. Maybe red for coarse grinding, blue for medium, and green for fine. Numeric codes are another solid option—just number each attachment and keep a quick reference chart on your fridge or in a drawer nearby. You could even combine both methods for maximum clarity. A simple label maker or permanent marker on masking tape does the trick perfectly. Trust me, you’ll be grateful when you’re prepping meatballs at midnight and don’t have to play the guessing game. For extra organization, consider using a dedicated blade storage box to keep all your labeled attachments together and avoid misplacing any key pieces.
Organize by Grinding Size
Once you’ve got your attachments labeled and ready to roll, here’s the secret sauce: organize them by grinding size, starting with your coarse plates up front and saving the fine grinding plates for the back. Think of it like a lineup where the big, chunky players bat first and the precision hitters come last, making it super easy to grab exactly what you need without pawing through your whole collection. This simple arrangement keeps your workflow smooth and your frustration level way down when you’re prepping for that perfect burger or sausage.
Coarse Plates First
You’ll almost always want to start your meat grinder attachment collection by sorting out those coarse plates first. Why? Because coarse first means you’ve got your texture control game down from the jump. These bad boys are your foundation, your bread and butter for everything from chunky burger meat to rustic sausage stuffing.
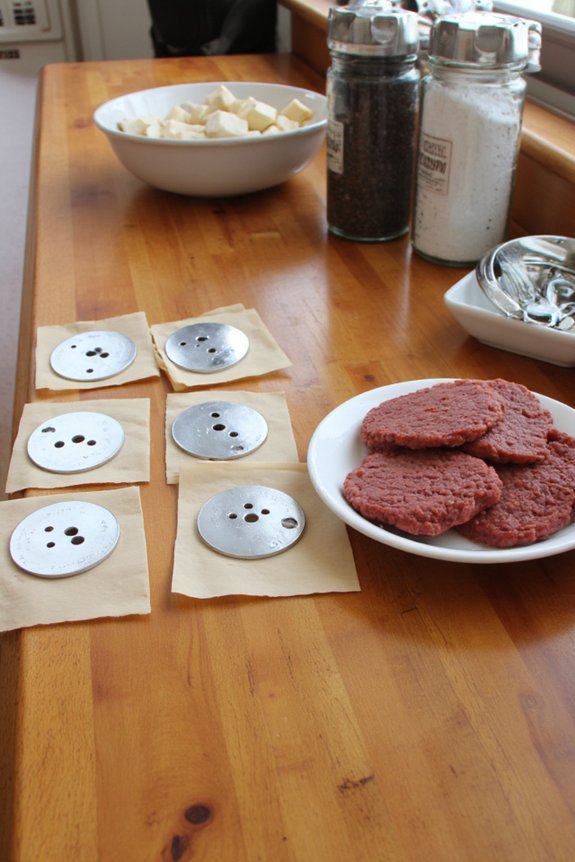
Coarse plates typically feature larger holes, usually around 3/8 inch or bigger. They’re forgiving, versatile, and honestly? They’re what you’ll reach for most often. Stack ’em together, keep ’em visible, and make sure they’re easy to grab when inspiration strikes.
Think of it like organizing your spice rack—the stuff you use constantly goes front and center. Your coarse plates deserve that VIP treatment too. Trust us, this logical starting point sets up your entire grinding operation for total success.
Fine Grinding Last
After you’ve got your coarse plates locked down, it’s time to work your way toward the finer stuff—and yeah, these deserve their own special treatment. Fine grinding plates are the precision tools of your meat grinder arsenal. You’ll want to store these babies carefully, maybe in a seperate compartment or designated slot so they don’t get banged up. These smaller plates are delicate, and honestly, they’re your last pass for achieving that perfectly textured ground meat. Think of them as the finishing touch. Keep ’em organized by size, stacking them from medium-fine to ultra-fine. This setup means you’ll grab exactly what you need without hunting around. Your fine grinding plates’ll thank you by delivering consistently smooth, professional results every single time.
Separate Plates From Accessories
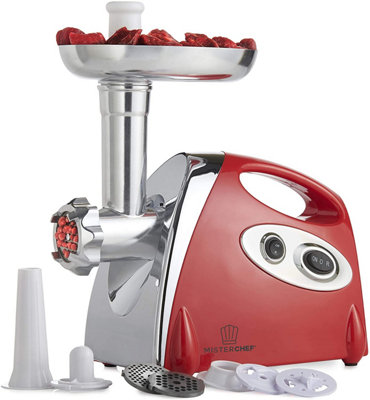
Getting your meat grinder parts sorted is where the real magic happens, and it all starts by dividing up those grinding plates from everything else. You’ll want to create two distinct zones for your plate separation and accessory sorting system.
Your grinding plates? Keep ’em together in one spot. Stack them neatly, maybe in a small container or bag. They’re the heavy hitters of your grinder operation, so they deserve their own real estate.
Now, those other bits and bobs—the feed tubes, pusher attachments, and various doodads—those go in a separate section. It’s like creating VIP sections at a concert, except your accessories aren’t divas. This simple organizational trick saves you serious headaches when you’re ready to grind. No more digging through everything like you’re searching for lost treasure!
Implement a Wall-Mounted Display
Once you’ve got your plates and accessories sorted, it’s time to bring your organization game to the wall—literally. A framed pegboard is your best friend here. It’s like giving your grinder attachments their own gallery opening. Install it above your counter or inside a cabinet door, then arrange your pieces with purpose. Use hooks, clips, and small baskets to corral everything neatly.
Want something even slicker? Try a magnetic display mounted on your kitchen wall or fridge. Those steel plates stick right on, creating an industrial-chic look that honestly makes grinding meat feel fancy. Plus, everything’s visible and within arm’s reach when inspiration strikes at dinner time. Your future self will thank you for this brilliant move.
Protect Against Rust and Damage

Now that your attachments are looking sharp on display, let’s talk about keeping them that way—because a rusty grinder plate is basically a cry for help. You’ll want to prioritize seasonal oiling to keep everything running smooth and rust-free. A light coating of food-grade mineral oil works wonders, especially before storing your grinder during off-seasons.
Humidity control is equally vital. Store your attachments in a cool, dry place—not your damp basement or that sketchy kitchen cabinet near the sink. Consider grabbing some silica gel packets for your storage container. They’re cheap and seriously effective at soaking up moisture that’d otherwise turn your prized equipment into a corroded mess.
Wipe everything down after use. It takes thirty seconds, prevents headaches later, and honestly? Your future self will high-five you for it.
Maintain a Quick Reference Guide
All that effort keeping your attachments pristine deserves a payoff—and that payoff is knowing exactly which plate does what without having to squint at tiny numbers or play guessing games at dinner prep time. Create a simple storage checklist right on your cabinet door or snap a photo for your phone. Label each attachment with its grind size: coarse, medium, fine. You’ll save yourself from the frustration of installing the wrong plate and wondering why your burgers look like paste. A quick reference guide transforms you from confused cook to confident grinder operator. Maybe even laminate that checklist so it withstands splashes and spills. Your future self will thank you when you’re speed-grinding without second-guessing anything.
Establish a Regular Maintenance Routine

Regular maintenance is the unglamorous hero that keeps your meat grinder running like a dream instead of sounding like it’s grinding a brick. You’ll want to create a routine checklist that you actually follow, not just pin on your wall and forget about.
Check your grinder after each use. Clean those blades. Inspect for wear and tear. Then comes the lubrication schedule—your grinder’s best friend. Apply food-grade lubricant to moving parts according to the manufacturer’s guidelines. Don’t skimp here; proper lubrication prevents rust and keeps everything moving smoothly.
Set monthly reminders. Deep clean quarterly. Replace worn components before they become problems. This simple habit keeps your attachments functioning perfectly and extends their lifespan considerably. Your future self will thank you for staying on top of it.
Frequently Asked Questions
How Often Should I Replace My Meat Grinder Plates and Attachments?
You’ll need to replace your meat grinder plates and attachments based on your usage frequency and the replacement schedule recommended by your manufacturer. Heavy users should inspect them quarterly for wear and dullness.
What’s the Best Way to Clean Meat Grinder Parts After Each Use?
You’ll want to rinse your grinder parts immediately with hot water, scrubbing away meat residue while it’s still soft. This guarantees food safety and prevents bacterial growth, keeping your equipment clean and ready for next use.
Can I Use My Grinder Attachments With Different Meat Grinder Brands?
You’ll find that most grinder attachments aren’t universally compatible across brands. For your compatibility questions, you’d need brand-specific plates. However, cross brand adapters exist for some models, though they’re rarely reliable or widely available.
What Temperature Should I Store Meat Grinder Parts at for Longevity?
You’ve got to keep your grinder parts in a cool storage environment between 50-70°F with controlled humidity below 60%. This temperature range prevents rust and material degradation, ensuring your attachments’ll last for years.
How Do I Know When Grinding Plates Have Become Too Dull?
You’ll know your grinding plates are too dull when you notice blunted blades producing uneven texture in your ground meat. If the output becomes inconsistent or requires excessive pressure, it’s time to replace them.
Conclusion
You’ve transformed your meat grinder setup from a chaotic mess into an organized machine. Those plates aren’t scattered anymore—they’re lined up like soldiers ready for duty. Your future self will thank you when you’re grindng meat without hunting for the right attachment. You’ve basically created a grinder symphony where everything plays its part perfectly. That’s the power of a little organization, my friend.