You’ve fired up your electric smoker, but it’s not holding temperature like it used to. Maybe your brisket’s taking longer than expected, or you’re constantly babysitting the thermostat. The culprit? Could be anything from a sneaky air leak to a dying heating element. Before you toss the whole thing, let’s figure out what’s actually going wrong and get your smoker back to performing like it should.
Key Takeaways
- Damaged door seals and gaskets with visible cracks or gaps allow heat to escape; replace with model-specific quality parts.
- Degraded weatherstripping and insulation lose effectiveness over time; inspect regularly and replace worn materials to improve performance.
- Blocked vents and poor airflow management cause uneven heat escape; clean vents and adjust dampers for temperature stability.
- Corroded or discolored heating elements reduce heat output; inspect for rust and electrical faults, then replace as needed.
- Inaccurate temperature gauges mask actual performance problems; calibrate with reference thermometers and replace faulty sensors for consistent readings.
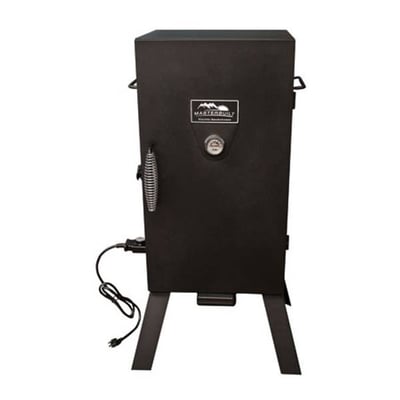
Damaged Door Seals and Gaskets
If you’ve noticed your electric smoker’s temperature dropping faster than your motivation on a Monday morning, damaged door seals and gaskets might be the culprit. Over time, worn seals deteriorate from constant heat exposure and temperature swings. You’ll spot the problem if you see visible cracks, peeling rubber, or discoloration around your door edges.
Here’s the thing: even tiny gaps let heat escape like a leaky bucket. Check gasket adhesion by running your hand around the door frame, feeling for drafts. If it’s loose or separating from the frame, that’s your trouble right there.
The fix is straightforward. Replace worn seals with quality replacements designed for your smoker model. It’s usually a quick DIY job taking maybe thirty minutes. Your smoker’ll hold heat way better afterward. For best results, make sure your smoker has solid insulation to help improve heat retention and efficiency in addition to maintaining good door seals.
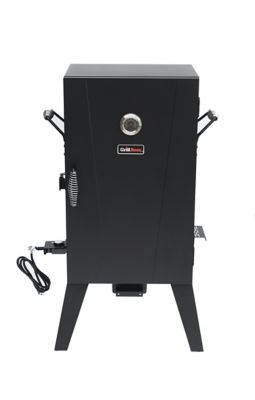
Worn Weatherstripping and Insulation

While door seals grab most of the spotlight, the weatherstripping and insulation surrounding your smoker’s exterior deserve serious attention too. Over time, these materials degrade. They crack, peel, and lose their effectiveness at trapping heat inside. You’ll notice your smoker working overtime to maintain temperature, which wastes energy and money.
Check your smoker’s exterior carefully for any visible damage to the weatherstripping. If it’s looking pretty rough, weatherstripping replacement is definitely in order. It’s usually an affordable fix that makes a huge difference. The worn insulation around your unit can also contribute markedly to heat loss, so don’t overlook it.
Upgrading both keeps your smoker running efficiently and your food cooking evenly. It’s a solid investment that pays dividends. For long-term performance, regular inspection and proper maintenance can extend the lifespan of your smoker’s insulation just as it does for outdoor griddles.
Improper Ventilation and Airflow Management
Your electric smoker’s ventilation system is basically its lungs, and when those lungs aren’t working right, everything falls apart. You might not realize how critical proper airflow balancing really is for maintaining consistent heat. If your vents are blocked or positioned poorly, heat escapes unevenly, and your smoker can’t hold temperature effectively. Vent placement matters more than you’d think, honestly. Make sure your intake and exhaust vents aren’t obstructed by grease buildup or debris. Check that they’re positioned to create smooth airflow throughout the chamber. Sometimes you’ll need to adjust dampers to find that sweet spot where heat stays put instead of rushing out. Getting this right transforms your smoking game entirely, keeping temperatures steady and your meat perfectly cooked. For the best results, take a cue from outdoor fryer heat output discussions and ensure your smoker’s airflow setup is optimized to prevent temperature fluctuations.
Heating Element Problems and Malfunctions
When the heating element starts acting up, you’ve basically got a smoker that’s running on fumes. Your temperature won’t climb like it should, and that’s usually your first clue something’s wrong.
Element corrosion is a sneaky culprit. Moisture and heat create rust that gradually eats away at the heating coil’s effectiveness. You’ll notice it working harder to reach your target temp, if it gets there at all.
Wiring shorts are equally problematic. If you spot visible damage on the wires connecting to your element, that’s a red flag. Burnt spots or fraying insulation mean electricity isn’t flowing properly.
Check your element regularly for discoloration or buildup. If it’s corroded beyond repair, replacement’s your best bet. Most shops carry compatible units that’ll get your smoker back in action without breaking the bank.
For long-term reliability, it’s smart to choose replacement parts with a five-year warranty whenever possible, since warranty length is a good indicator of durability and protection against future repair costs.
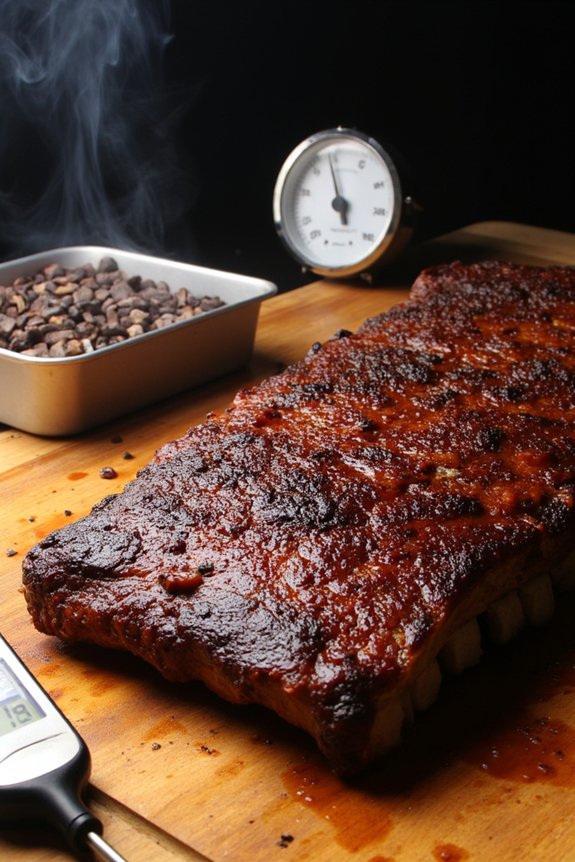
Temperature Gauge Accuracy Issues
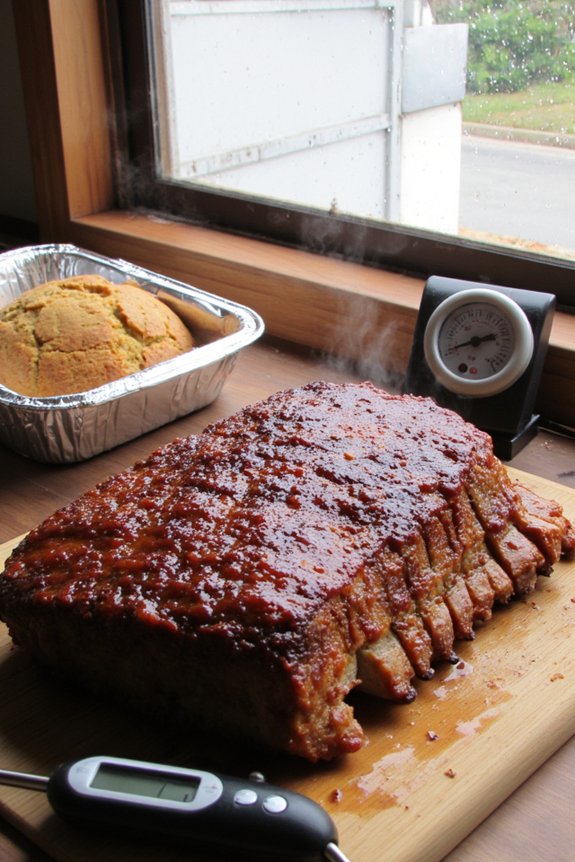
Your temperature gauge might be telling you porkies, which is a real problem when you’re trying to nail that perfect smoking temperature. You’ve got two solid fixes: you can calibrate the thing yourself using boiling water and ice baths, or if it’s totally gone rogue, swap out the faulty sensor for a new one. Either way, getting an accurate reading will save you from smoking ruined brisket and wondering what went wrong. For the most reliable results, make sure your gauge has temperature precision within 0.1°F to 0.5°F, as this level of accuracy is essential for consistent smoking just like with sous vide cooking.
Calibrating Your Temperature Gauge
Dial in that temperature gauge before you blame the smoker for your heat loss problems, because here’s the thing—an inaccurate thermometer can make you think you’ve got a real issue when you’re really just reading the wrong numbers. Start with your dial gauge by comparing it to a reliable reference thermometer. Probe positioning matters too, so make sure your thermometer’s placed in the center of your smoking chamber, away from heat sources and vents. Let both readings sit for a few minutes to stabilize. If there’s a gap between them, you’ve found your culprit. Most gauges can be adjusted or replaced fairly easily, and you’ll feel like a total pro once you’ve nailed it down.
Faulty Sensor Replacement Guide
Sometimes a faulty sensor is the real villain behind your heat loss headaches, and replacing it isn’t nearly as intimidating as it sounds. Your temperature probe can drift over time, giving you wildly inaccurate readings that throw off your whole smoking game. The good news? Sensor replacement is totally doable yourself.
Start by unplugging your smoker completely, then locate the sensor probe inside the cooking chamber. You’ll notice wiring harnesses connecting it to the main control unit. Carefully disconnect these connections, unscrew the old sensor, and slide it out. Pop your new sensor in, reconnect those wiring harnesses, screw everything back down, and you’re golden. Most replacement sensors run thirty to fifty bucks. Your smoker’ll thank you with consistent, reliable heat.
Environmental Factors Affecting Performance
When the temperature drops or the wind picks up outside, your electric smoker has to work a lot harder than it does on a calm, mild day. Cold weather basically forces your heating element to run overtime, draining energy and struggling to maintain steady temps. Wind exposure is another culprit that’ll mess with your smoking sessions. It whisks away heat faster than you’d expect, making it tough to hit your target temperature. Then there’s ambient humidity to account for. High moisture in the air can actually absorb your smoker’s heat, which seems weird but it’s totally legit. You might find yourself cranking up the dial just to keep pace with Mother Nature’s interference.

))/2966904.json)
Frequently Asked Questions
How Often Should I Replace My Electric Smoker’s Heating Element for Optimal Performance?
You’ll typically replace your electric smoker’s heating element every 2-3 years, depending on usage frequency and element longevity. Regular maintenance extends replace frequency, so inspect it annually for peak performance and even heat distribution.
Can I Use My Electric Smoker During Rain or in Extremely Humid Conditions?
You shouldn’t use your electric smoker in rain or extreme humidity. Install a canopy for protection, prevent water pooling, make sure your covered plug stays dry, and check that damp insulation doesn’t compromise performance or safety.
What Is the Ideal Temperature Range for Smoking Different Types of Meat?
You’ll want to smoke beef brisket at 225–275°F, pork shoulder at 225–250°F, chicken at 275–325°F, and fish at 225–250°F. These ideal temps vary by meat types, so adjust based on your specific cuts and desired results.
How Do I Properly Season or Cure My Smoker Before First Use?
You’ll want to run a clean burn-in cycle at high heat for 15-30 minutes to remove manufacturing residue. Then, do an oil rub-in on all interior surfaces to season your smoker before your first cook.
Should I Cover My Electric Smoker When Not in Use for Extended Periods?
Yes, you should cover your electric smoker during extended storage. Use a weatherproof cover for moisture control and protection. This storage tip prevents rust, rust damage, and keeps your smoker in excellent condition for your next smoking session.
Conclusion
You’ve got this. Whether it’s a sketchy door seal, wonky vents, or a thermometer that’s basically just guessing, most heat loss issues aren’t deal-breakers. Start with the easy stuff—inspect your gaskets, clean those vents, and double-check your temperature reading. If you’re still losing heat like it’s going out of style, then you might need to swap out a heating element or two. Either way, you’ll be smoking like a pro again soon enough.