Ever wonder why your bread dough turns into a gluey mess or your cake batter looks like concrete? Your stand mixer’s probably screaming for help. Here’s the thing: most of us just crank it to high and hope for the best, but that’s where everything goes sideways. The secret? Matching the right speed to your task. From gentle incorporations to vigorous kneading, each setting’s got a purpose—and we’re about to unleash exactly how to use ’em.
Key Takeaways
- Start bread dough on speed 1, then increase to speed 2 for kneading until it pulls away from bowl sides.
- Use speed 3 to cream butter and sugar for 2–3 minutes until pale and airy for optimal texture.
- Combine dry ingredients on low speed before gradually adding wet components to prevent lumps and flour dust.
- Apply speed 4 for 5–8 minutes to build gluten strength and transform shaggy dough into smooth, elastic dough.
- Avoid high speeds for cake and cookie batters unless specified; use speed 1–2 initially to prevent toughness.


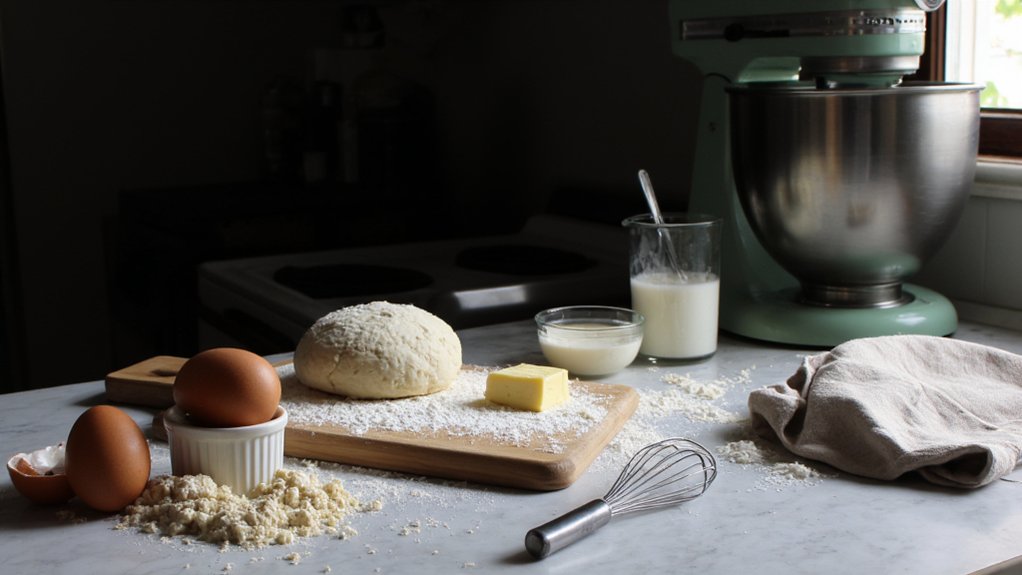
Understanding Your Stand Mixer’s Speed Settings

If you’ve ever stared at your stand mixer’s dial and wondered what the heck all those numbers actually do, you’re not alone. Those settings aren’t just random. They’re designed for specific tasks, and knowing the difference can seriously improve your baking game.
Lower speeds are your friends when you’re just getting ingredients combined. They’re gentle on your motor health and keep things from flying everywhere. Middle speeds? That’s where the real mixing happens. You’ll find noise reduction improves too since you’re not cranking it to maximum power constantly.
Higher speeds work best for whipping air into batters and creams. They’re intense but necessary for certain jobs. The key is matching the speed to what you’re making. Don’t just leave it on high and hope for the best.
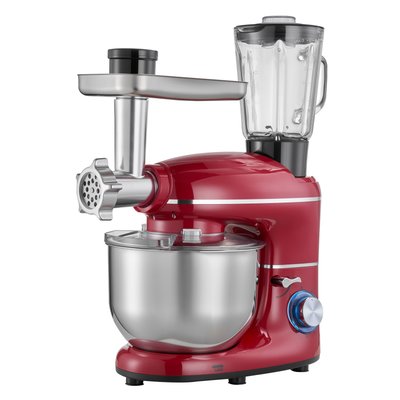
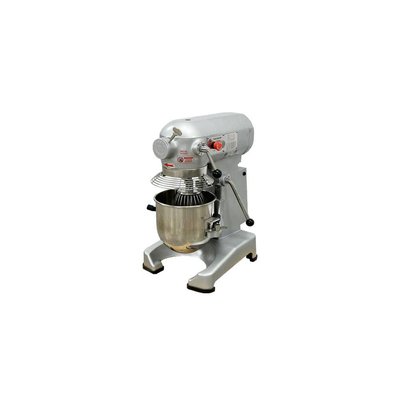
Many high-quality stand mixers provide 3–12 speed settings for precision mixing, letting you tailor the speed to your recipe and get consistently perfect results.
Speed 1: Gentle Mixing for Delicate Batters
Speed 1 is where you’ll want to start when you’re working with batters that don’t appreciate aggressive treatment. Think of it as the gentle whisper of mixing power, perfect for protecting those fragile textures you’ve worked hard to create.
Here’s what you should know about this delicate setting:
- It prevents overworking your batter, which can deflate air pockets and ruin your final product
- It’s ideal for folding ingredients together without crushing delicate components
- It keeps your mixing bowl contents from splattering everywhere like some kind of baking disaster
You’ll love Speed 1 for angel food cakes, whipped cream, and soufflés. It’s basically the mixer equivalent of a gentle touch, letting you combine ingredients without going full-on aggressive. Your delicate batters will thank you for the kindness. If you’re also a fan of French press coffee, remember that gentle mixing is just as crucial for preserving delicate textures as it is for extracting the best flavors from your coffee grounds.
Speed 2: Slow Mixing for Initial Ingredient Incorporation

Speed 2’s your sweet spot for getting all those ingredients to actually know each other. Start by combining your dry ingredients first—flour, sugar, baking powder, salt, the whole crew—so they’re evenly distributed before you slowly introduce those wet components, which prevents the dreaded flour dust explosion that’ll make your kitchen look like it snowed indoors, and gives everything time to hydrate and blend smoothly without creating a chalky mess. For best results when using other tools like cast iron skillets, remember that proper ingredient incorporation at this stage sets the foundation for even cooking and delicious results.

Combining Dry Ingredients First
Before you even think about dumping in your wet ingredients, here’s where you’ll want to slow things down and let your mixer do some gentle work at speed 2. This is your setup-for-success moment.
Getting your dry ingredients combined properly matters way more than most people realize. Start by considering:
- Sifting order – combine flour, baking powder, salt, and any spices before they hit the bowl
- Ingredient temperature – room temperature ingredients blend more evenly and prevent lumps from forming
- Mixing time – keep it brief, just thirty seconds or so until everything looks uniform
Speed 2 prevents your flour from flying everywhere like some kind of kitchen snowstorm. You’ll get a homogenous dry mixture that’s ready for the wet stuff. It’s honestly the unglamorous secret to better bakes.
For even more reliable results, consider accurate measurements using a kitchen scale, as consistency in your ingredients can make a noticeable difference in your final bake.
Incorporating Wet Components Slowly
Now that you’ve got your dry mix looking all uniform and clump-free, it’s time to introduce the wet stuff—and here’s where patience becomes your best friend. Crank that mixer down to Speed 2 and start with your measuring additions slowly. This isn’t a race. Add your liquids gradually while the mixer runs, letting each pour incorporate fully before you dump in more. Trust me, rushing this step leads to splashing disasters.
Temperature control matters here too. If your wet ingredients are too cold, they’ll shock the dry mix and create lumps. Room-temperature eggs, milk, and oil blend way smoother. Just drizzle, wait, and let the mixer do its thing. You’re building a foundation for baking success, so take your time and enjoy the process. If you ever switch to a hand blender for smaller jobs, consider variable speed settings to achieve the same gentle, gradual mixing without overworking your wet and dry components.
Preventing Flour Dust Clouds
One of the sneaky culprits that’ll wreck your baking setup is that flour cloud situation—you know, when you turn on your mixer and suddenly you’re wearing a white powder coat like you’ve been in a bakery snowstorm. Here’s how to keep things clean:
- Start at Speed 2 and let flour settle into the bowl before ramping up
- Cover your mixer with airtight lids or a makeshift shield while mixing begins
- Wear respirator masks if you’re sensitive to flour particles floating around
The trick is patience, really. Let that slow speed do the heavy lifting initially. Your lungs’ll thank you, your kitchen’ll stay cleaner, and you won’t need to vaccum flour off every surface for the next week. Plus, your family won’t think a ghost invaded your cooking space!
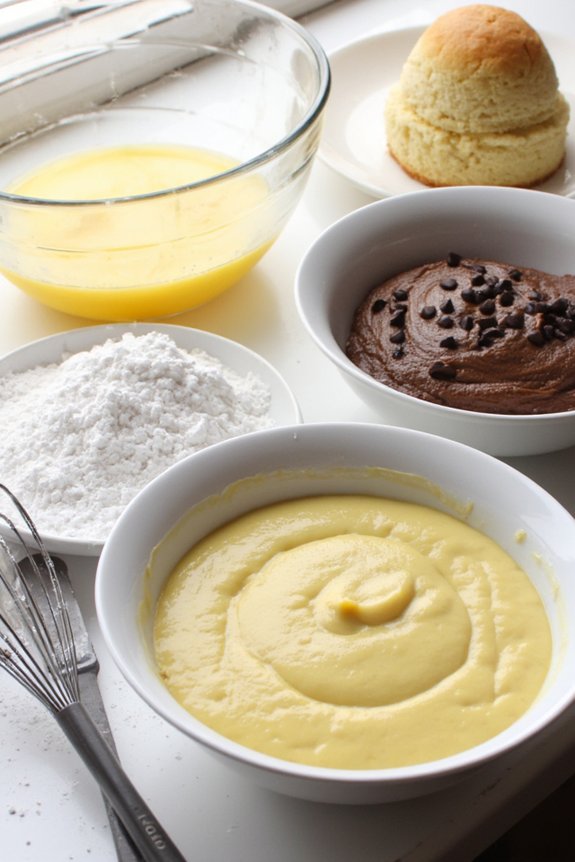
Speed 3: Medium Mixing for Creaming and Blending

Speed 3 is where the magic really starts happening. You’ll want to use this medium setting when you’re creaming butter and sugar together—that’s when you’re basically whipping them into a fluffy cloud of deliciousness—or when you’re blending dry ingredients like flour, baking powder, and salt without turning everything into a dust storm. It’s the Goldilocks zone: fast enough to do serious work, but not so intense that your mixture goes flying everywhere or that you end up with overmixed dough.
Creaming Butter and Sugar
When you’re ready to build the foundation of fluffy cookies and tender cakes, it’s time to let your mixer do the heavy lifting at Speed 3. This medium speed is your sweet spot for creaming butter and sugar together into a light, fluffy masterpiece. Here’s what you need to know:
- Start with room temperature butter—cold butter won’t cooperate, trust me
- Beat for 2-3 minutes until the mixture’s pale and airy, almost cloud-like
- Experiment with flavor variations by adding vanilla, almond extract, or citrus zest
The creaming process incorporates air into your batter, which creates that tender crumb we’re all after. Don’t rush it. Speed 3 gives you control without overworking things. Your mixer’s doing the thinking while you grab another ingredient. That’s the beauty right there.

Blending Dry Ingredients
Now that your butter and sugar are looking like fluffy clouds, it’s time to fold in all those dry ingredients—flour, baking soda, salt, and whatever else your recipe calls for. Crank your mixer to speed 3, that sweet spot for medium mixing that won’t send flour clouds into your kitchen atmosphere. Here’s the trick: use proper sifting techniques before adding your dry stuff. This breaks up clumps and guarantees even spice distribution throughout your batter. It’s like giving your ingredients a spa day before they meet the mixer. Add your dry mixture gradually while the mixer’s running. You’ll watch everything come together beautifully, no overmixing, no lumps, just pure blending perfection. Your future cookies and cakes’ll thank you.
Speed 4: Medium-High Speed for Dough Development
Once your dough’s gotten nice and shaggy, it’s time to bump things up to speed 4—and that’s where the real magic starts happening. This medium-high speed is your golden ticket to serious gluten development. Here’s what you’re doing at this stage:
- Building strength in your dough through consistent mixing action
- Watching the paddle attachment work its magic, transforming sticky mess into smooth, elastic dough
- Monitoring dough temperature so it doesn’t overheat from friction
You’ll notice your dough transforming. It’ll become smoother, more cohesive, and honestly, way more satisfying to watch. Speed 4 typically takes five to eight minutes depending on your recipe. Don’t rush this. After mixing, give your dough a quick bench rest—it’ll thank you later with better texture and easier handling during shaping.
Speed 5: High Speed for Vigorous Kneading

Speed 5 is where things get real—you’ll want to use it when your dough’s already come together and you’re ready to give it some serious muscle, building strength and elasticity that’ll make your bread sing. Here’s the trick: don’t just crank it to high and walk away, because too long at max speed’ll overheat your dough and turn your beautiful creation into a gluey mess, so aim for short bursts of 30 to 60 seconds, checking your dough’s texture and temperature as you go. Think of it like giving your dough a vigorous workout at the gym—intense, purposeful, and definitely not something you do every single day without consequences.
When to Use High Speed
Turn up the heat—metaphorically speaking—when your dough needs some serious muscle. Speed 5 isn’t for the faint of heart, and honestly, your mixer’s gonna let you know it’s working hard.
You’ll want to crank it up in these situations:
- Final kneading stages where you’re developing serious gluten strength and need that dough to really come together with quick turnover
- Thick, dense batters that resist mixing and require extra power without risking motor stress
- Heavy bread doughs that’ve been going for a while and need that final aggressive push
Here’s the thing though: high heat and vigorous action create noise control issues. Your kitchen might sound like a jet engine, and your neighbors probably won’t appreciate it at 6 AM. Use Speed 5 strategically, keep sessions brief, and your mixer—and your relationships—will thank you.
Proper Technique and Timing
Mastering high-speed mixing is all about knowing when to hold back and when to let that beast run wild. You’ve gotta watch for those timing cues that tell you when your dough’s ready to rock. Listen for the mixer’s rhythm—it’ll shift when gluten starts developing. Around the two-minute mark, you’ll notice the dough pulling away from the bowl’s sides. That’s your green light to keep going. But here’s the trick: don’t overdo it. Speed 5 is intense, so you’re looking at maybe three to five minutes max before things get ugly. If you need gentle folding near the end, dial it back. Your dough’ll thank you by rising like a dream, giving you bakery-quality results that’ll make everyone think you’re some kinda wizard.
Matching Speeds to Bread Doughs
Once you’re ready to knead bread dough, your mixer’s speed becomes your secret weapon for getting the perfect texture. Here’s how to nail it:
- Start on speed 1 for the first minute, letting your dough come together gently after autolyse timing
- Bump up to speed 2 for the remaining kneading, which usually takes 5-8 minutes depending on your hydration adjustment
- Watch for the dough to pull away from the bowl’s sides—that’s your green light to stop
You’ll know you’ve hit the sweet spot when your dough’s smooth and slightly tacky. Don’t crank that speed dial too high, or you’ll generate excessive heat and mess up your gluten development faster than you can say “oops.” Keep things steady, and you’re golden.
Matching Speeds to Cake and Cookie Batters
Unlike bread dough, which demands patience and steady, methodical kneading, cake and cookie batters want you to think differently about speed. You’re aiming for something entirely different here—texture contrasts and flavor layering that make your treats sing. Start on low speed when combining dry ingredients with wet ones, letting everything get acquainted without overdoing it. Once things are mostly mixed, bump it up to medium speed for about thirty seconds. This creates those delightful texture contrasts you’re after. Don’t go crazy on high speed unless your recipe specifically calls for it. Overmixing develops too much gluten, making your cakes tough and your cookies dense. Think of it like this: you want smooth, luscious batter, not workout-ready dough. Keep it chill and balanced.
Common Mixing Mistakes and How to Avoid Them
Even with all that balanced mixing knowledge under your belt, it’s shockingly easy to trip up once you actually get going. You’re gonna face some common pitfalls that can wreck your baking dreams. Here’s what typically goes wrong:
- Overmixing consequences like tough, dense cakes happen when you leave the mixer running too long on high speed
- Forgetting attachment maintenance means your beaters get gunked up, spreading old batter into fresh batches
- Jamming wet ingredients into dry mixes at max speed creates splashing disasters everywhere
The key? Stop occasionally and actually look at your batter. Seriously. Don’t just set it and walk away like it’s some kind of magical robot. Keep those attachments clean between batches, and you’ll notice a dramatic difference in your results. Your future self will thank you for the extra thirty seconds of care.
Troubleshooting Your Mixer Results
So your mixer’s acting a little weird—what’s actually going on under the hood? Sometimes the culprit is simple equipment maintenance that’s been neglected. Check if flour’s caked around the bowl or if old batter’s dried on the beaters. That’s your first troubleshooting move. Now, if you’re hearing strange noise troubleshooting situations—grinding sounds, squeals, or rattling—don’t panic. Make sure the head’s locked securely and the bowl’s sitting right. A loose attachment causes all kinds of racket. If your dough’s not coming together or looks shredded, you might’ve chosen the wrong speed. Lower speeds build structure; higher speeds overwork everything. Clean those beaters regularly, too. Regular maintenance keeps your mixer humming happily and producing perfect results every single time.
Frequently Asked Questions
How Often Should I Replace My Stand Mixer’s Bowl and Attachments for Safety?
You should replace your stand mixer’s bowl and attachments every 1-2 years with heavy usage. Track your usage patterns to determine if you’re replacing them frequently enough. Replace immediately if you notice cracks or damage.
Can I Use My Stand Mixer for Ingredients Like Nuts, Coffee, or Spices?
You can’t use your stand mixer for grinding spices or crushing nuts—it’ll damage the motor and attachments. Instead, invest in a dedicated spice grinder or food processor designed for these tougher ingredients.
What’s the Maximum Batch Size I Can Safely Mix Without Damaging My Mixer?
Your mixer’s maximum capacity depends on the model, but don’t exceed the manufacturer’s guidelines to avoid motor strain. You’ll typically find safe batch sizes in your manual—staying within limits protects your investment.
How Do I Clean and Maintain My Stand Mixer’s Motor and Internal Components?
You’ll protect your motor by keeping flour dust away from vents and unplugging before motor cleaning. Schedule annual internal inspection with a professional technician who can safely access components without voiding your warranty.
Is It Safe to Leave My Stand Mixer Running Unattended During Mixing?
You’d think leaving your mixer unattended’s convenient, but it’s not safe. You shouldn’t leave it running without supervision. Always stay nearby—accidents happen quickly. Locate your emergency shutoff button beforehand for immediate stopping if needed.
Conclusion
You’ve probably wondered if your mixer’s speed dial really matters—spoiler alert, it totally does. Mastering these settings isn’t just about following rules; it’s about understanding that each speed serves a purpose. You’ll get fluffier cakes, better-developed breads, and way fewer kitchen disasters. So next time you’re mixing, don’t just wing it. Match your speed to your task, and you’ll nail it every time. Your taste buds’ll thank you.


