You’ve probably noticed your panini press lid kind of “floats,” but no one tells you it’s doing tiny peace talks between bread, cheese, and rogue tomato slices. That hinge lets the top plate tilt and glide so thick and thin bits brown evenly without a squish-fest. But it only works if the arms are straight, springs lively, and bushings clean. Ignore it, and you get skewed grills and sad drips. Want easy fixes and sneaky checks? Stick around…
Key Takeaways
- True floating hinges gently self-level over uneven sandwiches, preventing crushed fillings and promoting even browning without locking into fixed notches.
- Thickness selectors (fixed stops) give repeatable gaps and bold grill marks but can squash delicate ingredients and trap grease in detents.
- Small hinge flaws—skew, backlash, or misaligned arms—cause uneven crusts; use paper-strip tests and gentle pre-pressing to help the lid settle square.
- Wear shows up as gritty scraping, wobble, sluggish return, or orange-brown corrosion near joints; keep pivots clean, lightly oiled, and screws evenly tightened.
- Quick fixes include shimming the light side with foil, guiding thick bits under the hinge first, and reducing handle pressure to let gravity do the work.

Why Floating Hinges Exist and What They Actually Do
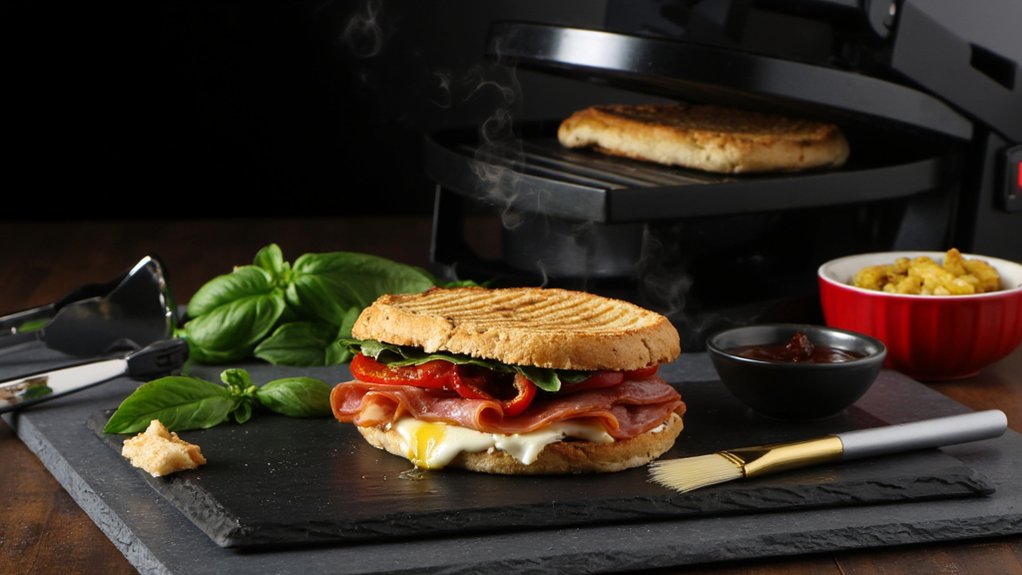
Although it sounds fancy, a floating hinge is basically a smart way to let the top plate of a panini press adjust to whatever you’re cooking. You’re not wrestling bread here, you’re guiding heat. The hinge function lets the lid move up and down while staying useful, so thick subs or thin quesadillas press evenly. No squashed fillings, no sad edges.
Floating hinges exist for one big reason: consistency. You want both sides heated, browned, and done together. Gap compensation helps with that, creating a small, controlled space so steam escapes and cheese doesn’t explode into the abyss. It also keeps pressure gentle, so you don’t turn tomatoes into mush. You get better sear lines, better texture, and fewer messes. Simple idea, solid results.
Many top-rated panini presses feature floating hinges alongside dual-zone temperature technology to ensure even cooking and optimal results across different foods.
The Hidden Geometry: Plate Alignment, Rock, and Tilt
Watch the plates dance. You’ll see the top glide, then wobble a hair, finding its balance over bread and fillings. That’s the hidden geometry at work. Alignment isn’t just left-right; it’s also rock and tilt, tiny motions that spread pressure so your sandwich browns evenly. When the arms aren’t perfectly parallel, plate skew creeps in, nudging the crust darker on one side. It’s not fatal, just annoying.
Hinge backlash adds play in the joints, so the lid may settle a beat late, and you think, huh, why’s the cheese sliding? You can guide it. Place the thick bits under the hinge side first, then close gently, letting the plates float and settle. A quick nudge squares things up. Don’t force it, finesse it.
The precise pressure and heat distribution of a floating hinge system is similar to the way convection systems ensure even cooking in toaster ovens, reducing the chance of hotspots and uneven browning.
Thickness Selectors vs. True Float: What’s the Difference
You’re choosing between thickness selectors with fixed stops and a true floating hinge that moves freely, and yep, that choice decides how evenly pressure spreads across your sandwich. With free float you get gentler contact and easier release on tall or uneven stacks, while fixed stops can press harder, sometimes great, sometimes squish-city, and that affects sticking, cleanup, and those delicate grill marks you’re chasing. Long term, you’ll notice it in maintenance, wear, and lifespan too, since simpler float systems often have fewer parts to fuss over while selector knobs and detents can wear, loosen, and ask for a little TLC. If you’re comparing kitchen gadgets, it’s smart to consider interior capacity alongside hinge design, since both determine how well your press can handle thick sandwiches, just like how toaster oven space limits what you can cook.


Fixed Stops vs. Free Float
When you hear “thickness selector,” it sounds fancy, but it’s really just a fixed stop that sets how far the top plate can close, while a true free-float hinge lets the lid settle naturally on your food without being locked to a notch. With fixed stops, you’re basically choosing a gap using stop collars, and the spring tension helps the lid hover at that preset height. Simple, predictable, tidy.
Free float feels different. You lower the lid, it finds the food, and it rides there, adjusting as the sandwich heats and softens. No fiddly clicks. No guessing.
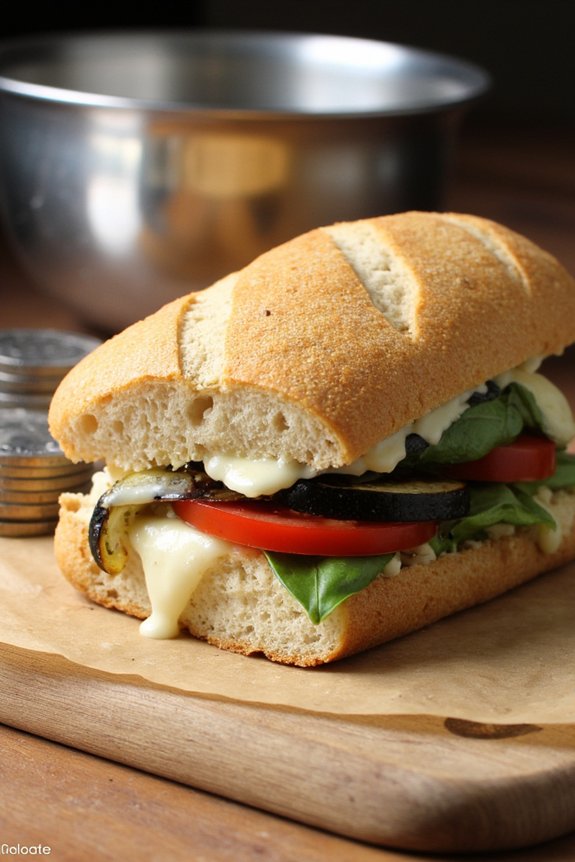
Fixed stops are great when you want repeatable builds or delicate toppings that shouldn’t get squished. Free float shines for stacked melts and weird shapes. Your call, chef.
If you’re researching panini presses, don’t overlook how removable plates and easy-clean designs—like those found in top-rated indoor grills—can make a huge difference in daily use and maintenance.
Pressure Distribution and Release
Fixed stops and true float don’t just change how the lid moves, they change how force spreads across your sandwich. With a thickness selector, the hinge locks at a set height, so pressure gradients are steep at the first contact points, then ease off. You’ll get clear grill marks, but delicate fillings might squish. True float lets the lid tilt and settle, smoothing pressure and hugging tall or uneven stacks, so heat and moisture escape more evenly and your crunch pops without pancaking the middle. Release timing matters too: fixed stops spring off quickly, while float eases off, avoiding that sticky cheese rip.
When choosing a panini press, consider how even heat distribution—as seen in top electric griddles—can play a crucial role in getting consistent browning and preventing soggy spots.
1) Choose fixed stops for uniform breads and thin melts.
2) Pick true float for bulky, uneven builds.
3) Watch release timing to protect fragile layers.
Maintenance, Wear, Lifespan
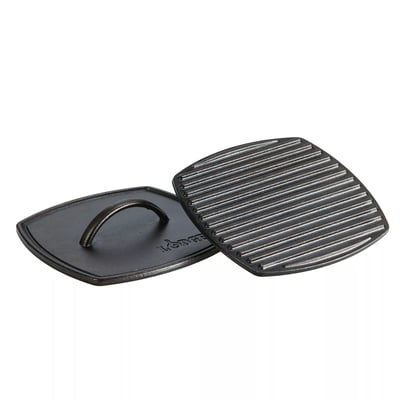
Though both hinge styles can make great sandwiches, they don’t age the same. Thickness selectors rely on notches and stops, so spring tension stays consistent, but those parts can trap grease, inviting hinge corrosion. True float hinges glide on pins, which spread pressure nicely, yet they need lube and cleaning or they’ll grind and squeak.
You’ll see plate wear differently too. Selectors often press the same spots, carving shiny paths over time. Floaters move more, so wear spreads out, but alignment can drift if screws loosen. Thermal fatigue is the sneaky villain, cycling heat that stresses plates and springs, so don’t slam a cold sponge on hot metal. Wipe warm, not blazing. Tighten hardware twice a year. Light oil on pivots, tiny bit, no drippy salad.
Budget vs. Pro Hinges: Materials, Springs, and Wear
Although both budget and pro panini press hinges “float,” they’re not built the same, and that’s where the magic or the mess happens. You’ll feel it in the lid glide, hear it in the squeak, and see it in how evenly things press. Budget hinges often use softer metals and lighter springs, which keeps prices low but invites spring fatigue and metal fatigue over time. Pro builds lean on smarter alloy choice, tighter tolerances, and hotter heat treatments, so they stay smooth longer.
1) Materials: Better alloy choice resists wear, while cheap pot-metal chews itself up.
2) Springs: Stronger wire and proper temper fight spring fatigue, so your lid doesn’t sag.
3) Design: Bushings, pins, and coatings lower friction, but yeah, there are cost tradeoffs.
The Real Reasons One Side Gets Squashed
You’re not crazy—when one side gets squashed, it’s usually uneven hinge torque tipping the lid like a sleepy seesaw. Plate misalignment drift can slowly creep in, so you press down thinking it’s even, but the lid’s already leaning and your sandwich pays the price. Then there’s food height variance, where a tall tomato stack or a chunky chicken strip sets the high point, and everything else flattens like it forgot leg day.


Uneven Hinge Torque
Even if your press looks perfectly level, uneven hinge torque can make one side clamp harder, so the sandwich on that edge gets squashed while the other side just lounges around. You push the handle, it feels fine, but tiny differences in spring tension or worn bushings shove extra force to one corner. That’s uneven torque in action. You’ll see thicker grill marks on one side, soggier on the other, and yeah, the cheese runs away like it owes rent.
1) Test it: put a strip of folded paper across the plate, close lightly, and see where it grips first.
2) Reduce handle pressure, let gravity help, then press gently.
3) Try basic hinge calibration: tighten paired screws evenly, lubricate pivot points sparingly, and re-test until pressure feels balanced.
Plate Misalignment Drift
Uneven torque is one headache, but there’s a sneakier culprit that keeps squashing one side flat: plate misalignment drift. You close the lid thinking it’s level, but tiny shifts in the hinge pins, brackets, or worn bushings let the top plate wander. That plate drift changes the contact point, so pressure slides to one corner.
You’ll see it as gap variation across the sandwich, like a smile on one edge and a grimace on the other. Not fun. Check for side-to-side wobble with the press cold, tap the corners, and watch which one bottoms out first. Keep hinge screws snug, clean debris from pivot points, and don’t slam the lid. A gentle pre-set lowering helps the plates settle square, saving that crispy, even sear.
Food Height Variance
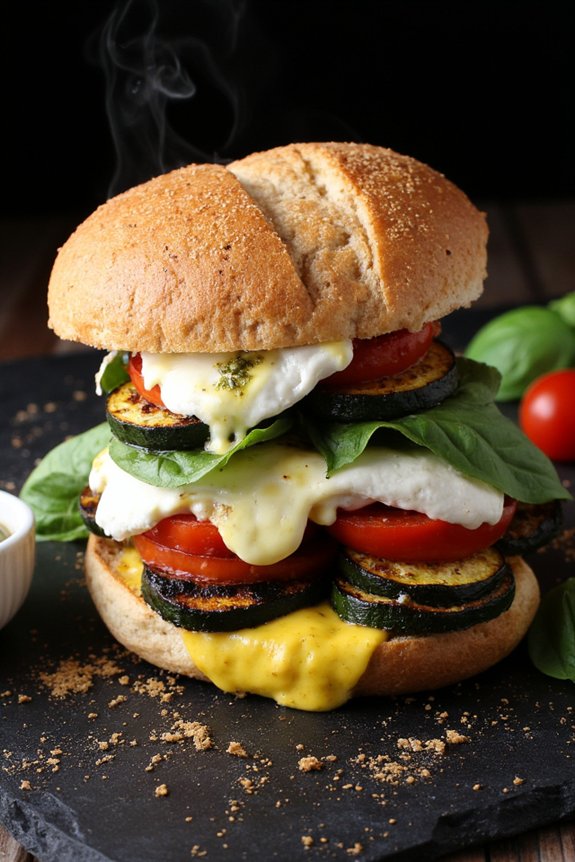
Stack smarter, not taller. Food height variance is the sneaky reason one side gets squashed while the other barely kisses the grill. When layers stack unevenly, the floating hinge follows the tallest point, and pressure tilts. That’s when height inconsistency shows up, and your melt goes lopsided. Then comes sandwich settling, where soft fillings relax and everything shifts, sometimes right out the back. Not ideal, unless you like cheese confetti.
1) Slice fillings evenly and distribute tall bits across the bread, not in one tower spot.
2) Pre-press for 5 to 8 seconds, lift, then reposition, letting the hinge find level before the real cook.
3) Use buffers: a thin onion ring under the low side or a second slice for balance.
Common Failure Points and How to Spot Them Early
Usually, the first signs of trouble in a floating hinge show up as small annoyances you can spot early if you know where to look. Start with the lid’s alignment. If one corner kisses the bread while the other floats, note it. That’s a hint of hinge wobble or a bent pivot pin. Gritty scraping when you open and close? That’s debris in the bushings, or early corrosion sneaking in after steamy cooks and rushed wipe-downs. Watch for sluggish return, too. Springs can fatigue, losing snap.
Peek at the pivot screws. If they’re loosening every week, something’s shifting. Check the stop tabs and slide rails for hairline cracks, tiny but loud. Any brown-orange crust near the joints means moisture’s camping there. Kick it out fast, or pay later.
Simple Adjustments That Improve Contact and Browning
Dial in the basics, and your press will reward you with even, happy browning. You don’t need fancy mods, just a few small tweaks that stack up. Start with a clean surface, light oil, and a calm hand. Let the plates preheat fully so the hinge settles, then test contact with a slice of bread. Easy stuff, big wins.
1) Check spring preload: Close the lid gently on a thick towel, then open. If the lid snaps up hard, back off tension if your model allows. You want assertive, not aggressive.
2) Level the lid: With the press warm, nudge the floating hinge so the top plate sits parallel. Parallel equals even sear. Crooked equals meh.
3) Confirm gasket seating: Inspect the perimeter seal. Press around edges to seat it, stopping heat leaks and hot spots.
When to Shim, When to Flip, and When to Replace
You’ve got the basics humming, so now it’s about knowing when to cheat the hardware and when to call it. Shim when the top plate tilts and gives you a pale heel or toe. A folded foil square under the light side evens pressure. That’s shim timing. Quick, reversible, handy.
Try hinge flipping when one hinge loosens more than the other and the whole lid tracks crooked. Spin the plates around if your model allows, or rotate the press on the counter so the heavy hinge works the thick side of your sandwich. Weirdly effective.
Replace when the springs squeak, the float binds, or the plates wobble like a shopping cart wheel. Cracked bushings, warped plates, electrical hot spots? Don’t gamble. Retire it, save your grilled cheese dreams.
Frequently Asked Questions
Can Floating Hinges Affect Energy Efficiency or Preheat Time?
Yes—floating hinges can influence energy efficiency and preheat time. You’ll see slight temperature variance as plates align, and improved thermal retention when they seal well. If hinges wobble or misalign, you’ll waste heat, extending preheat and cooking durations.
Are Non-Stick Coatings Influenced by Hinge Pressure Patterns?
Yes—uneven hinge pressure concentrates force and heat, accelerating coating wear. You’ll see hotspots where plates meet first, causing micro-abrasion, polymer fatigue, and chipping. Rotate food, balance load, and avoid metal tools so non-stick performance lasts under variable pressure patterns.
Do Hinge Designs Change Cleaning Difficulty or Sanitation Standards Compliance?
Yes—hinge designs affect cleaning difficulty and compliance. You’ll find exposed springs trap debris, complicating Hinge sterilization and Sanitation protocols, while sealed, removable, or tool-free hinges reduce biofilm risks, ease access, shorten turnover, and help you meet NSF and HACCP requirements.
How Do Hinges Impact Grill-Mark Consistency Across Irregular Bread Shapes?
They determine how evenly heat and force contact uneven surfaces. With good bread contouring and pressure mapping, you’ll maintain parallel plates, distribute load, minimize gaps, and get consistent grill marks across domes, seams, and rustic, irregular loaf geometries.
Are Aftermarket Hinge Parts Safe and Warranty-Compliant?
They’re usually not safe or warranty-compliant. You risk misfits, heat creep, and latch failures. Always verify aftermarket compatibility with your model, document installs, and read warranty implications; many brands void coverage for non-OEM parts, especially on electrical and hinge assemblies.
Conclusion
So now you know the secret: your press isn’t brute force, it’s quiet finesse. Treat the floating hinge like a tiny diplomat and it’ll reward you with even browning and zero squish. Do quick checks, keep it clean, add a dab of food-safe lube, and fix little wobbles before they turn ugly. Shim when needed, flip smart, replace when it’s toast. You’ll taste the difference, trust me. And hey, fewer exploded tomatoes. Win-win, less laundry.


