So you’re flipping crepes and they’re basically welded to the pan. Frustrating, right? Here’s the thing: it’s rarely just one problem. Your seasoning might be shot, your batter could be all wrong, or maybe your pan’s running hotter than you think. Even your butter choice matters more than you’d expect. The good news? Most of these fixes are pretty straightforward once you know what’s actually going wrong.
Key Takeaways
- Improper seasoning or worn nonstick coating exposes bare metal, causing crepes to adhere to the surface.
- Batter that’s too thick or over-mixed creates a gluey consistency that sticks during cooking.
- Temperatures below 350°F cook too slowly, increasing adhesion; aim for 350–375°F for optimal release.
- Regular butter contains water that increases sticking; use clarified butter or high-heat oil instead.
- Insufficient preheating (aim for 5–10 minutes) results in uneven surface temperature and localized sticking problems.
Insufficient Seasoning of Your Crepe Maker
If you’ve noticed your crepes sticking to the maker like they’re super-glued on there, one of the biggest culprits might be that your crepe maker isn’t properly seasoned. Think of seasoning like creating a non-stick shield. Without it, you’re basically cooking on bare metal, which is a recipe for disaster.
The seasoning procedure is pretty straightforward. Start with oil selection—grab a high heat oil like vegetable or grapeseed oil. Wipe a thin layer across the cooking surface before each use. You’ll want to do this consistently for the first several uses. Build up that protective coating gradually. Once your maker’s properly seasoned, crepes’ll slide right off. It’s honestly one of the easiest fixes you can make, and it’ll transform your crepe-making experience completely. If your crepe maker has a nonstick coating quality, proper seasoning and gentle cleaning can also help prolong its effectiveness and keep your crepes from sticking.
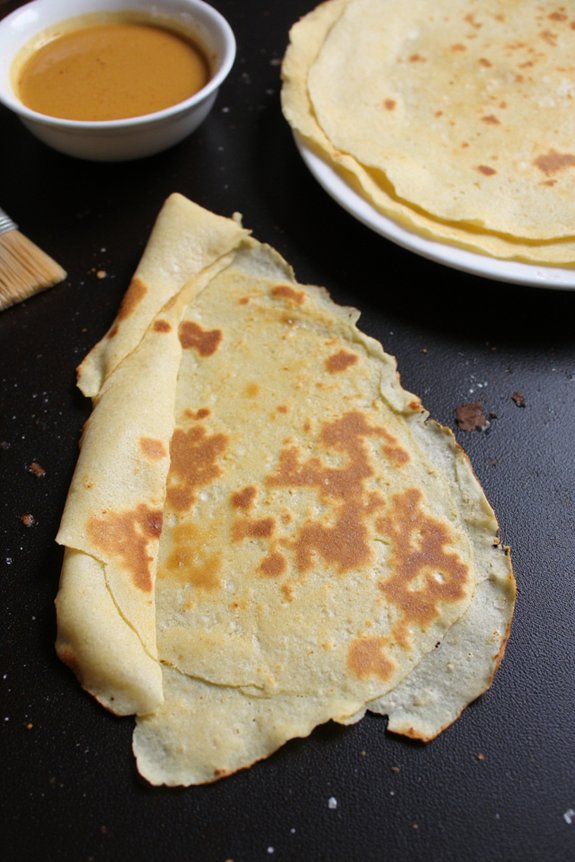
The Critical Role of Butter in Preventing Sticking
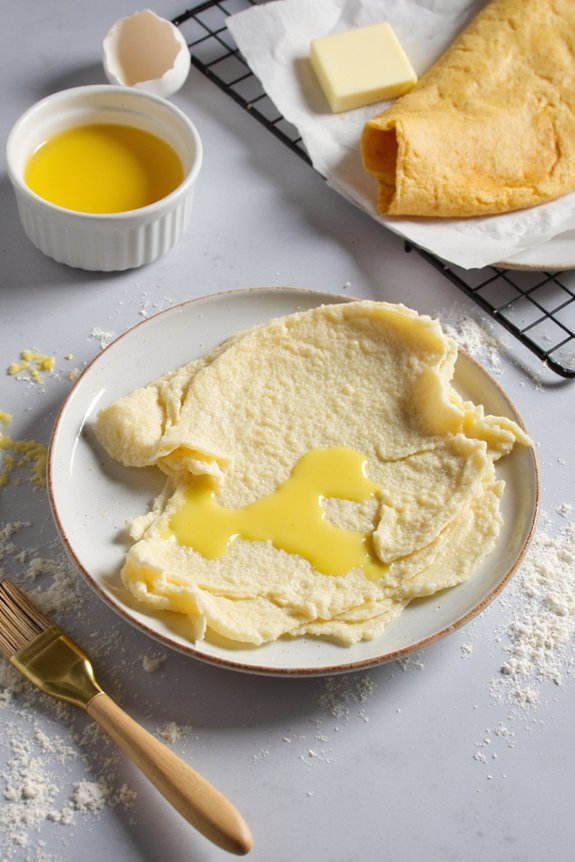
Beyond just seasoning your crepe maker, butter actually does some serious heavy lifting when it comes to keeping your crepes from sticking. You’ll want to use clarified butter, which has had all the milk solids removed, making it way more effective than regular butter at preventing sticking. The thing is, regular butter’s got water content that evaporates and leaves your crepes clinging to the surface like they’re never leaving.
Clarified butter creates smooth butter emulsions that coat your maker evenly and protect against sticking. Apply it between each crepe with a light touch, not drowning it. You don’t need much, just enough to create that protective barrier. It’s honestly one of the easiest fixes you can make, and you’ll notice results immediately.
If you’re using a crepe maker with a nonstick coating, clarified butter also helps preserve the surface and reduces the need for excess oils.
Understanding Batter Consistency and Its Impact on Adhesion
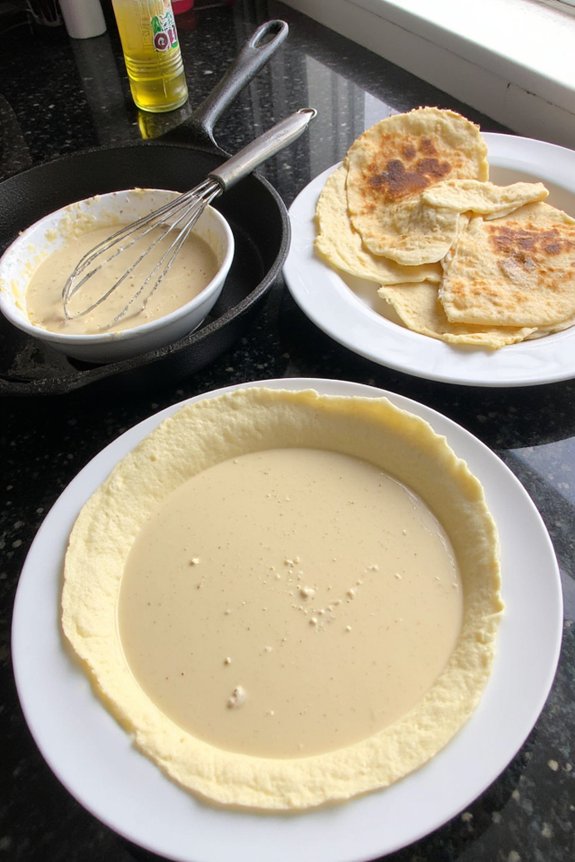
While clarified butter does wonders for your crepe maker’s surface, there’s another player in the sticking game that you might not be thinking about enough: your batter itself. Your batter viscosity matters way more than most home cooks realize. If it’s too thick, it’ll cling like it’s got a grudge against your pan. Too thin, and you’ve got a different mess entirely. Getting the consistency right takes some experimentation, honestly. You’re aiming for something resembling thin cream, not pancake batter thickness. Don’t skip the resting time either—letting your batter sit for thirty minutes allows the flour to fully hydrate and actually relaxes the gluten. This simple step dramatically reduces sticking problems. It’s one of those small things that makes a huge difference. Using a properly seasoned surface—like those achieved with high-quality cast iron—can also help reduce sticking, as the nonstick properties improve with use and regular maintenance.


Temperature Control: Finding Your Crepe Maker’s Sweet Spot
Temperature control is honestly the make-or-break factor that separates crepes that slide right off your pan from ones that stage a dramatic adhesion protest. You’ve gotta nail your skillet calibration because even a few degrees makes all the difference between success and sticky frustration.
| Temperature Range | Result |
|---|---|
| Too Low (300°F) | Crepes cook too slowly, stick badly |
| Ideal (350-375°F) | Perfect browning, easy release |
| Too High (425°F+) | Crepes burn before setting |
| Uneven Heat | Hot spots cause sticking |
Here’s the thing: heat mapping your crepe maker helps you spot problem areas. Some makers run hotter on the edges, cooler in the middle. You’ll discover yours through testing. Start medium-low, gradually increase heat, and pay attention to how your first few crepes behave. That’s your baseline. Once you find that sweet spot, you’ll wonder why you ever struggled.
For best results, aim for precise temperature control since even heat distribution is key to easy crepe release and consistent browning.
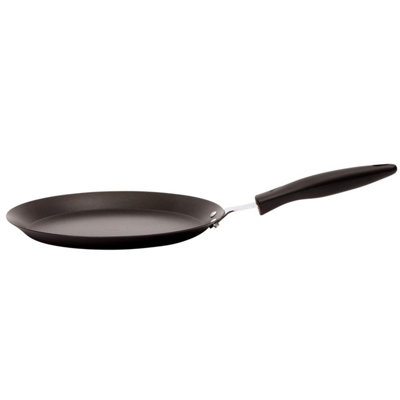
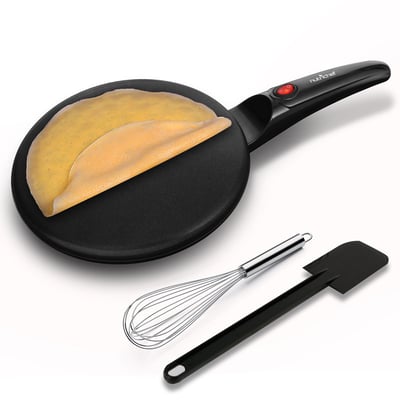
Choosing the Right Cooking Surface for Your Needs
Once you’ve nailed your temperature, the surface you’re cooking on becomes your next best friend or worst enemy. Not all crepe makers are created equal, so surface selection really matters here. Non-stick coatings vary wildly between brands. Some are genuinely fantastic, while others start flaking off after a few uses, which is super frustrating.
Cast iron surfaces? They’re durable and heat beautifully, but they need love and attention. Your maintenance schedule becomes essential because proper seasoning prevents sticking like nothing else can. Alternatively, modern non-stick ceramic surfaces offer easier upkeep without the fussiness.
Think about your cooking style and how much time you’re willing to invest in care. A well-maintained surface transforms your crepe-making experience from annoying to absolutely enjoyable, making sticky situations basically obsolete. For the best results, consider a surface made from premium materials that preserve both durability and non-stick performance over time.
Common Mistakes in Batter Preparation
Your batter’s consistency can make or break your crepes, and believe it or not, most sticky situations actually start right here in the mixing bowl. You’re probably making one of these common blunders:
- Over-mixing your batter – This kills batter aeration and creates a dense, gluey mess that’ll stick like nobody’s business
- Getting flour hydration wrong – Too much liquid and you’ve got pancake batter, too little and you’re basically spreading glue
- Skipping the rest period – Letting your batter sit for 30 minutes actually helps it relax and perform better
The thing is, you don’t need fancy ingredients or special equipment. Just measure carefully, mix gently until combined, and give your batter time to chill. These simple tweaks’ll transform your crepe game completely.
How Pan Material Affects Sticking and Performance
Your pan’s material is basically the MVP of crepe success, and it’s worth understanding why. Cast iron’s fantastic heat retention keeps your cooking surface nice and consistent, but here’s the thing: if you’re not seasoning it properly, you’re basically inviting your crepes to stick like they’ve got glue on the bottom, while aluminum conducts heat so quickly and evenly that you’ll get more forgiving results. Non-stick coatings sound like a dream until they start wearing down after a few too many aggressive spatula scrapes, leaving you with a surface that’s about as non-stick as, well, regular metal.
Cast Iron’s Heat Retention
When it comes to crepe makers, cast iron’s got some serious superpowers that you really can’t ignore. Cast iron excels at maintaining even heat across the entire cooking surface, which is exactly what you need for perfectly cooked crepes. The thermal mass of cast iron means it’ll bounce back quickly after you pour batter on it, keeping temperatures consistent throughout the cooking process.
Here’s what makes cast iron so reliable:
- Its iron patina builds up over time, actually improving its non-stick properties naturally
- The material resists seasonal variability better than other surfaces, so your results stay consistent year-round
- Even heat distribution prevents those annoying hot spots that cause sticking
You’ll find that properly seasoned cast iron crepe makers rarely stick, giving you gorgeous, golden crepes every single time.


Non-Stick Coating Degradation
Cast iron’s natural seasoning is great and all, but modern crepe makers often rely on synthetic non-stick coatings, and that’s where things get a bit trickier. Here’s the thing: those fancy coatings wear down over time. With repeated use and exposure to heat, your coating breakdown happens faster than you’d think. Scratches appear, and suddenly you’re dealing with surface porosity where your crepes can actually grab onto the pan. Metal utensils are basically coating killers, so stick with silicone or wooden spatulas instead. High heat accelerates the damage too, which is why medium temperatures work better. Once that protective layer starts degrading, you’re fighting an uphill battle. Eventually, you might need to replace the crepe maker entirely, which isn’t exactly fun for your wallet.
Aluminum Pan Conductivity
Material matters more than you might realize when it comes to crepe-making success. Your pan’s aluminum construction plays a huge role in how heat transfers to your batter, and that directly impacts sticking. See, aluminum conducts heat beautifully, distributing warmth evenly across the surface. But here’s the catch: over time, oxide formation happens on aluminum pans, creating a rougher texture that traps moisture and causes your crepes to cling like they’re stuck in a relationship they can’t escape.
Here’s what you’re dealing with:
- Uneven heat spots where oxide buildup is thickest
- Moisture pooling in microscopic pits and scratches
- Reduced non-stick performance as the surface degrades
Quality aluminum pans maintain better heat transfer longer, keeping your crepes sliding smooth and your breakfast dreams alive.
The Importance of Proper Preheating
Before you even think about pouring batter onto your crepe maker, you’ve gotta let that thing heat up properly. Skipping this step is basically asking for stuck crepes. When you rush it, your surface won’t reach even heat distribution, which means some spots’ll be hotter than others. That’s a recipe for disaster.
Gradual heating does something really important for your pan. It allows for proper surface conditioning and thermal expansion without shocking the metal. Give your crepe maker a solid five to ten minutes to warm up completely. You’ll know it’s ready when water droplets dance and sizzle across the surface, not when they just sit there like sad little puddles. That’s the sweet spot where your crepes’ll slide off like they’re on ice.
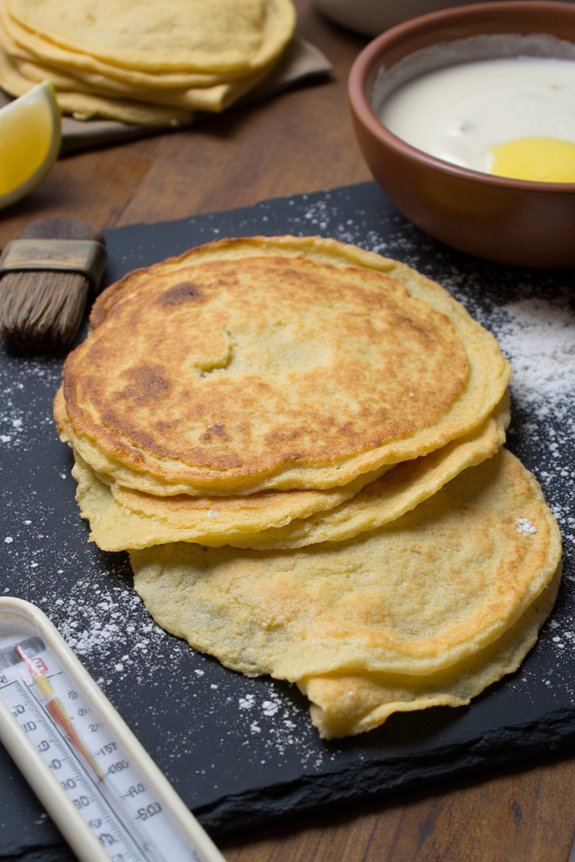
Timing and Technique: When to Flip Your Crepe
Once your batter hits that hot surface, the real dance begins, and knowing exactly when to flip is what separates crepe masters from crepe disasters. Perfect timing is everything here, and you’ll want to watch for these telltale signs:
- The edges start lifting and turning golden brown
- The bottom’s got that light, lacy texture and pale color
- You can actually slide a spatula underneath without resistance
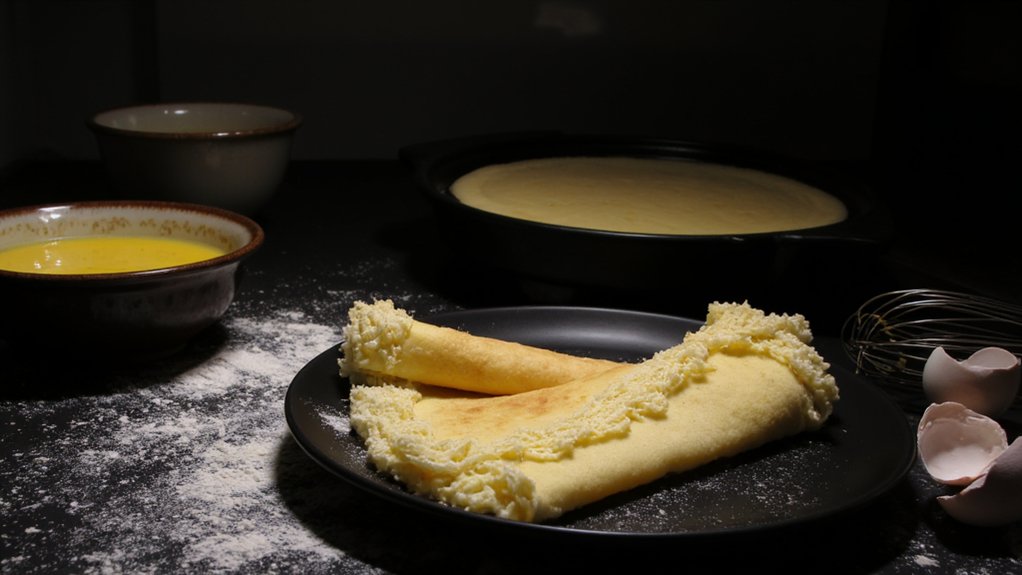
Here’s the thing: you’re looking for about 30 to 60 seconds on the first side. When you see those edges curling up, that’s your cue. Make a confident flip in one smooth motion, don’t hesitate or second-guess yourself. The second side only needs like 20 seconds since it’s already warm. You’ve got this down.
Maintenance Tips to Keep Your Crepe Maker Nonstick
Your crepe maker’s nonstick surface is basically its superpower, and you’ll want to keep it performing like a champ by giving it some regular TLC. The key to avoiding sticking issues lies in proper maintenance, which starts with understanding surface roughness and how it affects your crepes.
After each use, wipe your crepe maker with a soft, damp cloth while it’s still warm. Never scrub aggressively, as this damages the nonstick coating and increases surface roughness that’ll trap batter. For seasoning frequency, apply a thin layer of oil every few uses to maintain that slick surface. Store it in a dry place, and you’ll notice fewer sticking problems down the road, keeping your crepes gliding smoothly every single time.
Frequently Asked Questions
How Often Should I Replace My Crepe Maker if Sticking Persists Despite Proper Maintenance?
You should replace your crepe maker if sticking persists despite proper maintenance, especially when surface degradation occurs. Check your warranty coverage first—most manufacturers cover defects within one to three years, potentially providing replacements.
Can I Use Cooking Spray Instead of Butter on My Crepe Maker Safely?
You shouldn’t use cooking spray on your crepe maker. It’ll build up residue and damage the nonstick surface. Butter’s better for your crepe maker’s longevity and your health considerations regarding chemical coatings.
What’s the Ideal Rest Time for Crepe Batter Before Cooking to Reduce Sticking?
You’ll want to let your batter rest for 30 minutes at room temperature. This allows batter hydration to fully develop and stabilize, while the resting temperature guarantees proper consistency that’ll prevent sticking.
Does the Age of My Crepe Maker Affect Its Nonstick Performance and Sticking Issues?
Yes, your crepe maker’s age substantially impacts sticking. Over time, surface wear degrades the nonstick coating, and heating inconsistency develops, causing uneven cooking and adhesion problems that you’ll notice worsening.
Are Electric Crepe Makers Less Prone to Sticking Than Stovetop Models?
Yes, you’ll find electric crepe makers generally stick less because they maintain consistent heat and offer better electric durability. However, you’re still responsible for proper surface maintenance to prevent sticking issues.
Conclusion
You’ve got this. Sticky crepes don’t have to be your reality—they’re just telling you something’s off. Whether it’s your seasoning, your butter choice, or that temperature that keeps creeping up, you now know what to fix. Season that maker, use clarified butter or oil, nail your batter consistency, and preheat properly. Your next batch? They’ll slide right off like they’re supposed to.