You’ve probably got centrifugal juicer parts scattered everywhere—the motor housing here, cutting disc there, seals mysteriously vanishing into kitchen drawers. It’s frustrating when you’re ready to juice but can’t find half your components. The good news? Organizing them doesn’t require rocket science. With a solid system in place, you’ll cut assembly time in half and actually know where everything is. So let’s figure out how to get your juicer parts running smoothly.
Key Takeaways
- Designate a dedicated assembly station at comfortable elbow height with good lighting for efficient part organization and quick setup.
- Use color-coded labels and magnetic strips to identify and store small metal components within arm’s reach for accessibility.
- Store detachable, dishwasher-safe parts in labeled compact bins organized by component type to prevent loss and simplify cleaning.
- Keep a small container nearby for tiny parts like screws and seals to prevent them from rolling away during assembly.
- Maintain a paper towel station and drying rack adjacent to your assembly area to manage cleanup efficiently.

Understanding Your Centrifugal Juicer’s Components

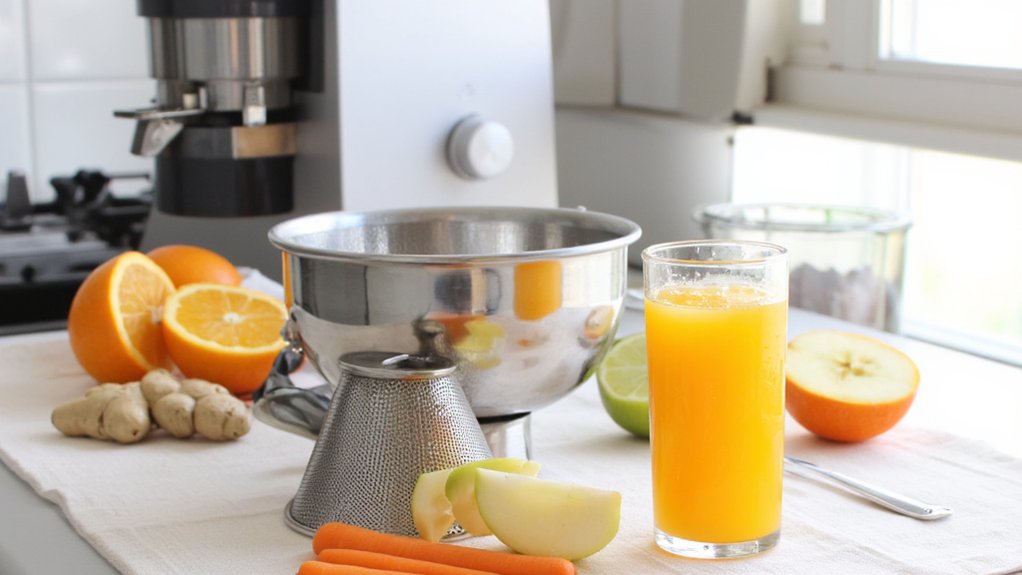
Before you can master the art of juicing, you’ve gotta know what you’re actually working with. Your centrifugal juicer’s got several key parts that work together like a well-oiled machine, well, literally. The motor housing is basically the powerhouse that drives everything, spinning those blades at lightning speed. Then there’s the feeding chute where you shove your fruits and veggies in. The cutting disc and strainer basket do the heavy lifting, separating juice from pulp. Speaking of which, the pulp ejector shoots all that fiber stuff right into a collection container, keeping things tidy. You’ll also find a juice pitcher for catching your liquid gold and various smaller components like rubber seals. Understanding each part’s job makes assembly way easier and keeps your juicing game strong. Many models are designed with wide feed chutes to minimize prep time by allowing you to insert whole fruits and vegetables without chopping.
Choosing the Right Storage Container
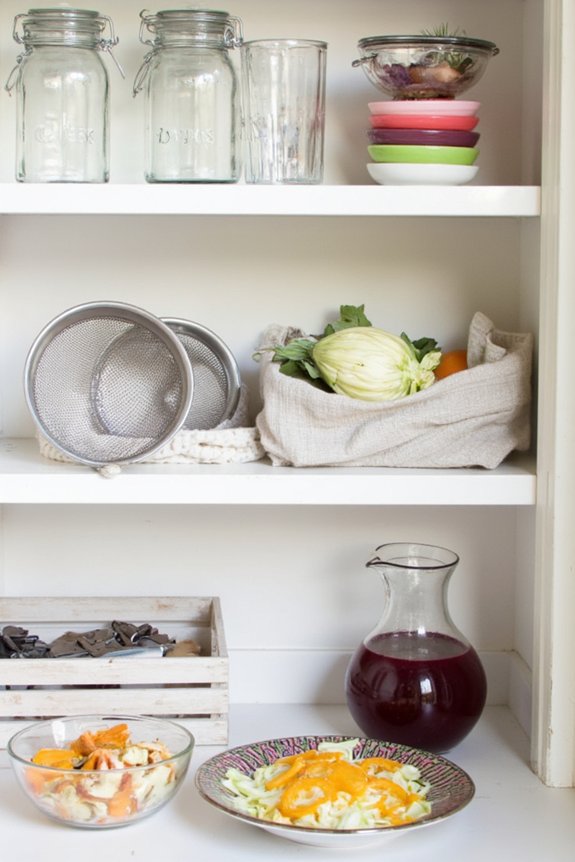
Once you’ve got all your juicer parts organized and ready to roll, you’ll need a solid spot to store the juice you’ve made, and that’s where choosing the right container really matters. Glass containers with airtight bins are your best bet for keeping juice fresh longer, though plastic works fine too if that’s what you’ve got on hand. Look for stackable trays that’ll help you maximize fridge space without creating a tetris nightmare. Size matters here, so grab containers that match your typical juice output. You don’t want gallons of wasted space, but you also need room for tomorrow’s batch. Pro tip: label everything with dates so you’re not wondering if that green juice is from last week or yesterday. Your future self’ll thank you. To avoid spills or leaks in the fridge, consider using secure, leak-proof lids similar to those found on the best cold brew coffee makers.
Creating a Labeling and Organization System
A solid labeling and organization system is honestly the difference between a smoothly running kitchen and one where you’re constantly playing detective with mysterious containers. Color coding is your best friend here. Assign different colors to different parts, like red for the motor housing and blue for the pulp collector. It’s visual, it’s quick, and you’ll never grab the wrong piece again.
Magnetic strips work great too. Stick them inside your cabinet doors and attach labeled metal tags to your smaller components. This keeps everything visible and within arm’s reach. Write clear, waterproof labels with a permanent marker, noting what each part is and where it goes. You’re building a system that’ll make assembly feel effortless, not frustrating. If you’re organizing other kitchen appliances, consider how compact stainless steel design or included accessories can affect your storage setup and labeling needs.


Setting Up Your Assembly Station
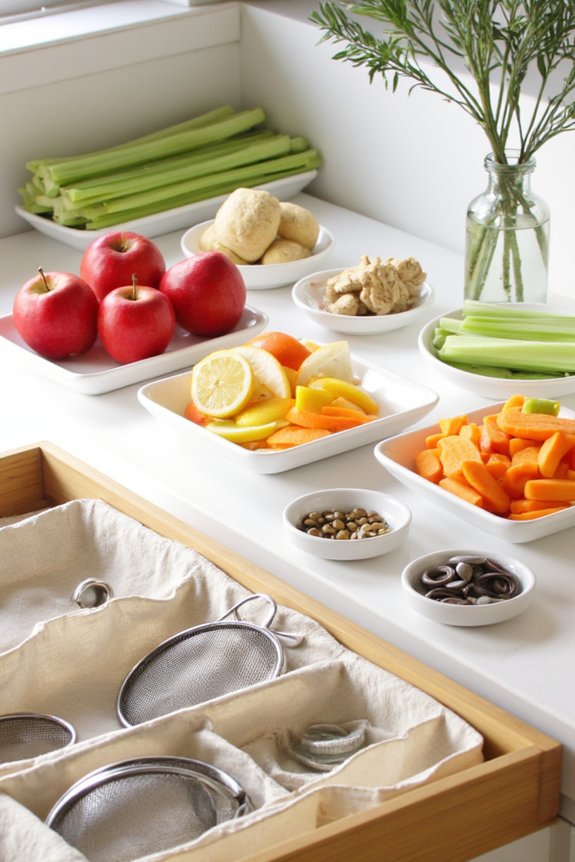
Designate a specific spot in your kitchen—maybe a corner of your counter or a dedicated shelf—where you’ll assemble your juicer every time. This becomes your personal workbench layout. Having a consistent assembly station saves you from hunting around like you’ve lost your keys.
Here’s what you’ll want to set up:
- Clear, flat surface at comfortable elbow height
- Good lighting placement above your workspace, maybe a task lamp if natural light’s lacking
- Small container for screws and tiny parts so they don’t roll away
- Paper towels nearby because, let’s face it, juicing gets messy
Keep everything within arm’s reach. You don’t want to be stretching and fumbling when you’re just trying to make a quick smoothie. An organized assembly station transforms frustration into smooth, efficient prep work. If your juicer has dishwasher-safe parts, consider keeping a drying rack or bin nearby to streamline post-assembly cleanup.
Maintenance Tips to Keep Parts Together
Because your juicer’s parts work together like a team, keeping them organized and well-maintained means they’ll actually stay together when you need them. Store smaller components in compact bins labeled by function, so you’re not hunting through a jumble of stuff when assembly time rolls around. Use magnetic strips inside your storage area to corral metal pieces and prevent them from wandering off. Wipe down parts regularly before storing to prevent buildup, which can make everything stick together in all the wrong ways. Check seals and connections every few weeks, tightening anything that’s gotten loose. This simple routine keeps your juicer running smoothly and your parts genuinely ready for action whenever you need them. For added convenience and longevity, choose detachable trays and dishwasher-safe components to make cleaning and organization even easier.
Frequently Asked Questions
How Often Should I Replace Worn or Damaged Centrifugal Juicer Parts?
You should replace bearings every 1-2 years depending on usage frequency. For blade sharpening, you’ll want to maintain your blades every 3-6 months. Replace damaged seals immediately to prevent leaks and guarantee peak performance.
Can I Use Parts From Different Juicer Brands Interchangeably?
You shouldn’t mix parts from different juicer brands due to brand compatibility issues. Doing so can damage your juicer, void your warranty issues, and compromise performance. Always use manufacturer-specific parts.


What’s the Best Way to Transport Juicer Parts Safely?
You’ll want to use a padded travel case with modular foam inserts to keep your juicer parts secure. They’ll protect each component from damage during transport while keeping everything organized and accessible for quick reassembly.
How Do I Organize Parts if I Have Limited Storage Space?
You’ll maximize limited space by using stackable bins for smaller components and vertical racks for larger parts. This approach keeps everything accessible while minimizing your storage footprint markedly.
Are There Eco-Friendly Disposal Options for Old Juicer Components?
You can take plastic and metal parts to recycling centers for proper processing. If you’ve got compostable materials like pulp screens, you can compost them at home or municipal facilities instead of tossing everything in the trash.
Conclusion
You’ve got this! With your parts organized and labeled, you’re set for speedy assembly every time. Your future self will thank you when you’re not hunting for that tiny seal or wondering where the strainer basket went. Keep your station tidy, stick to your system, and you’ll be juicing in no time. Pretty simple stuff, honestly.