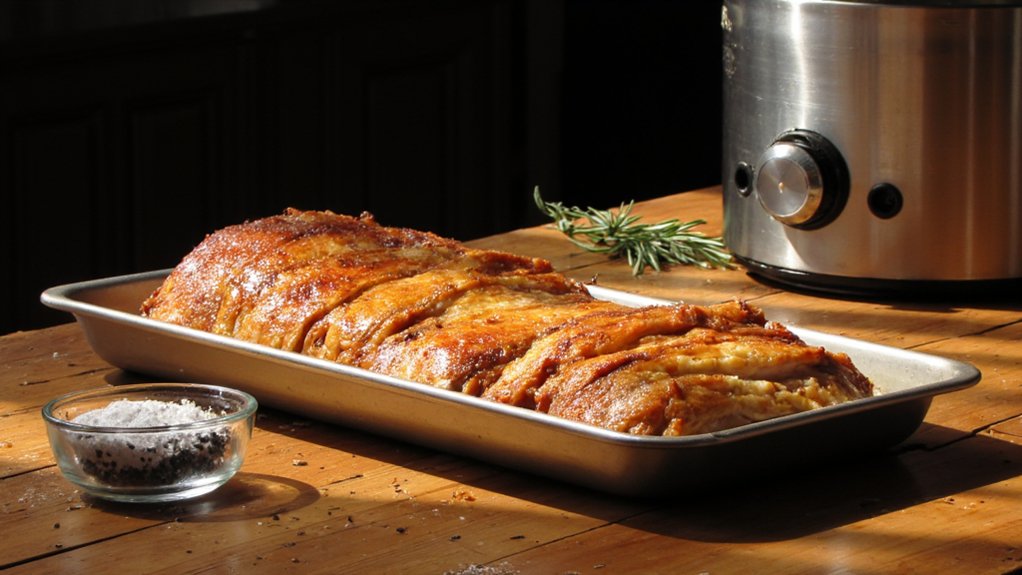
If you’ve ever pulled a fried turkey out of the oil and thought, “Huh… why isn’t this skin shatter-crispy?”, it’s almost always the oil temp messing with you. Too hot and the outside scorches while the inside panics, too cool and the skin turns sad and greasy. There’s a sweet spot that locks in juices, crisps the skin, and keeps your porch from becoming a crime scene, and it all starts with your thermometer…
Key Takeaways
- Start frying with oil at 350–360°F so the skin tightens quickly, browns fast, and doesn’t soak up grease.
- Maintain oil between 325–335°F throughout cooking to balance crisp skin and fully cooked, juicy meat.
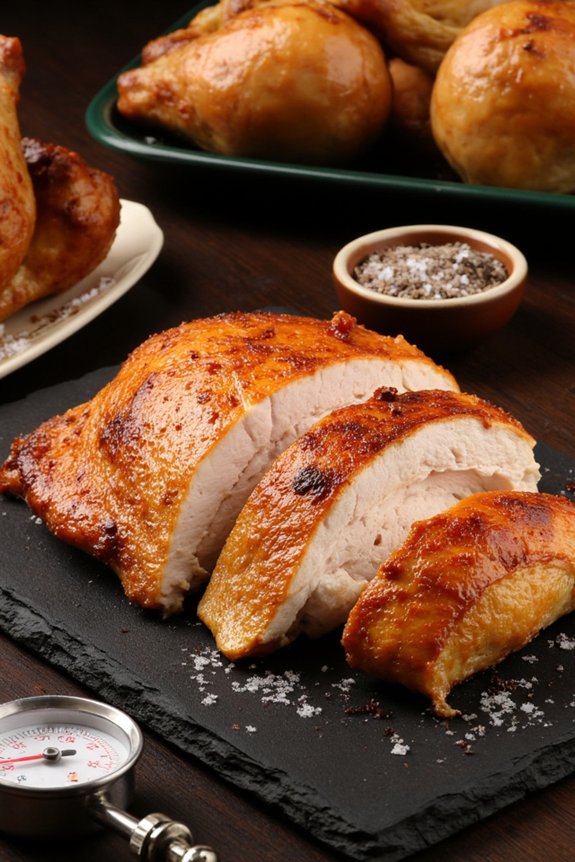
- Fry the turkey about 3 to 3½ minutes per pound, pulling it when the breast reaches 158–160°F.
- Heat oil gradually on medium, stirring and using a clip-on probe thermometer to avoid hot spots and temperature swings.
- Never let oil drop too low or spike too high; both cause soggy, greasy skin or burnt, undercooked turkey.
Understanding How Oil Temperature Affects Turkey Texture
When you’re frying a turkey, the oil temperature isn’t just a random number on the thermometer, it’s the main thing deciding whether you end up with shatter-crispy skin or a sad, soggy bird. Hot oil hits the skin and instantly starts cooking the outside, so if it’s hot enough, the surface dries fast and browns instead of soaking up grease like a sponge.
You’re also playing with oil chemistry. As the turkey cooks, water bubbles out, fat renders, and the skin goes from floppy to firm. Deeper inside, slow collagen breakdown turns tough connective tissue into juicy, tender bites. If the oil’s too cool, everything drags out, and your turkey just lounges in there, getting greasy and kinda depressed.
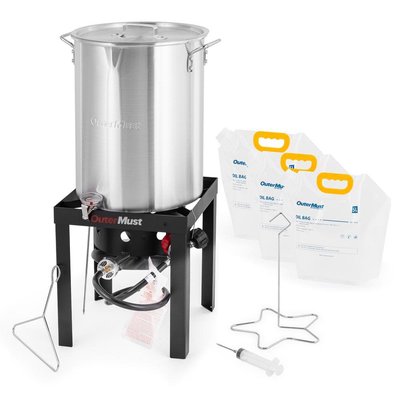
For best results, make sure your oil reaches a minimum 50,000 BTU output from your fryer, which supports rapid heating and helps maintain the ideal frying temperature for that perfect crispy skin.
The Exact Temperature Range for Perfectly Crispy Skin
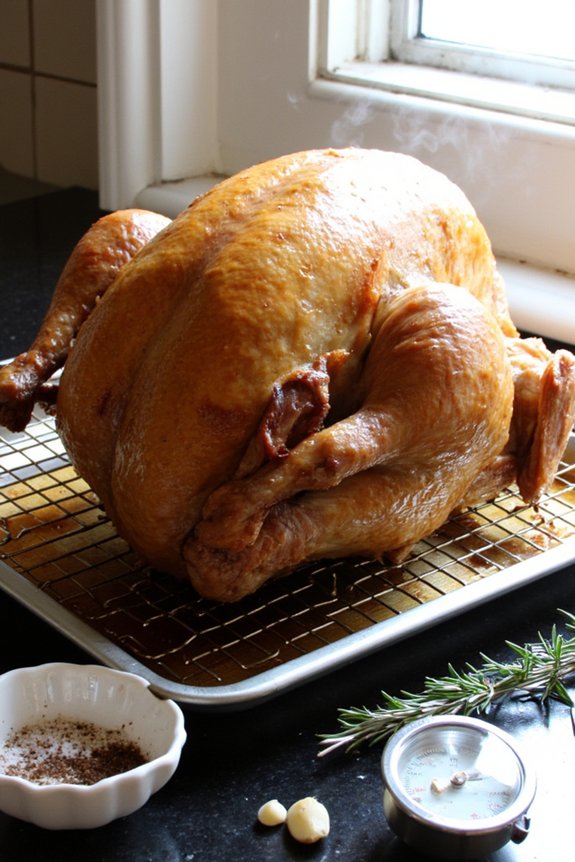
Even though every uncle at Thanksgiving swears by his “secret” number, the sweet spot for perfectly crispy turkey skin is pretty dialed in: you want your oil sitting right around 350°F to 360°F when the bird goes in, then holding close to 325°F to 335°F as it cooks. At that starting temp, the skin tightens fast, locking in juices while building that crunchy, glassy bite you’re chasing.
Staying in this range also helps with even seasoning distribution, since the surface dries and crisps instead of turning soggy or burnt. You’ll notice better skin tension too, so the skin doesn’t sag or slide around. Go much hotter and it scorches. Too cool and it just gets greasy and kinda sad. If you’re looking for alternatives to deep frying, electric smokers can also deliver crispy skin results using precise digital temperature control for consistently delicious outcomes.
Choosing the Right Thermometer for Accurate Oil Readings

Now that you know your target temperature, you’ve got to pick a thermometer that can actually keep up with hot, bubbling oil. You’ll hear a lot about probe thermometers and infrared guns, and each one has its own quirks, strengths, and “why is this reading so weird” moments. We’ll walk through which type gives you the most accurate readings in that critical 325 to 375°F range so your turkey skin turns out crispy instead of “eh, maybe next year.” For best results, look for rapid heating capabilities in your thermometer, similar to the high-wattage electric kettles that deliver fast and precise temperature control when accuracy really matters.


Probe vs. Infrared
Picture yourself standing over a pot of hot oil, turkey waiting, and you’re squinting at the surface like it’s going to politely tell you the temperature. That’s where choosing between a probe and an infrared thermometer actually matters.
A probe thermometer sits right in the oil, so you get the real story from inside the pot, not just a guess from the top. Infrared uses thermal imaging to read the surface, which is cool tech, but hot oil brings a catch. Shiny pots and bubbling oil can mess with surface emissivity and throw off the reading.
- Probe: direct contact with oil
- Infrared: quick surface check only
- Probe: ideal for steady monitoring
- Infrared: handy for spot checks
- Serious fryer: use probe first
For the most reliable results, make sure your thermometer—especially if it’s a probe style—is made from food-grade stainless steel for durability and safety.
Optimal Temperature Range
When you’re chasing that perfect crispy skin, the “right thermometer” really just means the one that can actually track the oil in the temp range you need, and do it without lying to you. For turkey frying, you’re aiming for about 325 to 375°F, where the oil chemistry gives you browning, not burning, and the skin elasticity tightens into that crackly crust.
You want a thermometer with a range that clearly covers 200 to 400°F, so it’s accurate where it really counts, not just guessing. Look for fast response too, since oil temp jumps around when you drop the bird.
Skip the flimsy cheap ones. If it feels like a toy, it’ll probably read like one.
For best results, choose a thermometer with fast response and durability—qualities you’ll also see recommended in top-rated kitchen gear like vacuum sealers, since quick and reliable readings are essential for any precise cooking task.
Preheating Your Oil Safely and Efficiently
Before you even think about lowering that turkey into the pot, you’ve gotta get your oil up to the right temperature in a way that’s safe and steady, not wild and guessy. Start with gradual preheating, keeping the burner at medium so the oil warms evenly instead of scorching at the bottom. Give the oil circulation a little help by occasionally stirring with a long, heat-safe tool.
- Use a sturdy pot with high sides and plenty of clearance
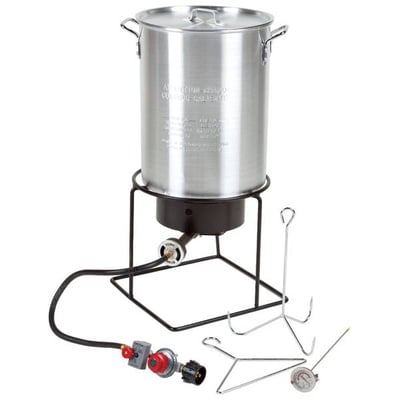
- Attach a good deep-fry thermometer and keep it there
- Heat in stages, nudging the flame up a bit at a time
- Stir gently every so often to even out hot and cool spots
- Stop heating a little before target temp, let it coast up
Maintaining Steady Heat While the Turkey Fries
Once the turkey’s in the pot, your main job is babysitting that oil temp so it stays hot enough for crispy skin but not so hot it burns everything. You’ll be watching the thermometer like a hawk, then nudging the burner up or down in small steps instead of big, panicky twists. Think of it like using the gas pedal on a car, you’re trying to keep a smooth, steady ride instead of a wild stop‑and‑go mess.
Monitoring Oil Temperature
Pretty quickly you’ll realize that getting the oil hot is the easy part, and keeping it there is where the real game starts. You’re not just glancing at bubbles, you’re babysitting that thermometer like it’s your favorite child. Clip a deep-fry thermometer to the pot, keep the probe in the oil, and avoid letting it rest on the metal, since that throws things off.
Oil stratification is real, so give the oil gentle stirs between readings, and move the thermometer a bit to do your own quick temperature mapping.
- Use a quality, easy-to-read thermometer
- Check the temp before and after lowering the turkey
- Watch for sudden drops or spikes
- Stir gently to even out hot and cool spots
- Log temps mentally for next time
Adjusting Burner Heat
Think of the burner knob as your volume control, and your job now is to keep the oil playing the same song the whole time. You’re aiming to hold that steady temperature, not chase it up and down like a yoyo.
Watch the thermometer, then make tiny tweaks. If the oil climbs fast, nudge the heat down a bit, wait a minute, and check again. Don’t crank it wildly. Same thing if it’s dropping.
Outdoor setups vary, so burner calibration matters. Some burners run hotter than others, and adjusting altitude can throw things off too, since thin air gives you weaker flames. Wind can mess with the heat, so shield the burner, stay close, and babysit that knob like it’s your sidekick.
Adjusting for Turkey Size, Brining, and Stuffing
Even though the oil temp target stays the same, the way you handle it changes a lot depending on your turkey’s size, whether it’s brined, and if you’re stubbornly stuffing it (spoiler: don’t). Big birds cool the oil more, so you’ll see a bigger temp drop when they go in, while smaller turkeys bounce back faster.
Keep these tweaks in mind:
- Go smaller when you can, since 10–14 pound birds cook more evenly and stay juicier.
- If you brine, lower the brine concentration a bit so the skin can still crisp nicely.
- Pat the turkey very dry, especially after brining.
- Skip stuffing, because stuffing moisture fights against crackly skin.
- If you must stuff, cook it separately and pretend you didn’t.
Common Temperature Mistakes That Ruin Crispy Skin
You’ve got the right bird, it’s dry, it’s un-stuffed like we talked about, but the oil temp can still wreck your crispy-skin dreams if you’re not paying attention. The big killers are starting too cold, spiking too hot, and never letting the oil recover between dips.
When the oil’s too cool, the skin absorbs grease instead of crisping. Too hot, and the outside burns while the inside’s begging for more time. Then you’ve got overcrowding pitfalls, where you drop in too much turkey at once, slam the temp down, and end up with sad, rubbery skin.
| Mistake | How It Feels |
|---|---|
| Soggy skin | All that work, zero crunch |
| Burnt patches | Charred turkey confetti |
| Wild temp swings | Stress, not flavor |
| Oil contamination | Funky flavors, wasted money |
Safety Rules for High-Heat Turkey Frying
While crispy skin is the dream, boiling oil in a giant pot in your driveway is still, you know, boiling oil in a giant pot in your driveway, so safety’s not the place to wing it. Treat turkey frying like a tiny construction site in your yard and you’re on the right track.
You’ll want clear distance rules so kids, pets, and curious neighbors stay far from the burner. Wear solid protective gear, not just shorts and bravery. And yeah, you need a fire extinguisher rated for grease fires right next to you, not buried in the garage.
- Set up on level concrete, far from buildings
- Keep kids and pets behind a clear line
- Wear closed shoes, long sleeves, protective gloves
- Turn off burner before lowering turkey
- Agree on a simple emergency plan beforehand
Step-by-Step Temperature Timeline on Fry Day
Once fry day finally rolls around, you don’t just crank the burner and hope for the best, you follow a simple temperature game plan that keeps you calm and the turkey crispy. Heat the oil slowly to 325°F, watching for timing cues like gentle shimmering, not wild bubbling.
Lower the patted-dry, skin scoring turkey in, and let the oil climb back toward 325 to 335°F. That window controls oil absorption and keeps the outside from burning before the inside’s done. Fry about 3 to 3½ minutes per pound.
Pull the bird at 158 to 160°F in the breast, then give it rest intervals of at least 25 minutes. Don’t rush this. The juices settle, the skin tightens, everybody wins.
Frequently Asked Questions
Can I Reuse Turkey Fryer Oil and How Many Times Before Quality Declines?
You can reuse turkey fryer oil 3–5 times before quality declines, depending on filtration and storage. Watch oil lifespan by checking darkening, off smells, and excessive foaming, which increase flavor transfer and ruin later batches.
What Type of Oil Gives the Best Flavor Besides Ensuring Crispiness?
You’ll get the best flavor from peanut oil, with its rich, slightly nutty taste and high smoke point. If you’ve nut allergies to keep in mind, avocado oil’s clean, buttery flavor and stability make it your next-best choice.
How Does Outdoor Temperature or Wind Affect Oil Temperature Stability?
Outdoor temperature and wind chill cool your pot’s surface, making oil lose heat faster. You’ll see slower recovery after adding turkey. Shield burners from ambient drafts and preheat slightly higher to keep oil temperature more stable.
Does Altitude Change the Ideal Frying Temperature or Cook Time for Turkey?
Yes, at high altitude you’ll usually keep the same oil temperature but extend cook time. Lower air pressure slightly lowers water’s boiling point and can change oil viscosity, so monitor internal temperature closely and avoid overcrowding.
How Should I Filter and Store Used Frying Oil Safely After Cooking?
You should cool oil completely, then pour it through a fine strainer or coffee filter into a clean, airtight container. For cold storage, refrigerate or freeze it to slow rancidity and improve odor control.
Conclusion
So now you know the secret: start around 350–360°F, cruise near 325–335°F, and you’re on the fast track to shatter-crisp turkey skin. Watch your thermometers, give the oil time to recover, and don’t rush the bird just because you’re hungry. Do that, and you won’t get greasy, floppy skin ever again. You’ll get juicy meat, crunchy skin, and guests pretending they didn’t just lick their fingers.


