Tired of your electric fondue pot turning into a scorched mess at the bottom and a gloopy blob on top? You’re not alone, and the fix isn’t fancy. It’s a smarter preheat, a tiny starch trick, and gentler stirring with the right temps so everything melts smooth instead of burns. No chef hat required, just a probe thermometer and a silicone paddle. Want the simple sequence that saves your cheese and chocolate every time?
Key Takeaways
- Preheat on low, then medium for 5–7 minutes to warm the plate evenly before adding ingredients.
- Use a probe thermometer; hold cheese at 120–135°F and chocolate at 95–100°F for serving.
- Mix a small starch slurry into the liquid base first to buffer heat and stabilize the emulsion.
- Stir regularly with a silicone spatula, scraping bottom and sides in short, gentle sweeps.
- If scorching hints appear, lower heat 10–15°F, slide pot off heat briefly, and add a splash of warm liquid.

Why Electric Pots Scorch and How to Stop It
Even if you’re careful, electric fondue pots love to scorch because the heating element sits under a small hot spot, so your cheese or chocolate gets blasted from below while the rest just chills. That uneven punch makes proteins seize and sugars caramelize too fast. You get a browned ring, then a bitter taste. No thanks.
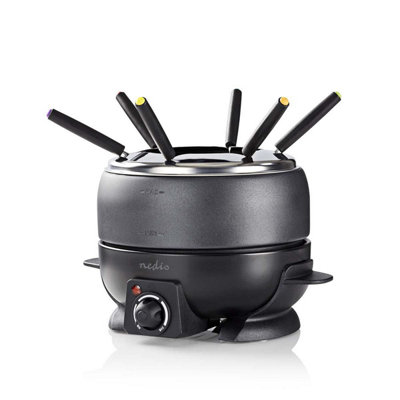
Here’s what helps. Stir more than you think, scraping the bottom lightly so nothing sticks. Keep heat lower than you’d expect, letting it creep up. Add liquid gradually to thin thick spots. Cut cheese smaller and mix varieties so they melt evenly. For chocolate, a splash of cream works wonders. Do regular cleaning maintenance, because burnt residue creates hotspots. If your pot has thermal sensors, trust them. Patience beats scorch. Choosing a fondue pot with precise temperature control can also help maintain consistent heat and further reduce the risk of burning.
The Simple Preheat Sequence That Sets You Up for Success
Before you toss in cheese or chocolate, give your electric pot a calm, smart preheat that sets the tone. Think of it as your preheat ritual, a little patience that pays off big. Start low, around warm or the first notch, and let the pot wake up for a couple minutes. No rush.
Now bump it to medium. This temperature sequencing helps the heating plate expand evenly, so hot spots don’t sneak up and scorch your plans. Swirl the empty pot gently with a silicone spatula, just to feel that even warmth. If it’s singing or smoking, it’s too hot, dial back.
After 5 to 7 minutes total, you’re at a steady base. Ready for smooth melting without drama. See? Easy, calm, and way less scrubbing later. Just like self-cleaning cycles in countertop appliances, a smart preheat helps prevent residue buildup and keeps your fondue pot performing its best.
Build a Heat Buffer: The One Ingredient That Saves Your Fondue
You’ll save yourself a curdled mess by adding a thin starch layer, because it creates a heat buffer that spreads warmth gently and keeps proteins from clumping. Pick a starch that plays nice: a little cornstarch for clean shine, potato starch for extra stability, or a dusting of flour if that’s what’s in the cupboard. To apply it evenly, toss your grated cheese with the starch until every strand looks lightly coated, then sprinkle it in by handfuls as you stir smooth and slow—no dump-and-hope, ok? Just like with even heat distribution in cast iron skillets, this starchy buffer helps prevent hot spots that can scorch your fondue.
Why Starch Layer Works
While the cheese is doing its melty magic, the quiet hero underneath is a thin starch layer that keeps everything from scorching or splitting. You sprinkle it in, it hydrates, and suddenly you’ve got a buffer that slows heat before it hits the dairy. That’s the whole trick.
Starch swells into a soft gel, creating a molecular barrier between the pot and the cheese. It evens out hot spots, so you don’t get those sneaky burn rings. It also helps manage surface tension, keeping fat and water from separating like grumpy roommates. Gentle, steady heat meets a calm, cushioned base, and your fondue stays smooth, glossy, and cooperative. Stir a bit, relax a bit. The starch is doing the boring work, so you don’t have to.
For best results, make sure to measure the starch accurately with a digital kitchen scale, since even a small excess or shortage can affect the fondue’s texture and consistency.
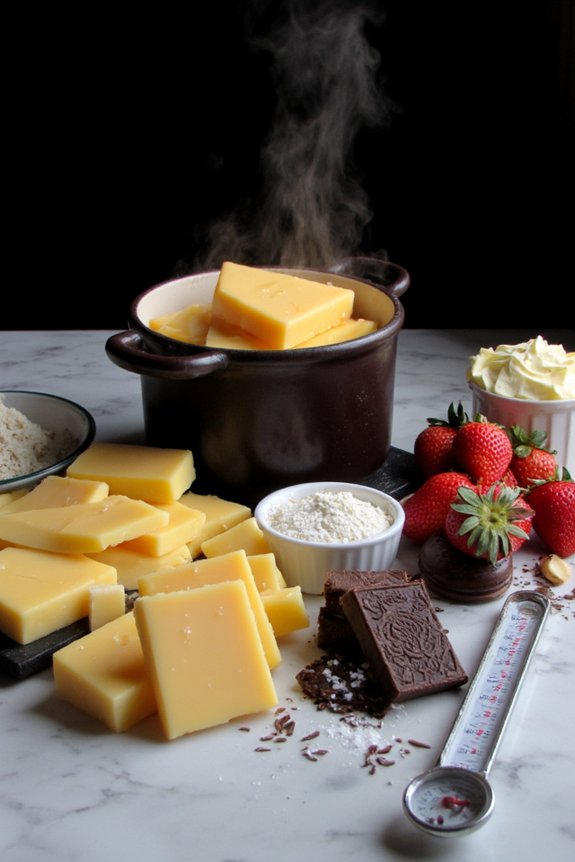
Choosing the Right Starch
On the short list of fondue saviors, starch is the quiet MVP, but not all starches play the same game. You want starch selection that gives steady thickening and a gentle heat buffer. Cornstarch is classic, potato starch runs hot and fast, and tapioca adds a glossy, stretchy vibe. Think texture impact first, because your cheese deserves a silky hug, not a gummy bear trap.
Grain size matters, too. Finer starches hydrate quickly, while coarser ones can clump and sulk. Source variability plays a role, so brands can behave a little different, no biggie, just test once.
When choosing a starch, consider material safety standards to ensure your fondue stays pure and free from chemical leaching, especially when using electric pots with high heat.
| Pick This | Why It Helps |
|---|---|
| Cornstarch | Clean thickening, steady body |
| Potato starch | Strong thickening, softer melt |
| Tapioca | Glossy stretch, gentle cushion |
Start simple, then tweak. Your pot will thank you.
How to Apply Evenly
Even before the cheese hits its happy place, mix your starch with a splash of cold wine, beer, or water to make a smooth slurry, then feed it to the pot in small rounds, not one big dump. You’re building a heat buffer. Stir gently in circles, then sweep your spatula out to the sides for full edge coverage. That keeps hot spots from sneaking up.
Aim for an even spread, like thin paint on a wall. Watch layer thickness; too thin won’t protect, too thick turns gummy. Let each addition loosen with the melt, then add the next. Surface tension matters, so don’t dump cold slurry onto boiling chaos. Lower the heat a touch, drizzle, stir, wait. Repeat. It’s calm, it’s steady, it works.
Dialing the Thermostat: Exact Temperatures for Cheese and Chocolate
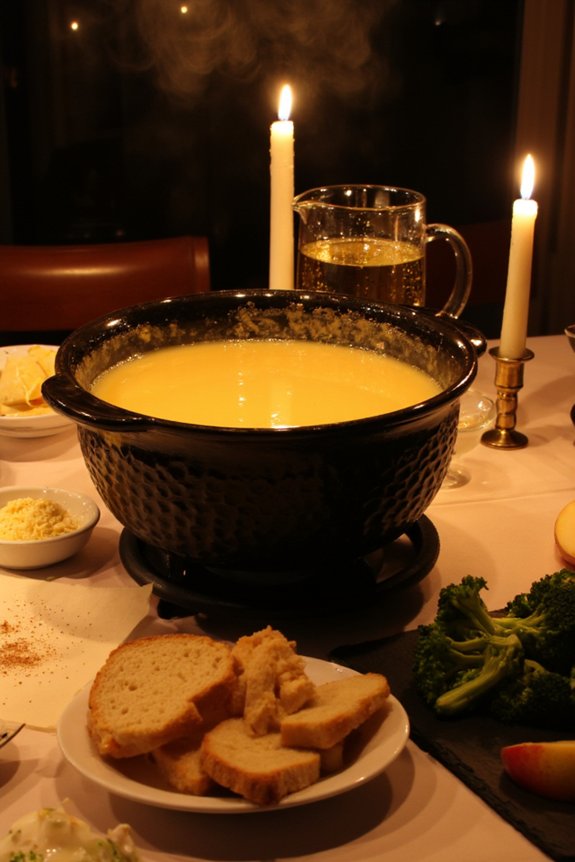
If you’ve ever scorched a pot of cheese or turned chocolate into a clumpy heartbreak, the fix is mostly about nailing the numbers. You’ll want clear temperature targets, not guesses. For cheese fondue, hold 120–135°F once melted, with a brief melt-up to 150°F to get things moving, then dial back. For chocolate, keep 104–110°F for melting, then 95–100°F for serving so it stays glossy, not gritty.
Check ambient humidity too, since damp air slows evaporation and can make mixtures feel thicker, so you may need a notch more heat. Use a probe thermometer, don’t trust the dial alone. Let the pot preheat 5 minutes before adding anything. Stir gently every few minutes. Hear faint bubbling or a toasty smell? Back it off 5 degrees, pronto.
Gentle Melting Method: Add-in Order That Keeps Emulsions Smooth
While the pot warms to that gentle zone you dialed in, the secret is how you introduce stuff so the emulsion never freaks out. Think emulsification order, not chaos. Start with your liquid base, like wine, stock, or cream, so fat and water have a calm bath to meet in. Sprinkle in starch early if your recipe uses it, letting it hydrate before the heavy hitters arrive. Then add fats gradually. For cheese, go handful by handful, letting each melt before the next. For chocolate, melt most of it, then seed with a little unmelted chocolate for shine and control.
Keep your ingredient sequencing simple: liquid, stabilizer, fat, extras. Add acids or booze late and slow. Salt last, taste, then smile. Nailed it.
Stirring Strategy: How Often and How to Move the Paddle
Usually, you want to keep the paddle moving like a lazy windshield wiper—steady, gentle, and not too fast. Think small arcs, not full circles, so you’re nudging the bottom and sides without whipping air in. Aim for a shallow paddle angle, about 30 to 45 degrees, so the edge lifts stuck bits while the flat face glides.
Stir every minute or so early on, then bump it to every 20 to 30 seconds once it’s thickening. Short sets of five to eight sweeps work nicely. Pause, check, repeat. Use rhythm cues to stay consistent, like humming a slow beat or counting in your head. If you feel drag, slow down, lighten pressure, and reset your angle. Smooth, patient motion wins. No heroics, just good habits.
Holding and Serving: Maintaining the Sweet Spot Without Hot Spots
Sometimes the hardest part isn’t melting, it’s babysitting the pot once everyone’s dipping. You want steady heat, not a lava pit. Set the dial just below simmer and let the pot find its groove for a few minutes before serving. Think temperature zoning: the center runs hotter, the rim’s gentler. Park thicker dips or cheese loads near the edge, let quick-dippers visit the middle, and keep things moving.
Use a serving rotation so folks don’t camp in the hot spot, because, yeah, Dave, we see you. Give the pot a casual swirl every few minutes, short and sweet. Keep the lid handy between rounds to hold heat without cranking it. Pre-warm plates. Rotate skewers. Small moves add up, and your fondue stays silky, not scorched.
Quick Rescue Moves If Things Start to Burn or Split
You’ll want to spot early scorching fast—sniff for that toasty edge, look for tiny brown flecks, and stir the bottom like you mean it. If the sauce starts to split, don’t panic; lower the heat, whisk in a splash of warm liquid or a knob of butter, then keep whisking till it comes back together. To stabilize and salvage, switch to gentle heat, stir steadily from the center out, and add a little acid or starch if needed, because a calm hand usually saves the pot and your mood, too.
Spotting Early Scorching
Even before you smell trouble, your fondue will whisper it’s unhappy. Watch the edges first. That faint early browning around the rim is your cue to stir gently and dial the heat down a notch. If you spot tiny bubbles that aren’t simmering but popping, that’s surface blistering, and it means sugars or proteins are flirting with a scorch. Keep the pot moving, scrape the bottom with a silicone spatula, and don’t walk away, not even for a meme break.
| Sign you see | What to do fast |
|---|---|
| Early browning | Lower heat, stir slower |
| Surface blistering | Scrape bottom, add a splash of base |
| Sticky spots | Rotate pot, loosen gently |
| Thickening ring | Stir from edges inward |
| Sharp toasted smell | Pause heat, stir, breathe |
Stay calm. You’ve got this.
Split Sauce Triage
If your fondue starts to look oily on top or grainy at the edges, don’t panic, just shift into triage mode. First, nudge the dial down so the pot cools a touch, then give it a calm stir, not a whisk-like frenzy. Think temperature layering: move the pot slightly off-center on the base so one side’s warmer, one cooler, and fold the sauce from cool to warm. Small breaths, small moves.
- Lower heat 10–15 degrees, wait 30 seconds, then stir slowly.
- Practice utensil rotation: switch between a silicone spatula and a wooden spoon to control pressure.
- Add a teaspoon of warm liquid, fold gently, pause, then repeat if needed.
- Park the pot briefly, stir off-heat, and return at a lower setting.
You’ve got this.
Stabilize and Salvage
While the pot’s still behaving mostly politely, jump to stabilize before the drama sets in. Turn the dial down first. That’s your fastest heat salvage move. Then slide the pot off the base for a minute, give it breathing room, and stir gently from the bottom so nothing sticks or scorches.
For sauce stabilization, add a splash of warm liquid. Wine, broth, or milk, whatever fits your fondue. Keep it warm, not cold, so you don’t shock the mix. Sprinkle in a teaspoon of cornstarch slurry if it’s thinning, or whisk in a pat of butter to smooth rough edges.
If cheese starts clumping, rub the cut side of garlic, add a squeeze of lemon, and stir patiently. No panic. You’ve got this.
Frequently Asked Questions
Can I Use Dairy-Free Alternatives Without Changing Technique?
Yes, you can, but adjust slightly. Use unsweetened, higher-fat options; nut free milks or fortified plantmilk work best. Heat gently, whisk constantly, and add thickeners like starch. Season boldly, since dairy-free bases can taste milder.
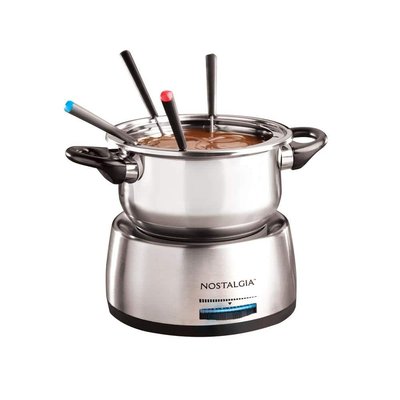
Which Pot Materials Distribute Heat Best for Fondue?
Copper core pans distribute heat most evenly, giving you responsive control and minimal hotspots. You’ll also like a Ceramic insert for gentle, uniform warming—great for cheese or chocolate. Avoid thin aluminum; it’s uneven. Stainless-clad works well if sufficiently thick.
How Does Altitude Affect Fondue Melting and Simmering?
Altitude lowers the boiling point, so you’ll see faster evaporation and thinner fondue consistency. Because of air pressure effects, make altitude adjustments: reduce heat, add liquid gradually, whisk more, and extend melting time to avoid scorching and separation.
What Are Safe Extension Cord and Outlet Requirements?
Use a heavy duty extension rated 14–12 AWG, short as possible, and a grounded, three-prong plug. Plug into a GFCI outlet for ground fault protection. Don’t daisy-chain, avoid damaged cords, and confirm outlet amperage matches appliance.
Can I Prep Ingredients Ahead and Refrigerate Without Texture Issues?
Yes—you can prep ahead, but use ingredient batching. Keep veggies crisp, par-cook firm proteins, and store separately. Refrigerate tightly sealed. Reheat gently to avoid splitting chilled sauces. Add dairy last, and refresh texture with a quick toss or warm splash.
Conclusion
You’ve got this. Preheat low, slide to medium, and let the plate warm evenly. Toss cheese with cornstarch in the wine, then add the base first, cheese by handfuls, and stir gently with that shallow-angle paddle. Keep it at 120–135°F for cheese, 95–100°F for chocolate. If you spot brown flecks, lower the heat, slip the pot off, or add a teaspoon of warm liquid. Easy fixes, happy fondue. Your pot won’t burn, your guests won’t either. Win-win.


