If winter’s rolling in, it’s time to tuck your electric smoker in for a nap. You’ll clean it top to bottom, dry every nook, and keep moisture and critters out, but you don’t need a hazmat suit. A few smart checks on the wiring, a dab of food-safe oil on hinges, and a breathable cover go a long way. Do it right now, and spring starts tasty. Miss a step, and, well… you might smell regret.
Key Takeaways
- Power down, unplug, inspect the cord and controller for damage, clean/dry them, and loosely coil/store cables with silica gel to prevent moisture.
- Deep-clean interior: remove racks and pans, scrape grease, degrease and sanitize, vacuum cool ash, dry all parts completely before reassembly.
- Inspect heating element, wiring, and connectors; tighten terminals, remove light oxidation, and check gaskets with a dollar-bill test; replace worn seals.
- Apply food-safe protectant to hinges, latches, and grates; avoid elements and sensors; add silica gel inside and leave vents slightly cracked for airflow.
- Weatherproof and store: use a snug breathable cover, elevate off wet ground, add wind barriers, and keep away from heat/moisture sources and pests.


Gather Supplies and Safety Gear
First things first, let’s round up the basics so you’re not freezing your fingers off later. Grab thick gloves, a warm hat, and face shields if wind likes to whip around your patio. Safety glasses work, but shields keep grit out better. Toss in a sturdy apron and non-slip boots. You’ll thank yourself.
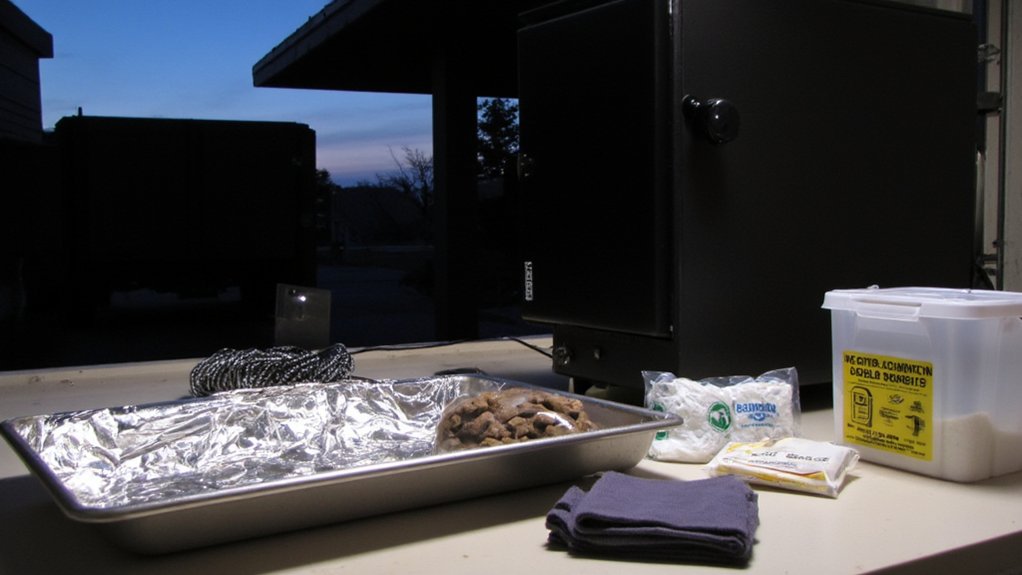
Next, collect cleaning gear: a nylon brush, scraper, mild degreaser, and a couple of microfiber towels. Get heavy-duty trash bags and a small bucket. For protecting the body, pick up insulation kits sized for your model, plus high-temp gasket tape and foil tape. Blue painter’s tape helps label parts. Keep a silicone-safe lubricant for hinges. A handheld vacuum? Super handy. Finally, stash everything in a bin so it’s ready when you are. Remember, regular cleaning of the grease trap and interior is key for maintenance and can extend your smoker’s lifespan.
Power Down and Unplug the Smoker

First things first, turn off the smoker’s controls and let everything settle, no need to rush a hot box. Then unplug it from the outlet, keep the cord clear of moisture, and give the plug and prongs a quick look. Now check the entire power cord for nicks, stiffness, or weird spots, because a sketchy cord in winter is just asking for trouble, and you’re smarter than that. If you’re storing your smoker near other appliances, make sure it’s not next to compact countertop models that generate heat or moisture, as both can impact the smoker’s components during the off-season.
Shut off Controls
Power down like you mean it. Start by tapping the main power button, then wait a few seconds so the board finishes its shutdown cycle. Don’t rush it. Use the control lockout if your model has it, so curious hands can’t bump settings while you clean or cover things. Wipe the panel, dry it, and pop on dashboard covers to keep dust and moisture off. Treat the controls gently, they’re the brain. If your smoker has removable, dishwasher-safe parts, take this chance to remove and clean them for easier maintenance during storage.
| Step | What to do | Why it matters |
|---|---|---|
| 1 | Hit power and confirm display off | Prevents glitchy restarts |
| 2 | Engage control lockout | Stops accidental presses |
| 3 | Clean and dry controls | Moisture is the enemy |
| 4 | Add dashboard covers | Blocks dust, UV, drips |
| 5 | Note settings used | Handy for next season |
Nice and tidy, ready for hibernation.

Unplug and Inspect Cord
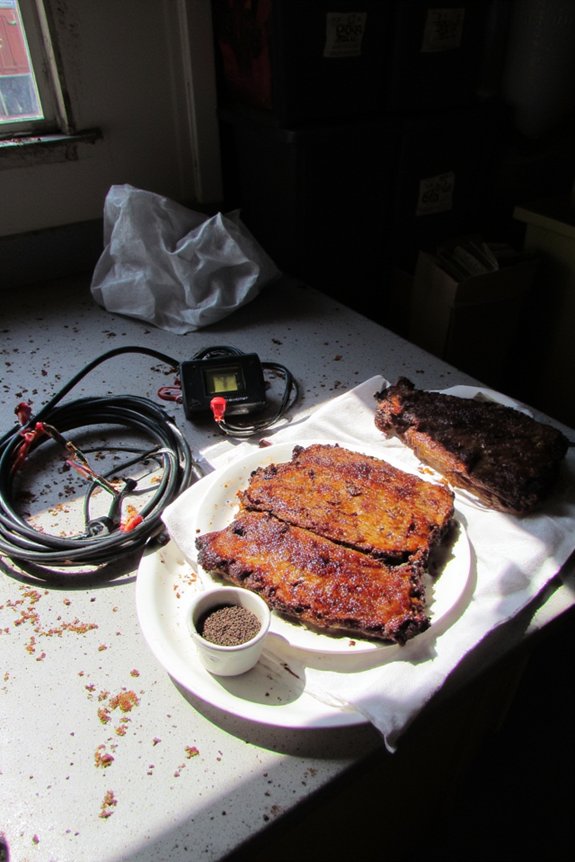
Once the controls are asleep, go ahead and pull the plug from the outlet, not the cord itself. Give it a gentle wiggle if it’s stubborn, don’t yank. Now do quick cord maintenance. Run your fingers along the length, feeling for nicks, flat spots, or stiff areas. See any cuts or exposed wire? Stop and replace it. Check the plug blades for burns or pitting, and make sure the ground prong’s still there, because electrical grounding isn’t optional. Peek where the cord meets the smoker, since that strain point takes abuse. Wipe dust and grease off with a dry cloth. If it’s damp, let it air dry. Coil it loosely, no tight wraps. Store it high, away from critters with snacky teeth. For added peace of mind, check that your smoker cord and plug meet basic safety and compliance standards, similar to those found on major appliances, to ensure reliable off-season storage.
Deep-Clean Interior Surfaces and Racks

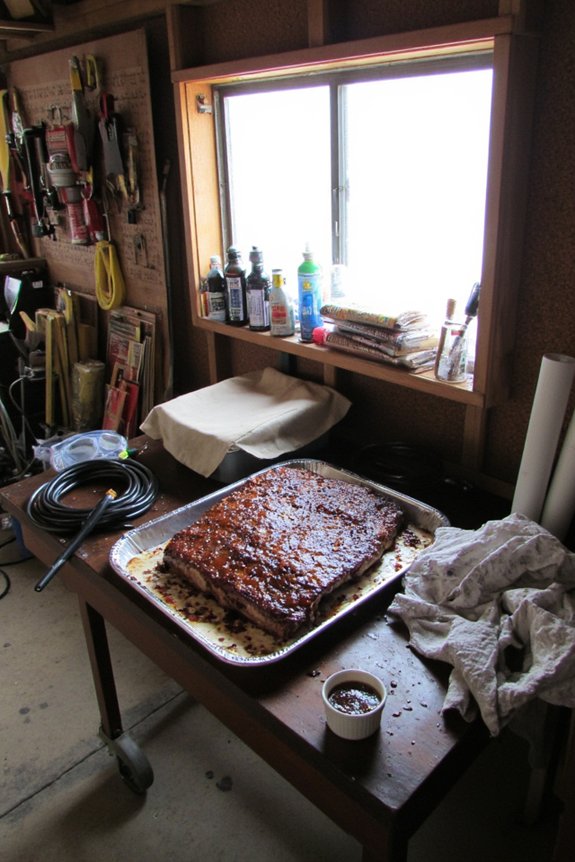
Grease loves to camp out in a smoker, so you’ll start by scraping and wiping away buildup before it turns sticky and weird. Then you’ll hit the interior walls with a good degreaser and hot water, working top to bottom so the mess flows where you want it, not back onto clean spots. Finish by sanitizing the racks safely, using a food-safe solution or a hot water wash, then let them air-dry like champs. Consider using nonstick interior surfaces in your cleaning routine, as they make wiping and grease removal much easier and help prevent stubborn buildup over time.
Remove Grease Buildup
Roll up your sleeves and tackle the grime now, because built-up grease inside your electric smoker won’t just smell funky, it can trap moisture and attract rust during winter storage. Start by pulling the racks and drip pan, then scrape off the thick stuff with a plastic scraper. Easy does it. Wipe with hot, soapy water and a non-scratch pad, rinsing as you go so grease odor doesn’t linger. For stubborn spots, let a damp cloth sit on the area for a minute, then lift it off. Dry everything fully, towels first, then a few minutes of air-dry.
Set a cleaning frequency in your notes, like every few cooks, so buildup never wins. It’s simple math. Less gunk now, fewer headaches later. Boom, done.
Degrease Walls Thoroughly
Hit the reset button on your smoker’s interior by giving the walls, racks, and corners a real degrease, not just a quick wipe. You’ve already knocked down buildup, now it’s time to chase the film that clings. Grab a mild degreaser or hot soapy water, a non-scratch pad, and a soft brush for seams. Work top to bottom so crud doesn’t drip over clean spots. Keep moisture light to protect wiring and wall sealing. Grease containment matters, so line the bottom with towels and empty the drip pan often. Rinse with a damp cloth, then dry fully. No puddles, no stink later.
- Use nylon brushes for corners
- Wipe seams gently to protect wall sealing
- Keep grease containment pans in place
- Dry racks and rails completely
- Finish with a clean microfiber cloth
Sanitize Racks Safely
You’ve got the grime off, now let’s make those racks truly clean so they won’t funk up winter storage. Start by rinsing each rack with hot water, then grab a food-safe sanitizing solution. Diluted bleach works, or a commercial spray labeled for kitchens. Spray both sides, let it sit for the contact time on the label, don’t rush it. Rinse again with hot water.
Dry them completely. No shortcuts. Water hiding in corners invites rust and weird smells. A clean towel first, then air-dry until there’s zero moisture. If you see stubborn spots, scrub lightly with a nylon brush, not steel wool.
Before rack reassembly, wipe the smoker’s rails with a sanitizing solution and dry. Slide racks back in, evenly spaced. Boom, safe and fresh till spring.

Remove Grease, Ash, and Drippings

Start by clearing out the mess before winter sets in, because built-up grease, ash, and drippings can turn into funky smells and stubborn gunk when it’s cold. Unplug the smoker, let it cool, then pull the drip pan, water bowl, and wood tray. Scrape warmish residue with a plastic scraper, wipe with paper towels, and finish with a mild degreaser. Keep liquids out of the electronics, you’re cleaning, not pressure-washing. Bag ash only when it’s stone-cold for solid ash containment. Pour cooled fat into a can for grease recycling, not the sink.
- Use a shop towel to chase corners
- Line the drip pan next time, future you will cheer
- Vacuum loose ash gently
- Spot-treat sticky spots with vinegar
- Dry everything before reassembly
Inspect Heating Element, Controller, and Wiring
Before winter locks everything up, give the guts of your smoker a quick once-over so it’s not the wiring that’s giving you the cold shoulder in January. Unplug it first. Look closely at the heating element for cracks, warping, or element corrosion, then gently brush off any flaky spots. Check the controller face for moisture stains, fogged screens, or buttons that stick. Peek at the cord and internal leads for nicks, brittle insulation, or loose connections.
| Checkpoint | What to Do |
|---|---|
| Heating element | Inspect for cracks, rust blooms, hot spots |
| Terminals | Tighten screws, clean light oxidation |
| Wiring/cord | Look for cuts, stiff spots, melted areas |
| Controller | Update control firmware, test buttons |
| Safety test | Plug in, low temp run, watch for flicker |
If anything looks sketchy, replace it now, not mid-snowstorm.
Protect Gaskets, Seals, and Metal Surfaces
Before the cold sets in, check the door gasket and lid seals for cracks or flattening, and replace anything that’s not sealing tight. Then grab a food-safe protectant, hit the hinges, latches, cooking grates, and any exposed metal so rust doesn’t sneak in and ruin your weekend ribs. It’s quick work, and your smoker will thank you later… well, in perfectly behaved smoke and steady temps anyway.
Inspect and Replace Seals
Even if your smoker’s tucked away for winter, its seals still do a lot of heavy lifting, so it’s smart to give them a quick check-up. Start with a simple gasket inspection around the door and ash drawer. Look for flattening, cracks, and spots that feel crusty or sticky. Close the door and see if a dollar bill slides out easily. If it does, the seal’s tired. No worries. Seal replacement is quick and keeps smoke, heat, and moisture where they belong, so your smoker doesn’t work harder than it has to.
- Wipe seals with a damp cloth, then dry fully
- Check corners where gaps usually start
- Press gently to feel for brittle spots
- Note any peeling adhesive
- Measure thickness before ordering replacements
Apply Food-Safe Protectants
Lock in the good stuff with a light coat of food-safe protectants on anything that touches smoke, heat, or grease. You’re aiming for a thin, even film, not a greasy slip-n-slide. Wipe the interior walls, racks, and drip pan with a clean cloth lightly dampened in a food-safe oil or spray. Think of it as seasonal seasoning for your smoker, a protective coating that fights rust and sticky buildup while it sits.
Hit door gaskets and seals too, but go gentle, using a silicone-safe, food-grade conditioner. It keeps rubber flexible and stops cracking. Don’t forget screws, hinges, and the latch. Tiny parts love rust. Avoid the heating element and any sensors, just clean those dry. When you’re done, buff off excess. Shine, not slime.
Moisture Control and Mold Prevention
On cold, damp days, moisture sneaks into your electric smoker like it owns the place, and that’s when mold decides to throw a party. You’ve gotta crash it early. Start by wiping everything bone-dry, including the door gasket and water pan, since damp crevices love fungus. Add simple humidity barriers by lining the lower rack with a breathable mat, then focus on smart desiccant placement. Toss silica gel canisters inside, one near the controller area and a few on the bottom shelf, and replace them when they turn color. Leave vents slightly cracked for airflow, but keep the chamber clean and crumb-free. Quick sniff checks help, too. If it smells funky, you know who’s back.
- Dry every surface
- Use humidity barriers
- Targeted desiccant placement
- Crack vents slightly
- Do monthly sniff checks
Weatherproofing for Outdoor and Semi-Outdoor Storage
You’ve kicked mold out, so let’s keep the weather from sneaking in next. Start by slipping on insulation covers that fit snug, since gaps invite rain and grit. If you’re storing outside or under a breezy carport, set up a windproof enclosure, even a simple panel setup that blocks crosswinds. Raise the smoker on bricks or a mat so puddles can’t climb. Check door seals, tighten fasteners, and cap the vent loosely so moisture can escape but not barge in.
| Task | Why it matters | Quick tip |
|---|---|---|
| Fit insulation covers | Stops chill and drizzle | Measure twice, buy once |
| Add windproof enclosure | Cuts drafts, prevents rust | Use anchored panels |
| Elevate and seal | Avoids splash-back | Rubber feet or pavers |
Finish with a breathable, UV-rated cover. Neat, tidy, weather-safe.
Store Accessories and Cables Properly
Round up the loose bits before they wander off for good. Gather racks, water pans, meat probes, and that stubborn drip tray, then give everything a quick wipe. Use Accessory bins with lids so small parts don’t vanish. Label each bin, keep like-with-like, and you’ll thank yourself later. For Cord organization, coil the power cord loosely, secure it with a soft Velcro tie, and stash it in a breathable pouch so it doesn’t crack or kink. Probes and therm cables get the same love, with gentle loops and caps on the tips. Simple, tidy, done.
- Small labeled Accessory bins for racks, pans, and hooks
- Velcro ties for easy Cord organization
- Zip-top bags for screws and probe clips
- Silica gel packs to fight sneaky moisture
- A quick inventory card taped to each bin
Off-Season Storage Placement and Final Checklist
Even if winter’s breathing down your neck, don’t rush the last step: where and how you park that smoker till spring. Aim for dry, stable temps. A climate controlled garage is ideal, since it cuts rust, mold, and cracked seals. Basement placement can work too, if it’s low-humidity and there’s airflow. No damp corners. No tip hazards.
Set it level on blocks or a mat. Keep the cord coiled loosely, off the floor. Leave the vent barely cracked to prevent stale smells. Cover it with a breathable cover, not plastic that traps condensation.
Final checklist: unit clean and dry, water pan empty, grease tray wiped, racks oiled lightly, plug protected, controller removed if possible, wheels locked, rodent deterrent set, and notes taped to the door. Future-you will cheer.
Frequently Asked Questions
Can I Store Wood Chips Inside the Smoker During the Off-Season?
Yes, but it’s not ideal. You should remove chips for proper wood chip storage. Keep them in moisture proof packaging, off the smoker, in a dry spot. Otherwise, they’ll mold, swell, and impart off-flavors next season.
How Do I Winterize a Smoker Still Under Warranty Without Voiding It?
You winterize by prioritizing warranty-safe steps: follow manual instructions, avoid opening sealed components, and document maintenance. Use gentle cleaning, dry thoroughly, cover with a breathable cover, and confirm specifics via manufacturer consultation to preserve warranty while storing in a dry location.
Should I Update Firmware on Digital Smokers Before Long-Term Storage?
Yes—update before storage if the manufacturer recommends it. Check update frequency, changelogs, and warranty notes. Verify power stability, then back up settings. Confirm you can perform a firmware rollback if needed. Test functionality post-update, unplug, and store.
What’s the Safest Way to Move a Smoker Up/Down Stairs for Storage?
Use a stair dolly with straps and a spotter; ideally, make it a two person lift. Remove racks and the water pan, secure the cord, protect corners, keep the unit upright, take slow steps, and clear obstacles first.
How Do Altitude or Extreme Cold Affect Smoker Calibration After Storage?
Yes—altitude effects and extreme cold can shift sensor readings and heat output, throwing off calibration. After storage, perform cold calibration, adjust for lower boiling point at elevation, verify probe accuracy in ice/boiling tests, and recalibrate controller before cooking.
Conclusion
You’ve done the cleanup, checked the guts, and tucked every cable in like a champ. Now your smoker’s ready to hibernate. Keep it raised, vents cracked, and covered with a breathable, UV-resistant cover, then stash it in a dry, critter-free spot. Toss silica packs with probes and cords, and you’re golden. Come spring, you’ll open it up, no funky smells, no surprises, just plug-and-play. Future you will be grateful. Maybe even do a little happy dance. No judgment.