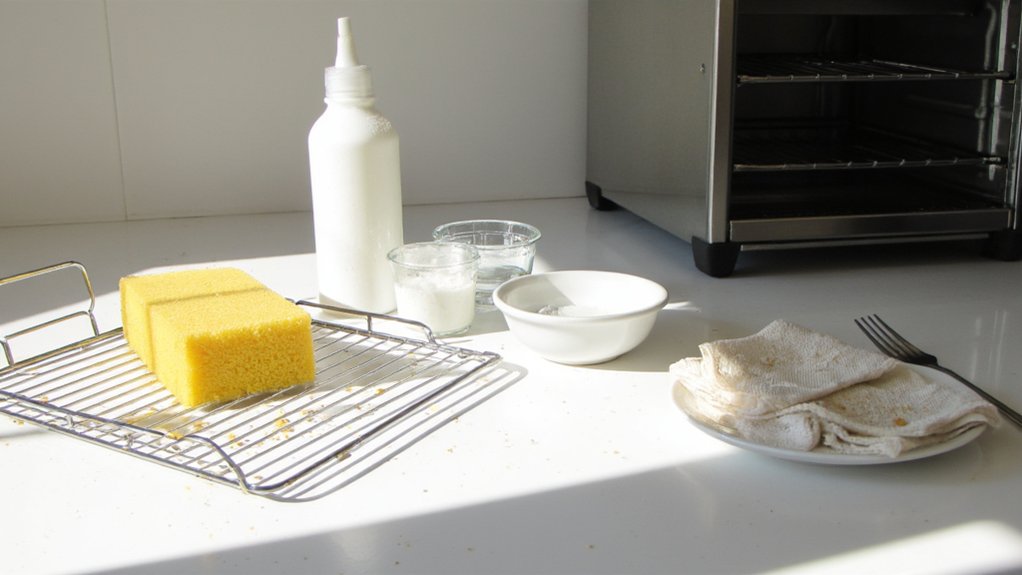
If your convection toaster oven’s starting to smell like last week’s fries, it’s time for a quick tune-up. You’ll unplug it, pull out the racks and crumb tray, and shake loose the crunchy bits. Then you’ll use simple stuff—vinegar steam, baking soda paste, a soft brush—to lift grease without scratching anything. No harsh chemicals, no drama. Wipe, dry, reassemble, and give it a short empty run. Curious how to do each step fast and safely?
Key Takeaways
- Unplug and cool completely, then remove racks, crumb tray, baskets, and accessories; shake out crumbs and photograph layout for easy reassembly.
- Loosen grime with a 1:1 vinegar-water steam for 10 minutes, then wipe out loose debris before deeper cleaning.
- Treat greasy spots with a baking soda paste for 15–20 minutes; scrub gently with microfiber and a soft brush, avoiding heating elements.
- Soak racks and trays in hot, soapy water; use baking soda on stuck gunk, rinse well, and dry; de-streak glass with vinegar, then buff dry.
- Reassemble correctly, spritz interior with vinegar-water, air out, then run empty at 300°F for 10 minutes; maintain with weekly crumb removal and monthly deep cleans.
Gather Safe, Effective Cleaning Supplies
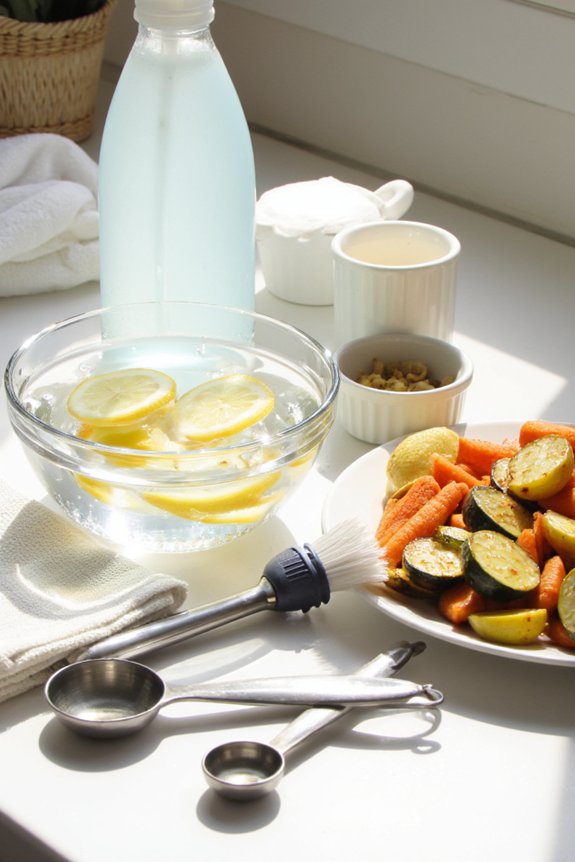
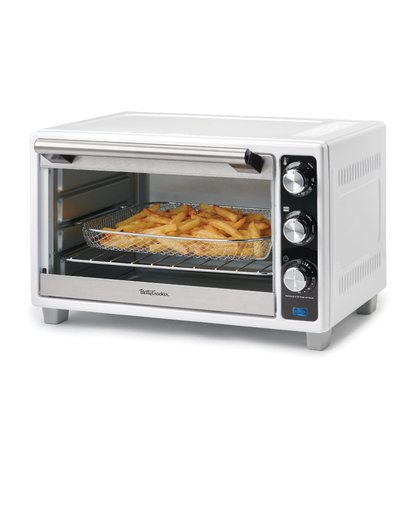
Start simple: grab a few safe, go-to cleaners so you don’t trash your toaster oven or your lungs. You’ll want a mild dish soap, baking soda, white vinegar, and warm water. Keep it gentle. Skip harsh oven sprays and anything super scratchy. Microfiber cloths are your best friends because they lift grease without leaving fuzz, and they’re tough enough to reuse. Toss in a soft-bristle brush or old toothbrush for corners. Silicone spatulas help nudge off stuck bits without scraping metal, which is kinda the whole point. Paper towels are fine for quick dry-offs, but a dedicated cloth works better. A small bowl, a spray bottle, and some cotton swabs round out the kit. Nothing fancy here, just practical stuff that actually works. When choosing cleaning tools, consider the interior space and rack positions of your toaster oven so you can reach every corner without damaging any heating elements.
Power Down and Disassemble Removable Parts
Before you touch a crumb, kill the power. Unplug the cord so you fully cut power, then let the oven cool completely. It’s tempting to rush, but hot metal bites. Once it’s cool, open the door and remove accessories: racks, crumb tray, air-fry basket, rotisserie bits if you’ve got ’em. Set them aside on a towel so you don’t scratch the counter.
Take a quick look at how pieces fit before you pull them out, a photo helps later. Shake loose crumbs into the trash, then tap the crumb tray gently so it doesn’t warp. Check around the heating elements without touching them, just to spot stuck pieces. If any parts clip in, release the tabs calmly. No prying, no wrestling. You’ve got this.
Many toaster ovens have dishwasher-safe accessories, which makes cleaning removable parts even easier.
Degrease the Interior Without Harsh Chemicals
With the racks and trays out, it’s time to face the greasy splatters inside. Unplugged, of course. Start with a gentle wipe to remove loose crumbs, then try vinegar steam. Fill an oven-safe cup halfway with white vinegar, add equal water, and warm the oven on low for 10 minutes. Turn it off, crack the door, and let the vapor loosen stubborn stuff. It smells a bit like salad, but hey, it works.
Next, mix a baking soda paste, just soda and a splash of water. Spread it on greasy spots, avoiding heating elements. Let it sit 15 to 20 minutes, then wipe with a damp cloth. Stuck bits? Use a soft nylon brush. Rinse cloths often, and finish with a dry buff. Looks fresher already. For best results and to preserve even cooking, regular cleaning of the heating element and interior surfaces is recommended.

Clean Racks, Trays, and the Door for Streak-Free Results

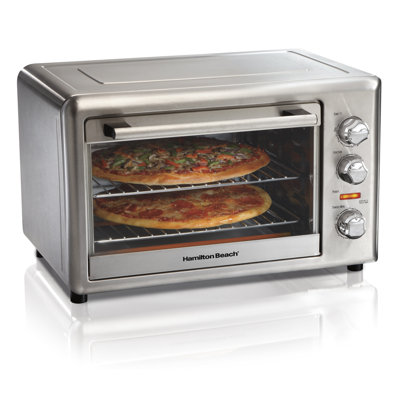
Once the inside’s looking decent, turn to the parts everyone actually sees. Slide out the racks and trays, and soak them in hot, soapy water for ten minutes. Stuck-on gunk? Smear a baking soda paste over the trouble spots and let it sit, then scrub with a non-scratch pad. Rinse well and dry so you don’t get spots.
For the glass door, start with a dry microfiber to lift crumbs. Dab on a little baking soda paste for drips near the bottom, wipe gently, then follow with a vinegar spray rinse to clear haze and streaks. Buff with a clean, dry cloth. Hinges and edges collect crud, so run a damp cotton swab there. Step back. Admire that shine. Nice.
When cleaning appliance components, using dishwasher-safe components can make maintenance much simpler and ensure all parts are thoroughly sanitized.
Reassemble, Deodorize, and Set Up Preventive Maintenance
That glass is gleaming, so let’s put this thing back together and make it smell fresh, too. Grab a quick reassemble checklist: slide the crumb tray in first, set racks on the right slots, return the air-fry basket, then reattach accessories. Make sure everything seats flat. No wobble, no rattle.
Now for deodorize methods. Wipe inside with a 1:1 vinegar-water spritz, leave the door open 10 minutes, then run it empty at 300°F for 10. For stubborn odors, bake a small bowl of baking soda or coffee grounds inside while it cools. Smells be gone, like magic, sorta.
Preventive maintenance’s simple: empty crumbs weekly, spot-wipe spills right away, deep-clean monthly, check the door seal, and keep vents clear. Easy wins, happier toast.
For a truly hassle-free routine, consider removable, dishwasher-safe parts when choosing or upgrading your toaster oven to make cleaning even more efficient.
Frequently Asked Questions
How Do I Safely Clean Heating Elements Without Damaging Them?
Unplug and cool completely. Use gentle brushwork with a soft, dry brush or cloth; don’t use liquids or abrasives. Avoid bending coils. Employ protective shielding—foil or a drip tray—during cooking to prevent buildup, reducing future cleaning risk.
Can I Use Self-Cleaning Cycles if My Model Offers One?
Yes, but check your manual first. Some toaster ovens’ self-cleaning cycles aren’t recommended. Consider safety considerations like ventilation and removing racks. Review warranty implications—misuse can void coverage. If uncertain, use manual cleaning methods approved by the manufacturer instead.


What Cleaning Methods Preserve Nonstick Coatings on Trays?
Use mild dish soap, warm water, and a soft sponge; avoid abrasives and metal utensils. Line trays with silicone mats, and apply light ceramic sprays for release. Skip oven cleaners, steel wool, and prolonged soaking to protect nonstick coatings.
How Often Should the Convection Fan Be Cleaned or Inspected?
Clean or inspect the convection fan monthly. Do a monthly inspection for debris, noise, or wobble; vacuum gently. Schedule a seasonal deep clean to remove baked-on grease. If you cook frequently or notice odd sounds, shorten intervals.
Are There Foods That Accelerate Buildup I Should Avoid Cooking?
Yes. You’ll see fastest buildup from fatty cuts, bacon, breaded or cheesy dishes, and sugary sauces that caramelize. Minimize grease splatters with trays and foil tents, catch sugary spills with parchment, and avoid overfilled pans that bubble over.
Conclusion
You’ve got the basics down now, so give your toaster oven a quick weekly crumb sweep and a monthly deep clean, and it’ll run like a champ. Vinegar steam, baking soda paste, gentle scrubs, no harsh stuff. Easy. Dry everything well, pop it back together, then let it run empty to clear any smells. You’ll cook faster, with better results, and fewer mystery smokes. Your future self will thank you. Probably with toast. Fancy toast, even.


