So you’ve had a little encounter with your mandoline’s sharp personality? Here’s the thing: cleaning this kitchen ninja doesn’t have to be an adventure in bandages. You’ve got the power to keep your fingers intact and your slicer spotless, but there’s a specific order to follow that most people totally miss. Stick around to discover the safety moves that’ll transform cleanup from terrifying to totally manageable.
Key Takeaways
- Wear cut-resistant gloves and use tools like tongs or silicone spatulas to avoid direct blade contact.
- Disassemble the mandoline by removing the blade first, then separate all components for safer cleaning.
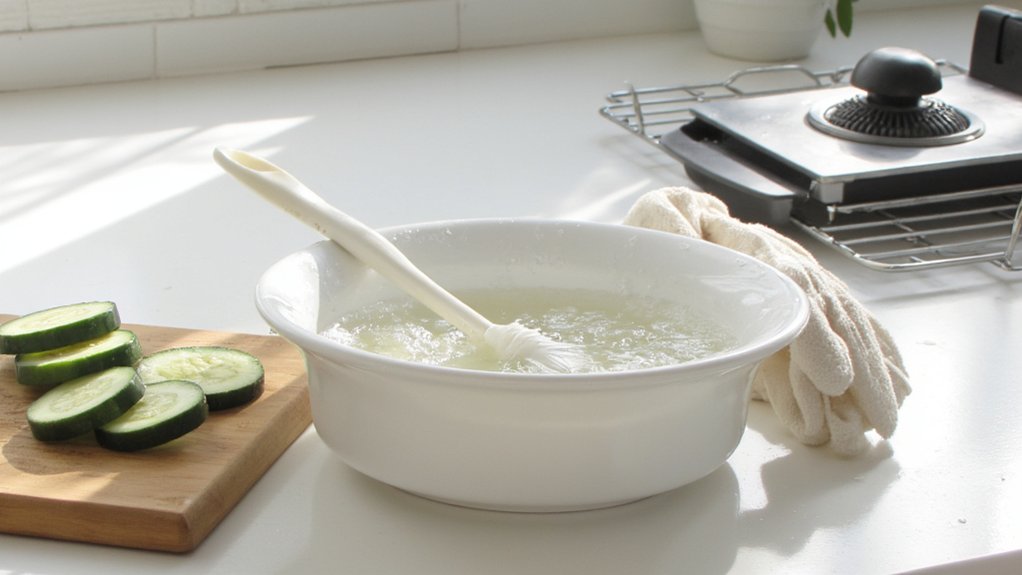
- Soak in warm, soapy water for ten minutes to loosen debris without requiring aggressive scrubbing.
- Pat dry thoroughly with a kitchen towel, inspecting blade edges and crevices for remaining food particles.
- Store with a protective blade guard, wall mount, or childproof container to prevent accidental injuries.


Gather Your Safety Equipment and Supplies
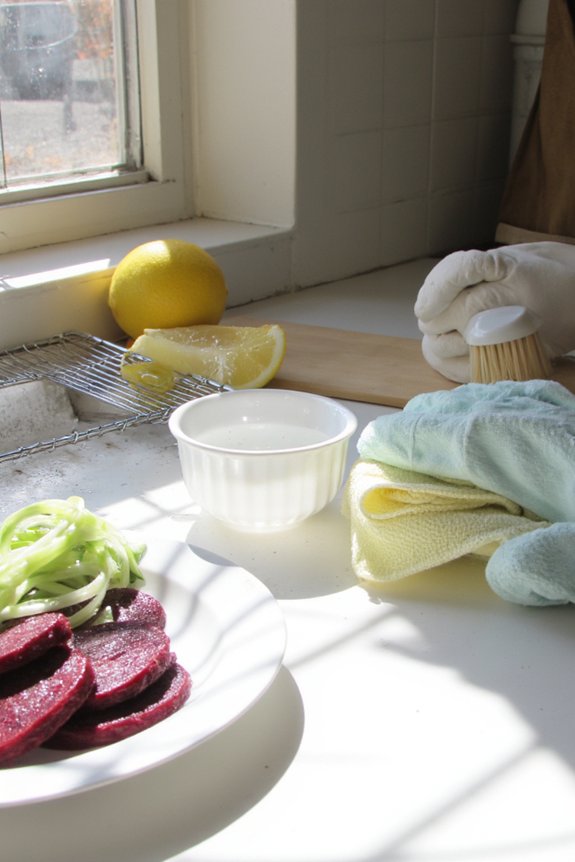
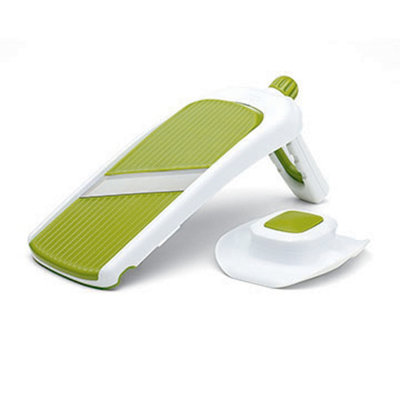
Before you tackle that mandoline slicer—and trust me, you’ll want to gear up first—make sure you’ve got the right safety equipment within arm’s reach. Grab yourself a pair of wear resistant gloves. These bad boys will protect your fingers from those razor-sharp blades that don’t discriminate between vegetables and skin. Seriously, they’re no joke. Next, snag a non slip mat to anchor your cutting board. You don’t want anything sliding around while you’re working. A kitchen towel’s handy too, for wiping away moisture and keeping things steady. Think of it like suiting up before battle—except your opponent is made of stainless steel. Once you’re properly equipped, you can slice with confidence instead of fear. Safety first makes cleanup way more enjoyable. Many modern mandoline slicers come with detachable, dishwasher-safe parts to make cleaning both safer and more convenient.
Disassemble Your Mandoline Slicer Properly
Now comes the slightly nerve-wracking part—you’ll want to remove that blade first, since it’s basically a tiny sword of doom waiting to happen. Carefully detach the sharp blade from its housing, then separate all those catch tray components that’re clustered together like puzzle pieces at the bottom. Once you’ve got everything disassembled and safely arranged on your counter, you’re ready to actually get in there and scrub away all the veggie gunk that’s accumulated. If you’re used to working with durable construction in your cookware, you’ll appreciate how a careful disassembly process helps preserve both safety and the longevity of your kitchen tools.
Remove Blade Safely First
The blade on your mandoline slicer is sharper than a surgeon’s scalpel, so treating it with respect isn’t just smart—it’s essential. This isn’t the time to wing it.
Here’s how to handle blade removal safely with proper hand protection:
- Unplug your mandoline from the power source first—no exceptions, even if you’re in a hurry
- Let the blade cool completely before attempting blade removal, especially after heavy use
- Wear cut-resistant gloves or wrap your non-dominant hand in a kitchen towel for extra protection
Take your time. Rushing leads to slips, and slips lead to ouchies you’ll regret. Gently locate the blade’s release mechanism, usually a small button or lever. Press it slowly and let gravity do most of the work. Keep your fingers clear of that wickid-sharp edge.
Many experts also recommend detaching blades for separate cleaning to minimize risk and ensure a thorough, safe wash.


Separate Catch Tray Components
Once you’ve safely removed that blade of doom, it’s time to tackle the catch tray—you know, that little container that’s caught more vegetable scraps than you’d expect. Now here’s the thing: most trays separate into multiple peices, so take a moment to understand the assembly order before you start disassembling. Gently pull apart each component, noting how they fit together. Check for material compatibility when you’re cleaning—some parts might be plastic, others rubber or metal, and they’ll need different care approaches. Work slowly and methodicly, keeping track of every little piece so you don’t lose anything essential. This step’s easier than it sounds, and honestly, it’s kinda satisfying to see everything come apart neatly. You’ve got this. For best results, be mindful of dishwasher-safe components to ensure you don’t damage parts that require hand washing.
Rinse Away Food Debris Safely
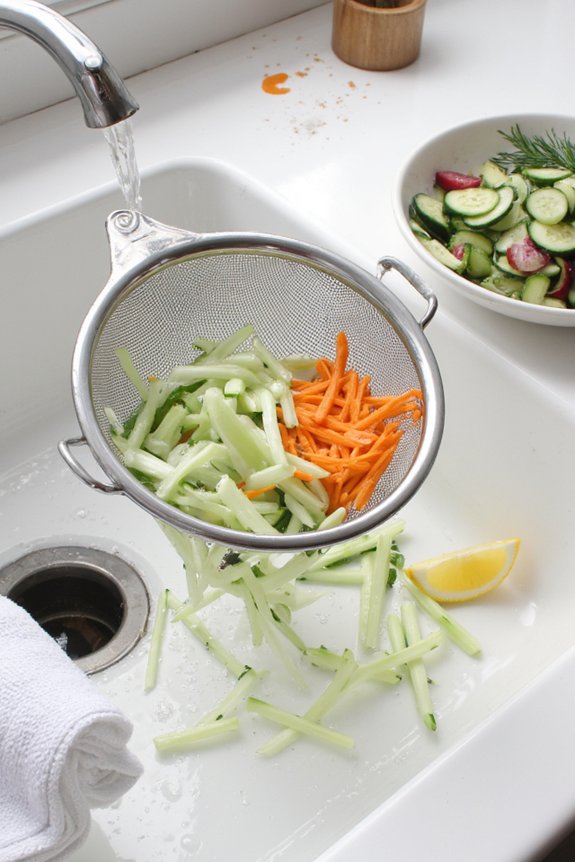
Now here’s where you’ve gotta get strategic: water temperature matters most because cold water’ll make that dried-on food stuff cling like it’s got superglue, while warm water loosens everything right up and makes your job way easier. You’ll want to grab a gentle brush technique next, using soft bristles in steady, careful strokes along the blade’s surface so you’re whisking away debris without turning your fingers into a mandoline slicer’s next victim, and trust me, that’s not the kind of sacrifice you want to make for cleanliness. For even safer cleanup, consider using dishwasher-safe attachments whenever possible, so you minimize direct contact with sharp blades.
Water Temperature Matters Most
Water temperature plays a surprisingly essential role in keeping your mandoline slicer clean and sharp, so don’t just grab whatever comes out of the tap. The right temperature makes all the difference between a pristine blade and a frustrated cook.
Here’s what you need to know:
- Room temperature water works best for initial rinsing because it won’t damage the blade’s edge or warp the slicer’s body.
- Cold soak your slicer for stubborn, dried-on food by letting it sit in cool water for five to ten minutes, which loosens gunk without harming anything.
- Avoid hot water since extreme heat can dull your blade faster than you can say “ouch.”
Think of it this way: your mandoline’s a delicate instrument, not a dishwasher-bound kitchen casualty. Treat the temperature with respect, and your slicer’ll reward you with years of paper-thin perfection.
Gentle Brush Technique
Most folks’ll grab whatever brush is hangin’ around the kitchen, but here’s the thing—your mandoline deserves better than a scrub brush made for cast iron skillets. You’ll want to snag a soft bristled brush instead, something gentle that won’t scratch those precious blades. Use circular strokes to work away food debris, movin’ in smooth, easy motions around the slicer’s surface. Don’t go full aggressive mode here. Light pressure does the trick, kinda like you’re givin’ your mandoline a relaxing massage rather than scrubbin’ a burnt pan. This technique keeps both you and your tool safe. The soft bristles cradle those sharp edges while effectivley whiskin’ away stubborn bits. You’re basically givin’ your mandoline the spa treatment it desperately craves after all that slicing action.
Use Protective Gear While Washing
When you’re scrubbing down that razor-sharp mandoline slicer, you’ll definitely want to gear up like you’re heading into battle, because let’s face it, those blades don’t discriminate between vegetables and fingertips. Protecting yourself isn’t paranoid, it’s just smart.
Here’s what you need:
- Cut-resistant gloves for glove selection, because regular kitchen gloves are basically tissue paper to these blades
- A splash shield to keep soapy water from spraying everywhere while you work
- Eye protection if you’re feeling extra cautious, though it’s honestly overkill
Your hands’ll thank you later. Those mandoline slicers are incredible tools, but they’re unforgiving when you slip up during cleaning. Trust me, proper gear transforms washing from a white-knuckle experience into something almost enjoyable. You’ve got this.

Clean the Blades With Precision Techniques
Now that you’re properly armored up, it’s time to tackle the real challenge—those wickedly sharp blades that’re the whole reason you need the protective gear in the first place. Here’s the thing: rushing through blade cleaning is how accidents happen. Work slowly and methodically. Use a soft brush or sponge, moving perpendicular to the blade rather than along it, ensuring proper blade alignment and preventing slips. Pay special attention to edge maintenance by gently scrubbing between the blades where gunk loves to hide. Rinse thoroughly under running water, letting the stream do most of the heavy lifting instead of forcing your fingers near those teeth. Pat everything dry with a towel, keeping your hands clear of the cutting surface. You’ve got this!
Remove Stubborn Residue Without Direct Contact
Sometimes those stubborn bits of food get baked on like they’ve declared permanent residency on your mandoline, and that’s where the no-contact method comes in handy. You’ll want to keep your fingers far away from those razor-sharp blades while still getting the job done effectively.
Here’s your game plan:
- Use gloved tongs to hold food particles steady while you work around them carefully
- Grab a silicone spatula and gently scrape away dried residue with soft, controlled movements
- Soak the slicer in warm, soapy water for ten minutes to loosen stubborn gunk
This approach lets you tackle even the gnarliest buildup without risking a trip to the emergency room. Your hands stay safe, the blade stays clean, and everybody’s happy. Pretty smart, right?
Dry and Inspect Each Component
After you’ve scrubbed away all that stubborn gunk, it’s time to get your mandoline totally dry and give it a thorough once-over. Grab a clean kitchen towel and pat down every surface—don’t leave any moisture hanging around. Pay special attention to the blade guard and handle, where water likes to hide like it’s playing a game of kitchen hide-and-seek.
Now comes the hand inspection phase. Run your fingers carefully along the blade edges, checking for nicks or debris. Look closely at those tricky spots between components where food particles love to lurk. Don’t forget vent cleaning either; use a soft brush to sweep out any hidden bits from air holes and crevices. Once everything’s bone-dry and sparkly clean, you’re ready to store your mandoline safely.
Store Your Mandoline Safely to Prevent Accidents
Stashing your mandoline the right way is absolutely crucial—this thing’s sharp enough to slice through your finger like butter, so you don’t want it lurking in a kitchen drawer where it can ambush you (or worse, your kids). You’ve got options here, and each one’s designed to keep everyone safe.
- Use a protective blade guard or sheath that comes with your mandoline, ensuring it’s secure before storing
- Install a wall mount in a high cabinet where little hands can’t reach it, keeping your mandoline easily accessible yet safely out of the way
- Store it in a dedicated container with a childproof lock, adding an extra layer of protection
Honestly, spending five seconds securing this thing properly beats explaining an emergency room visit any day. Your future self will thank you.
Frequently Asked Questions
How Often Should I Replace the Blades on My Mandoline Slicer?
You’ll typically replace your mandoline slicer blades every 6-12 months, depending on usage frequency. However, blade lifespan varies based on how often you slice. Monitor your replacement frequency by noticing when slicing becomes less efficient or blades feel dull.
Can I Put My Mandoline Slicer Parts in the Dishwasher?
No, you shouldn’t put your mandoline slicer in the dishwasher. One user’s blade dulled after one cycle. Dishwasher safety concerns include detergent effects corroding blades and handles, compromising both performance and your safety during slicing.
What Should I Do if I Accidentally Cut Myself While Cleaning?
If you’ve cut yourself, you should immediately apply a pressure bandage to stop bleeding. If it’s deep or won’t stop, you’ll need to seek medical attention right away.
How Do I Remove Rust or Discoloration From the Metal Components?
You’ll want to address those “time-worn marks” promptly. Try vinegar baths for lighter discoloration—soak components for several hours. For stubborn rust, you’re best applying rust converters, which chemically transform oxidation into a stable coating before rinsing thoroughly.
Is It Safe to Use Steel Wool or Abrasive Scrubbers on Blades?
You shouldn’t use steel wool on blades—it’ll damage the sharp edge and create steel wool risks. Instead, try abrasive alternatives like baking soda paste or specialized blade cleaners that won’t compromise your mandoline’s cutting ability.
Conclusion
You’ve now mastered the art of keeping your mandoline safe and spotless! Here’s something wild: emergency rooms treat over 100,000 mandoline-related injuries annually in the US alone. But you? You’re not joining that statistic. You’re the hero who cleans carefully, stores smart, and keeps those razor-sharp blades under control. Your fingers’ll thank you, and your mandoline’ll keep slicing perfectly for years to come.


